Part - 3
OK
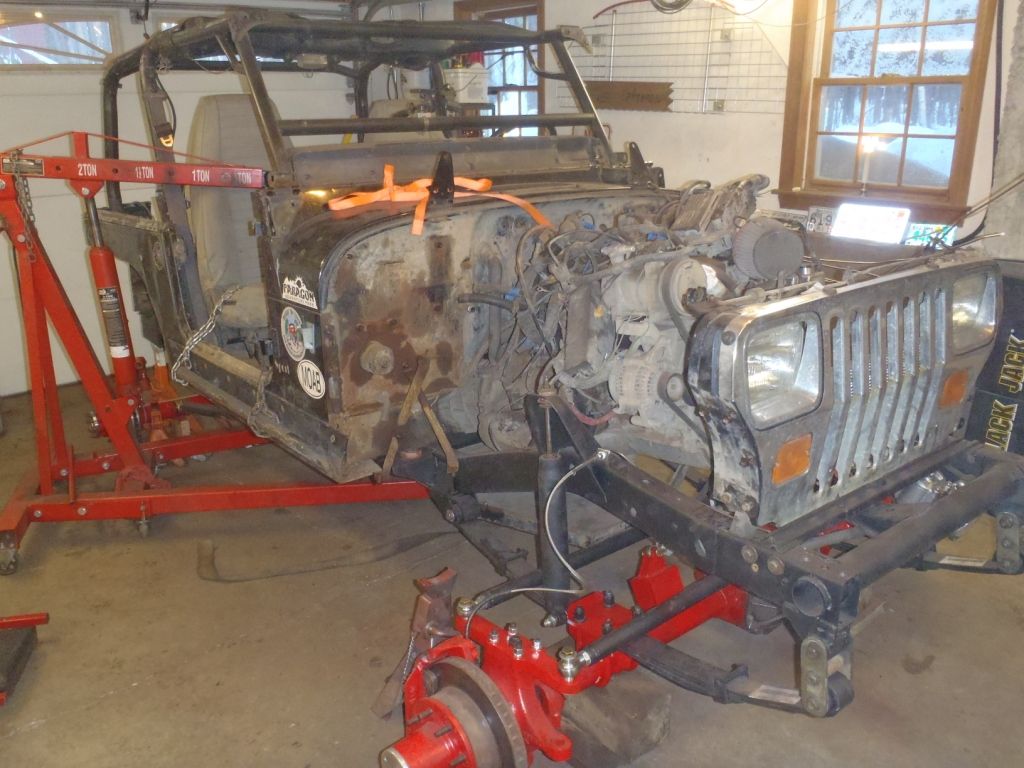
Web-wrenchers here is the Holiday installment of the YJ on tons project.

I squirreled away some vacation time to enjoy during the holidays and have done a fair amount of work in the garage wrenching, cutting, welding and assembling some more parts of the winter project.

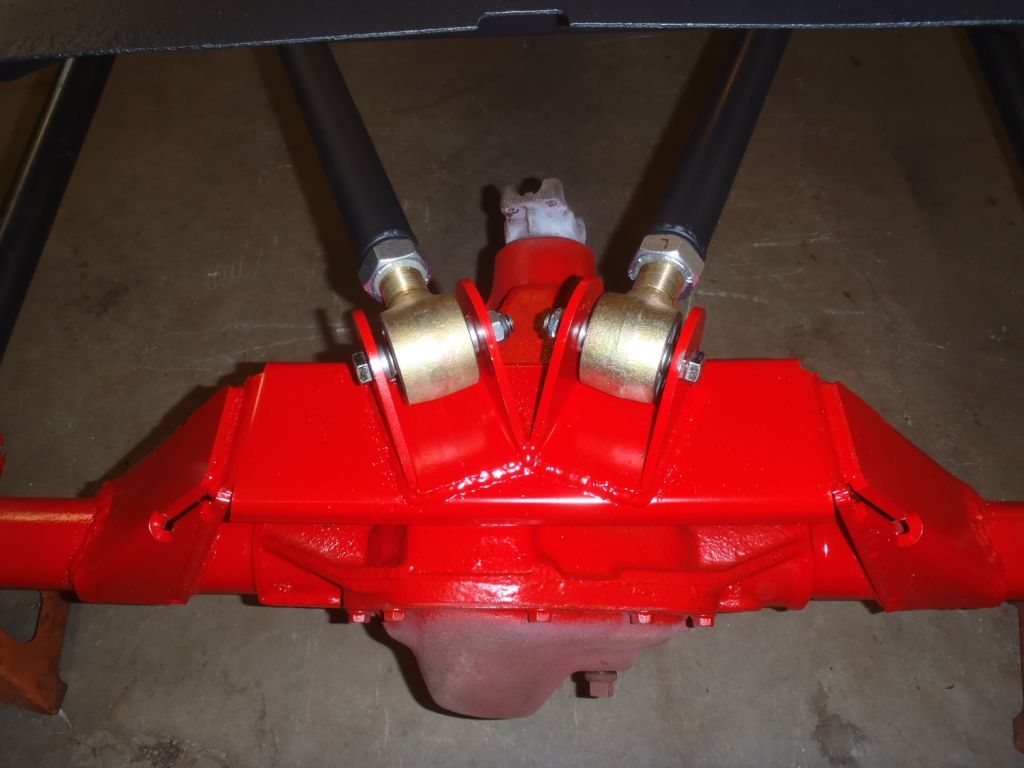
Was finally satisifed with how the PVC 4 link setup was working so it was time to "commit" and burn the brackets and tubes. Rear truss burned in...
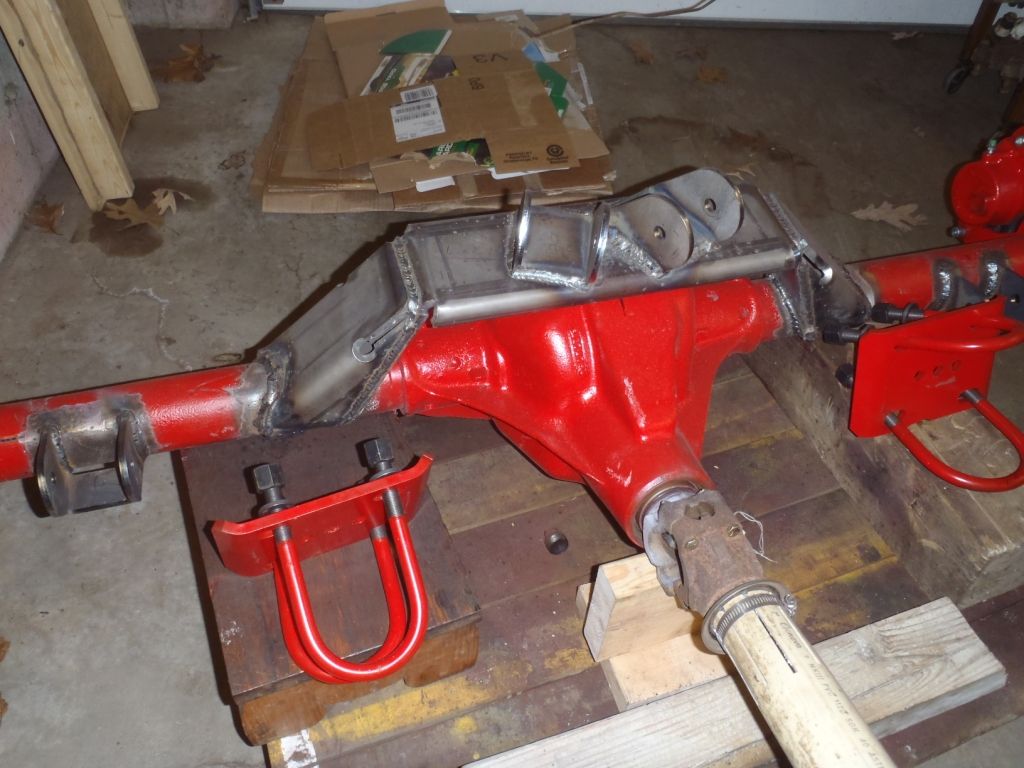
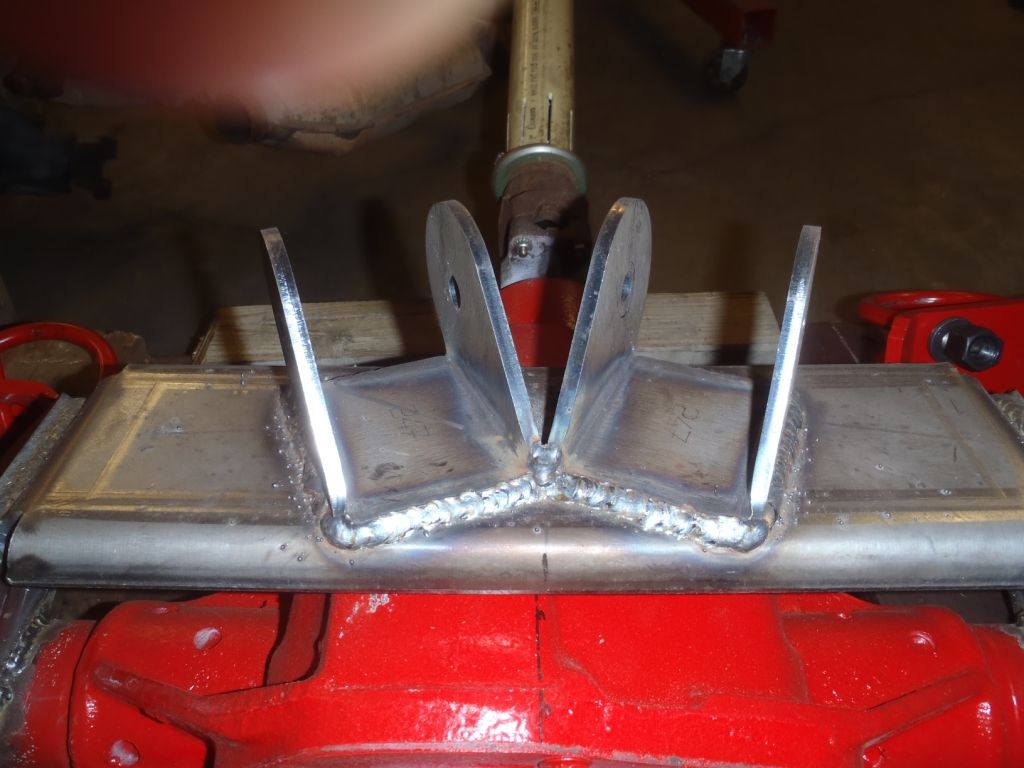
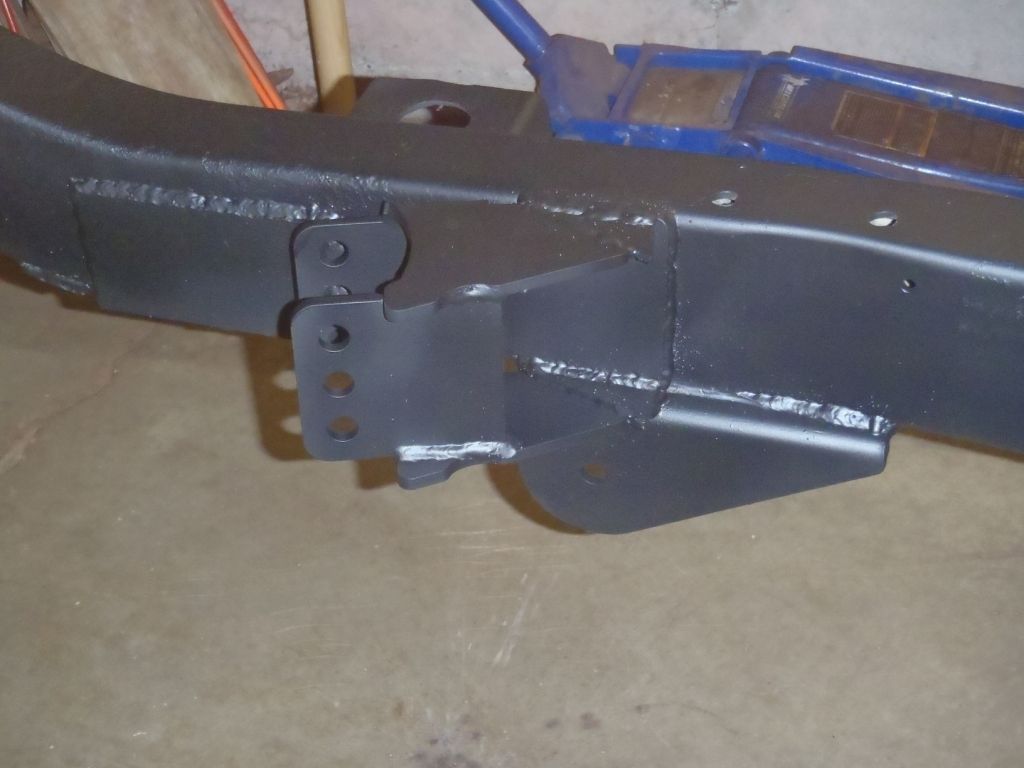
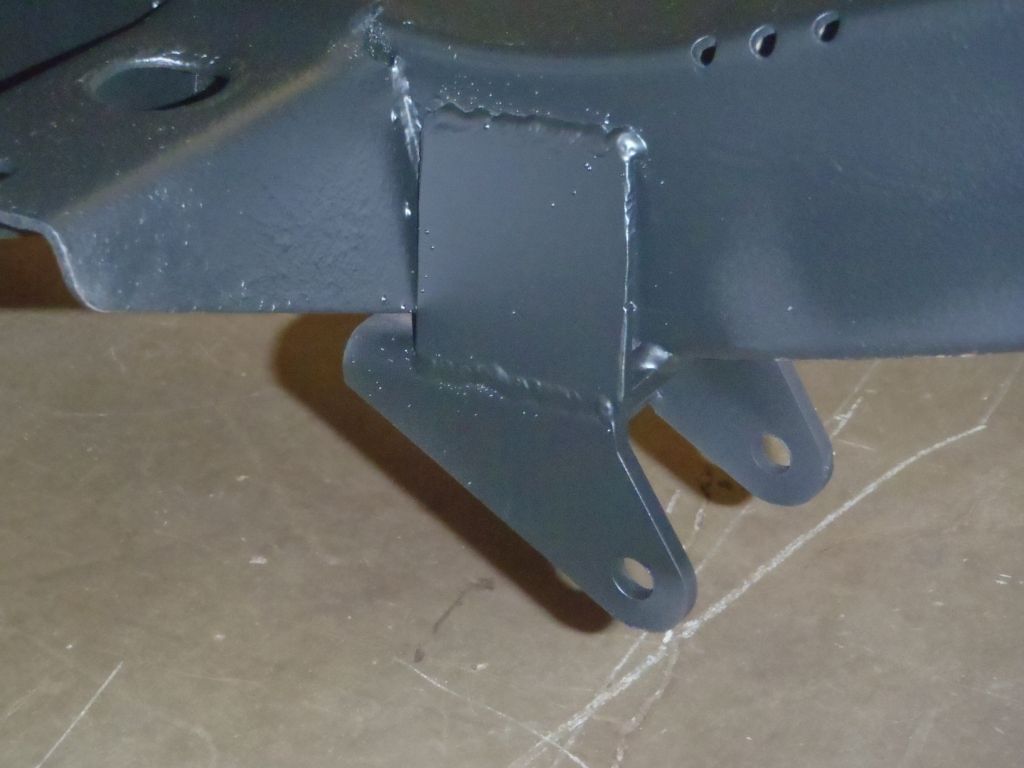
Frame brackets for the front springs and rear 4 link
The old stock tranny skid was beat to snot so a beefy 1/4" steel replacement was rounded up from Barnes 4WD.
Had to customize it and add the tranny mount to the middle of it.
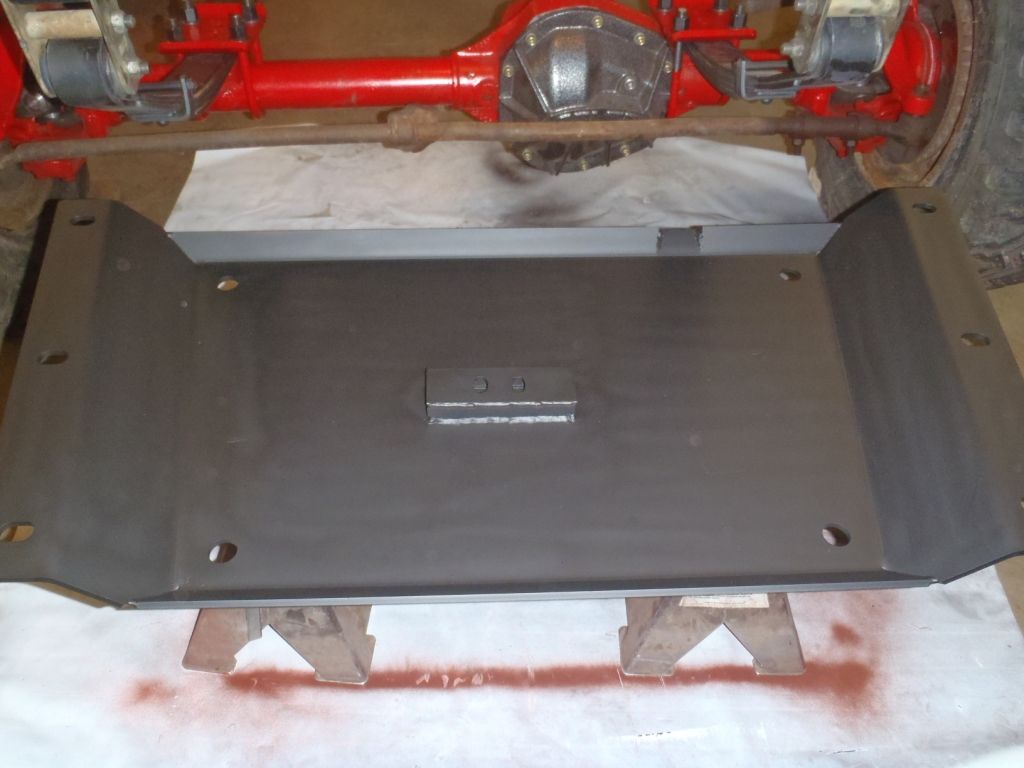
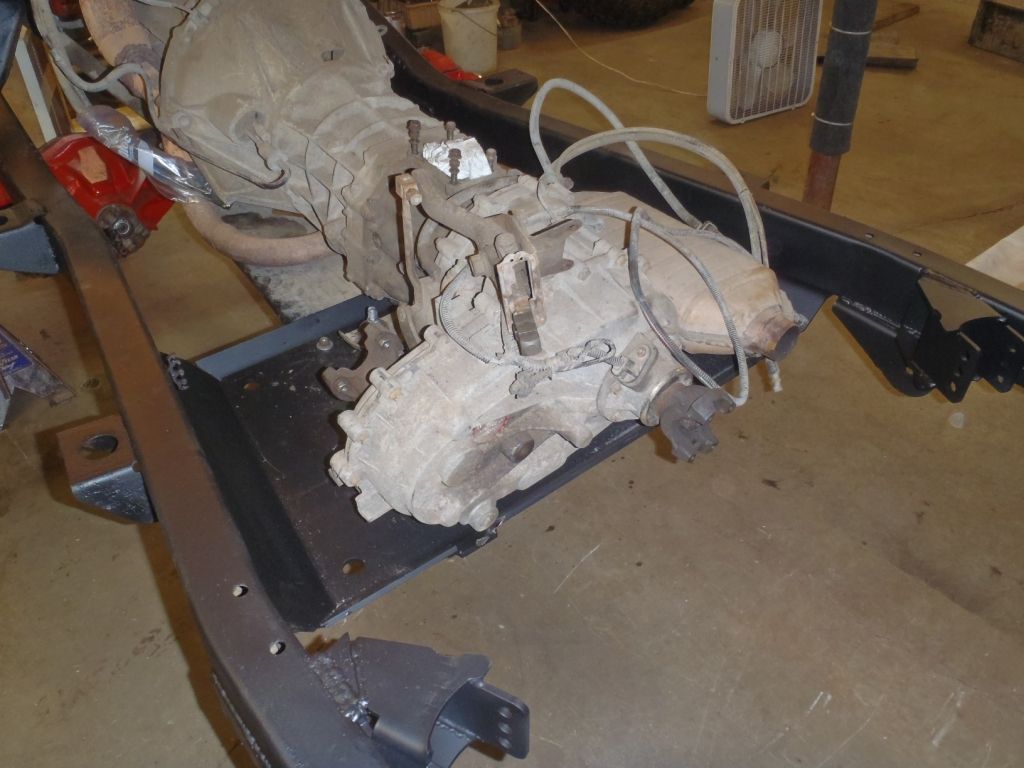
Installed..

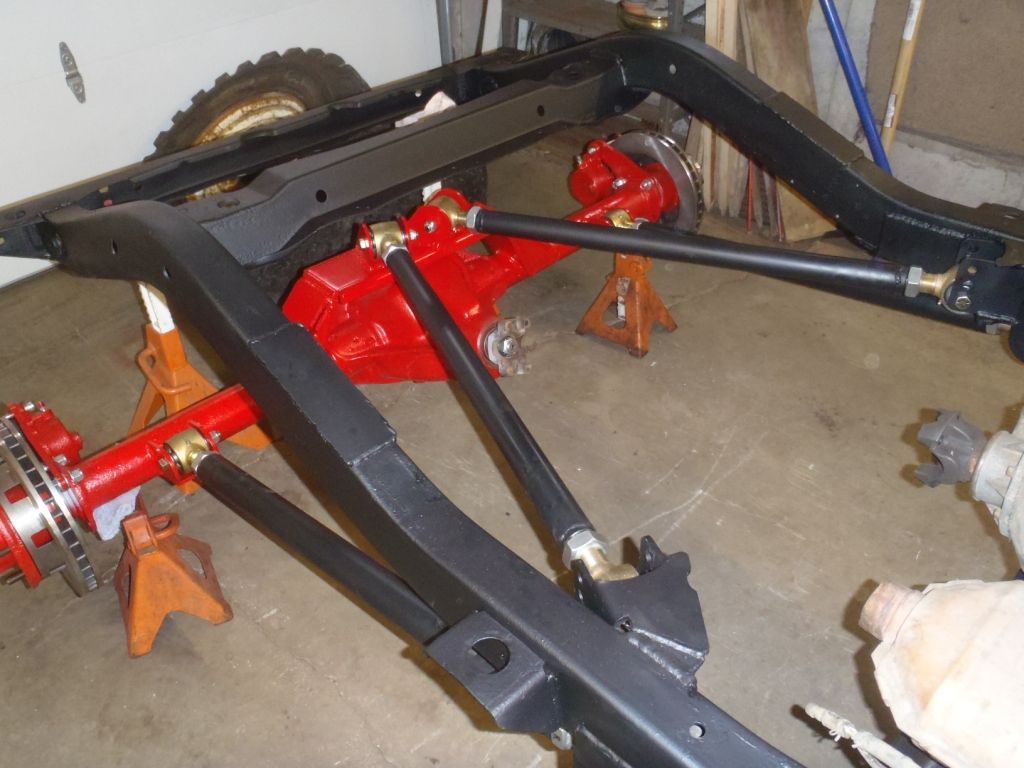
Installed the welded and painted rear 4 link arms to the 60.
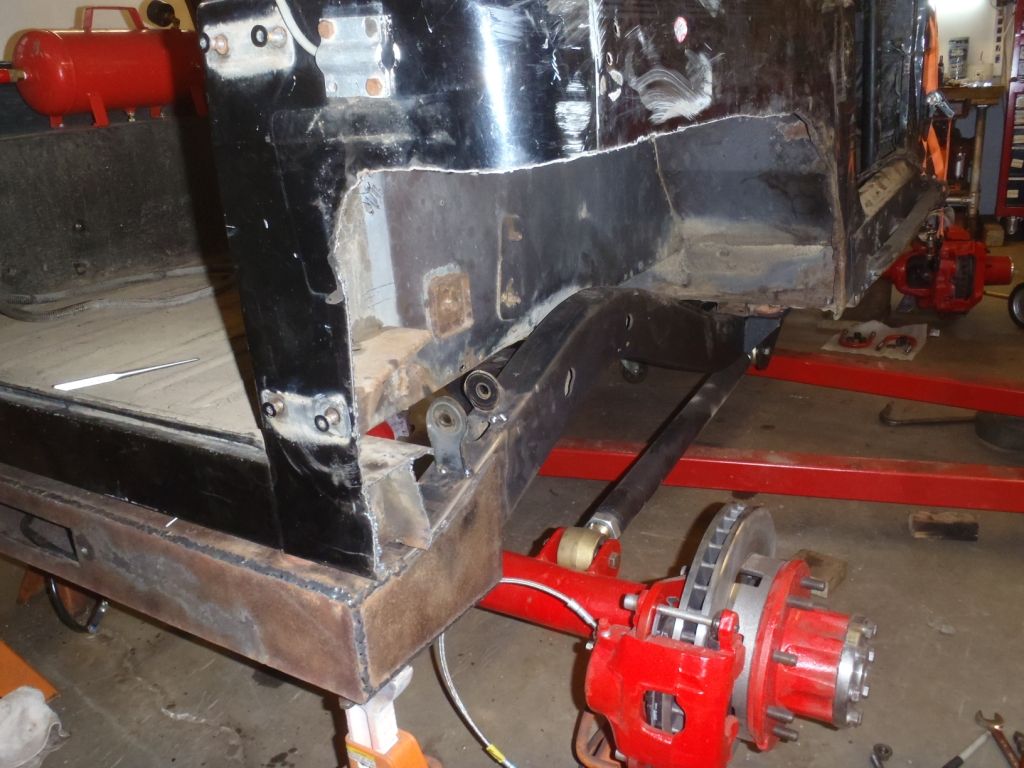
Fired up Sparky the plasma cutter and comp cut the tub and rear mounting member.
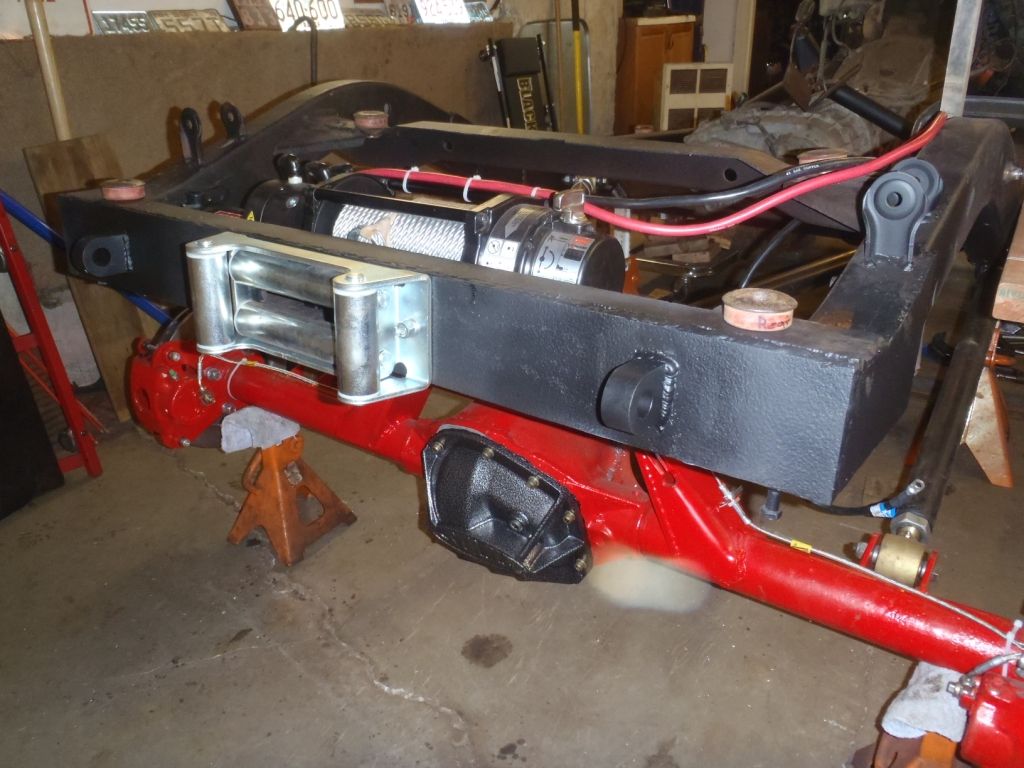
Late in the year I was lucky enough to win the Warn Winch that DWE was raffling off in their fundraiser.
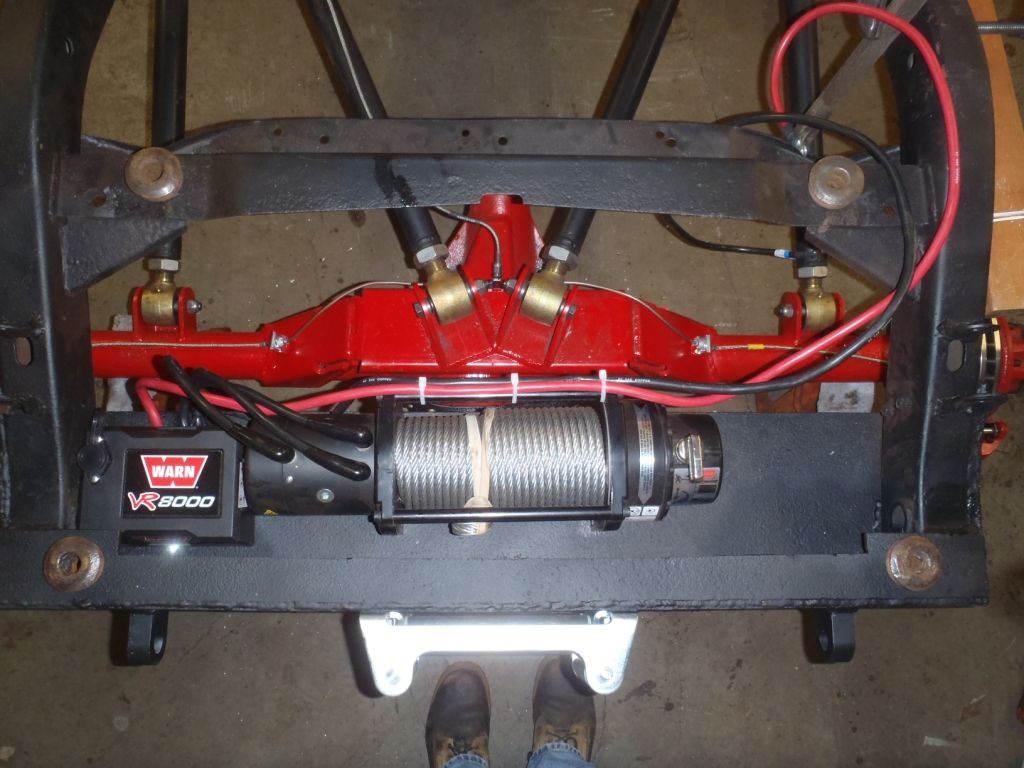
So... I found I could tuck it neatly into the new rear bumper/body support assembly that I needed after the comp cut.
New rear bumpa I fab'd up with the winch. Clevis tabs from AtoZ Fab. Steel for bumper assembly scrounged from MJS Metals recycling yard in Townsend.
Just happened to be peeking under the tub and found this

Front body mount by the drivers footwell almost completely ripped out!
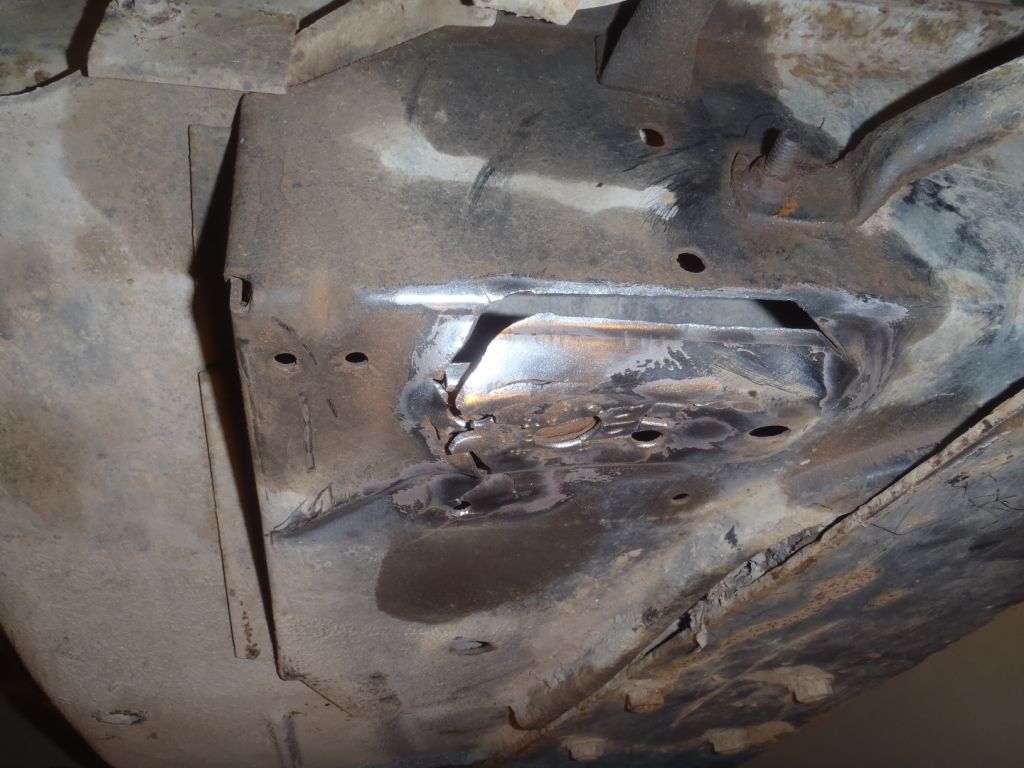
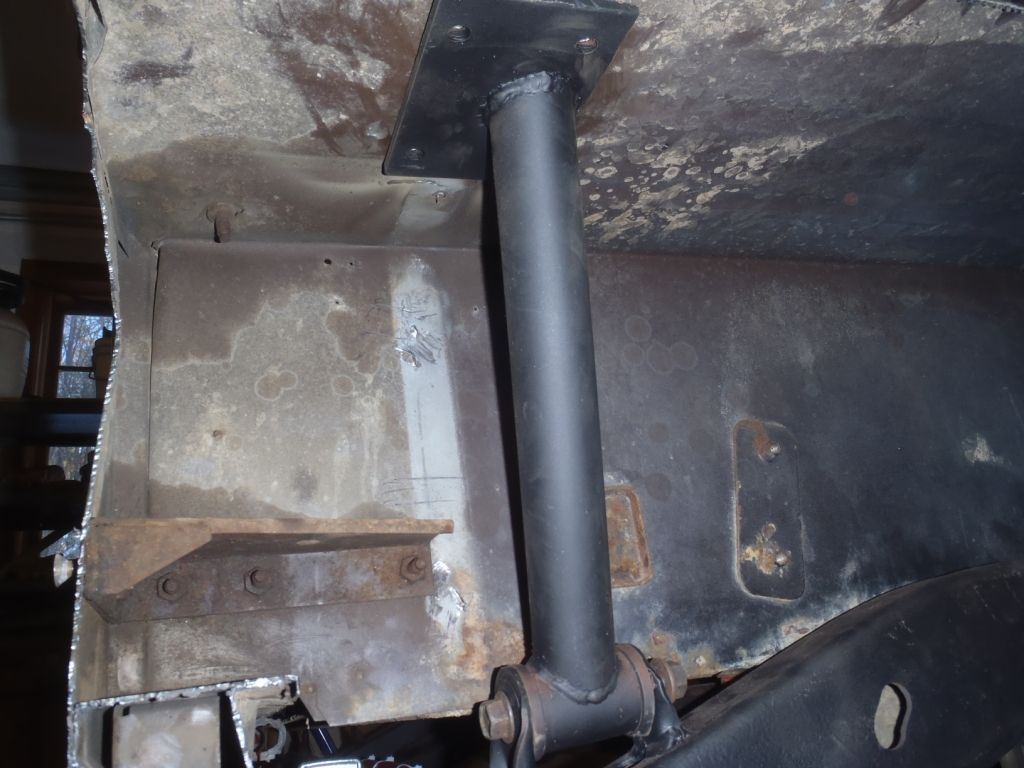
So.. after welding that little mess up I had to fab some frome tie-ins for the cage to prevent that from happening again. They'll tie the foot of the cage in the footwell to the frame.

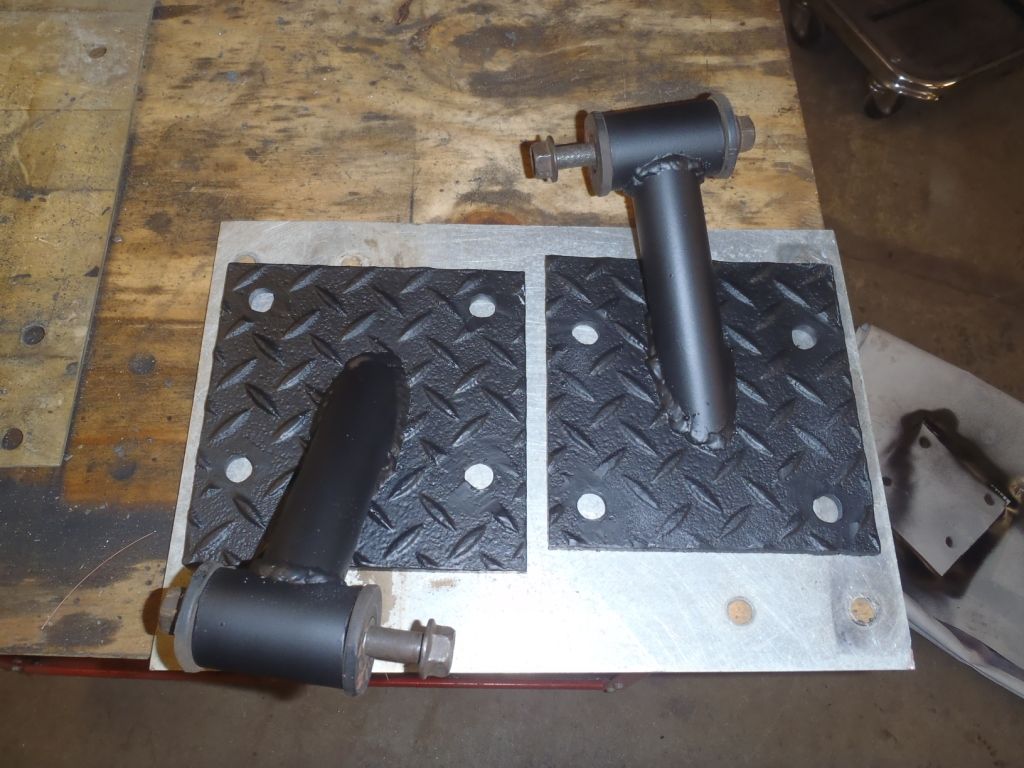
Since I comp cut the rear of the tub for the wheelbase stretch I had to provide some serious support for the rear of the cage. Googled around and found the solution. A little digging thru the steel pile and leftover DOM and created these.
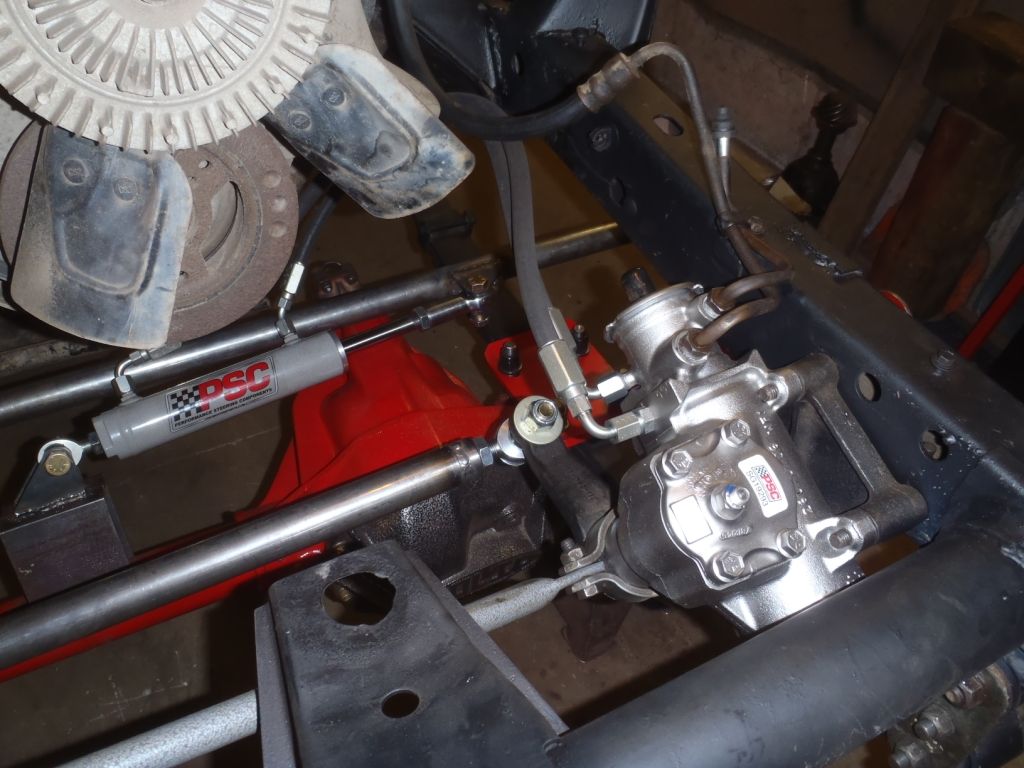
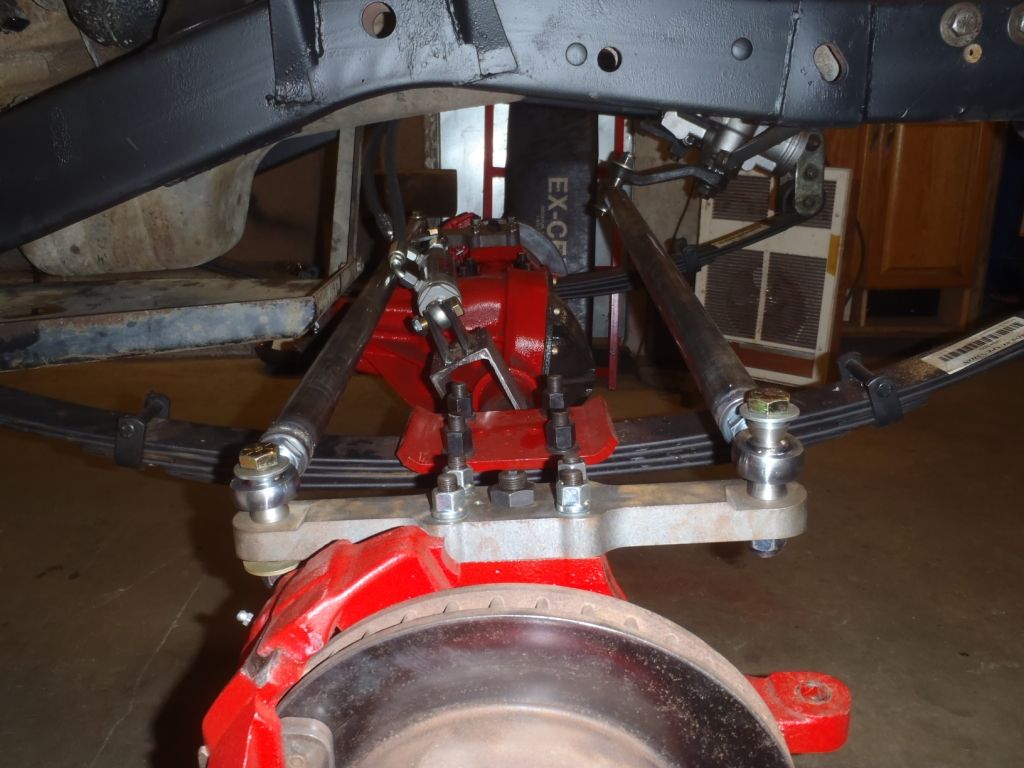
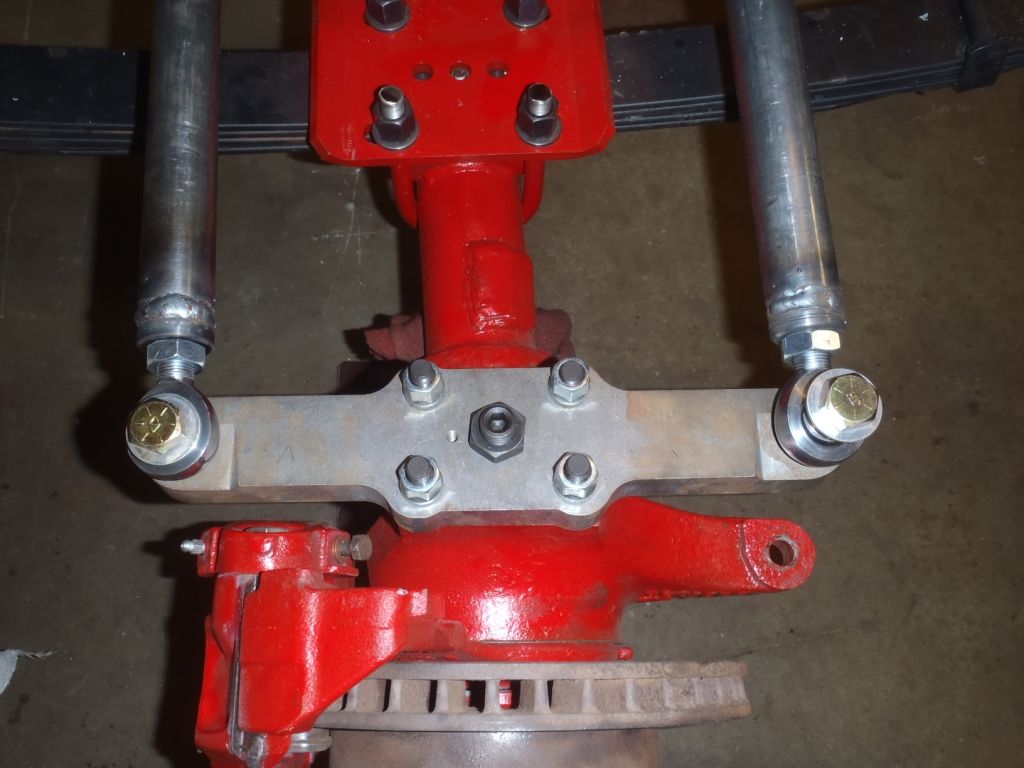
The 60's and planned tires would have overwhelmed the stock steering system so a hefty PSC hydro assist was added to the steering system with 1/4" DOM tie rod, drag link, heims and some beefy steering arms from Parts Mike via East Coast Gear Supply.
Tie rod is behind the axle for more room for the PS box and tie rod. Also positions the hydraulic cylinder up and slightly behind the center of the pumpkin for protection.
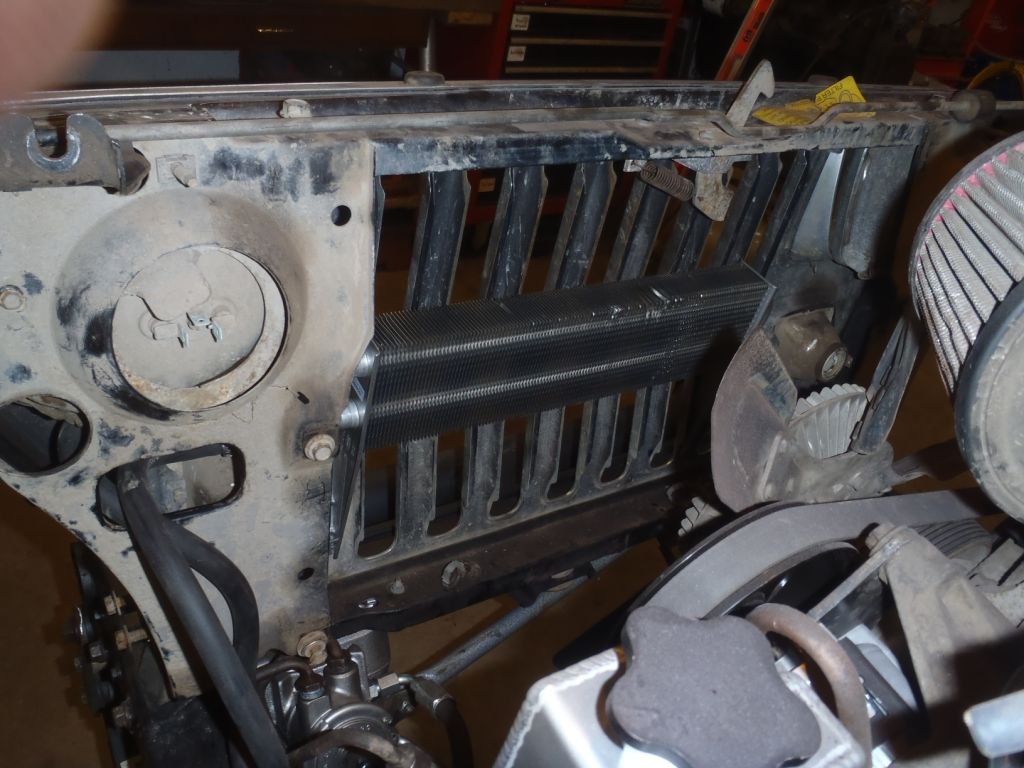
Power steering cooler installed between the grill and radiator. Courtesy of Doug's garage sale at the Fall Crawl.

I opt'd to not go with the usual ElDorado rear brake calipers so I needed a method of creating a parking brake system.
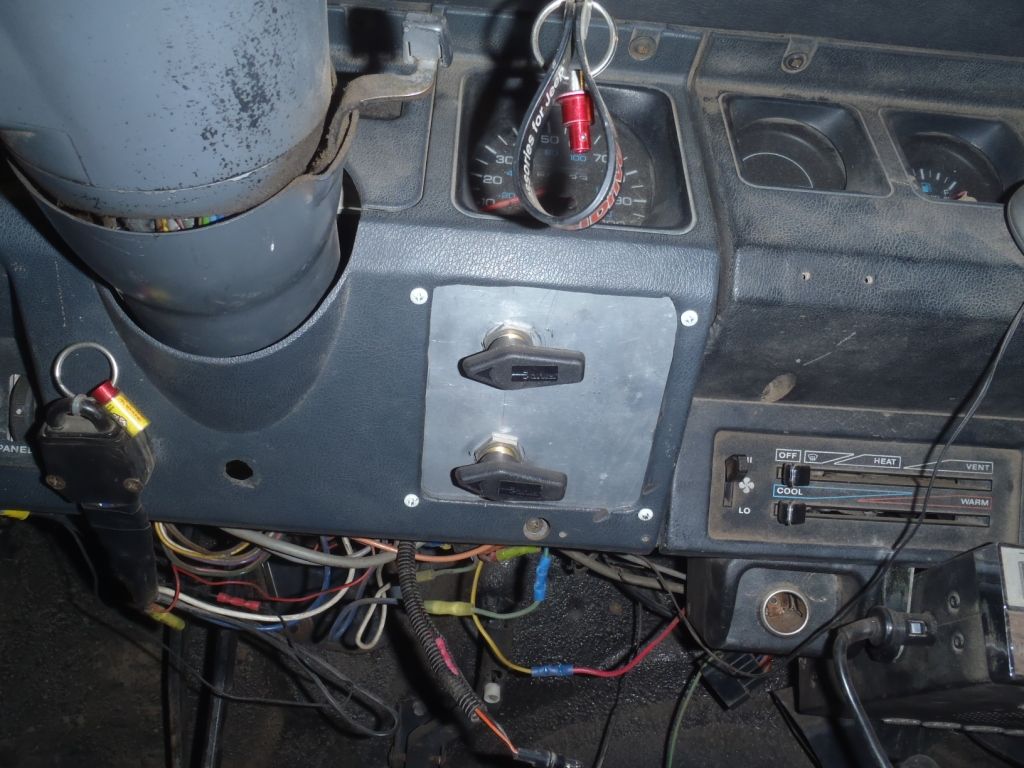
The method of choice was to put manual line locks on both the front and rear brake system. This will provide 4 wheel parking brake AND a means to isolate either the front or rear brake systems should a line get severed on the trail.
Routed the brake lines from the prop valve to the manual valves and then back to the respective brake systems.
Here is the booty fab panel with the valves. Installed in in place of the useless rear defroster and rear wiper switch panel in the dash.
The 4 In/Out lines waiting to get tied into the prop valve and the brake system. To be done once the body is put back on for the last time. Won't happen until the rear air shock suspension system and towers are welded to the frame.
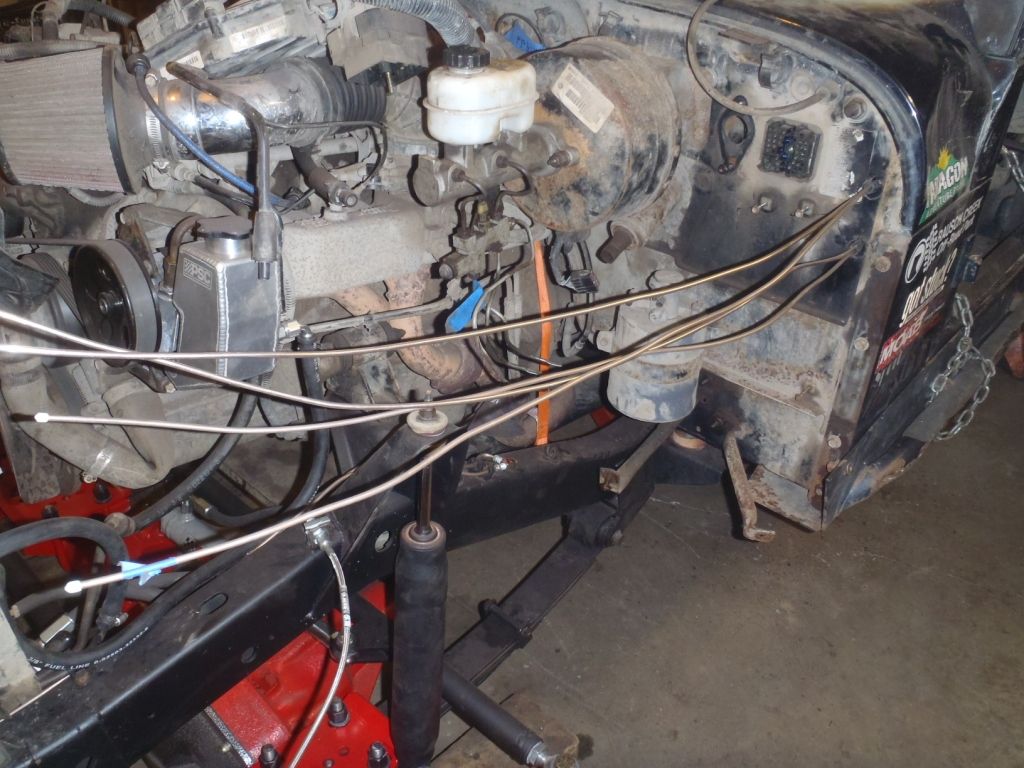
Replaced all the brake lines with new braided stainless flex lines and CU-NI hard lines.
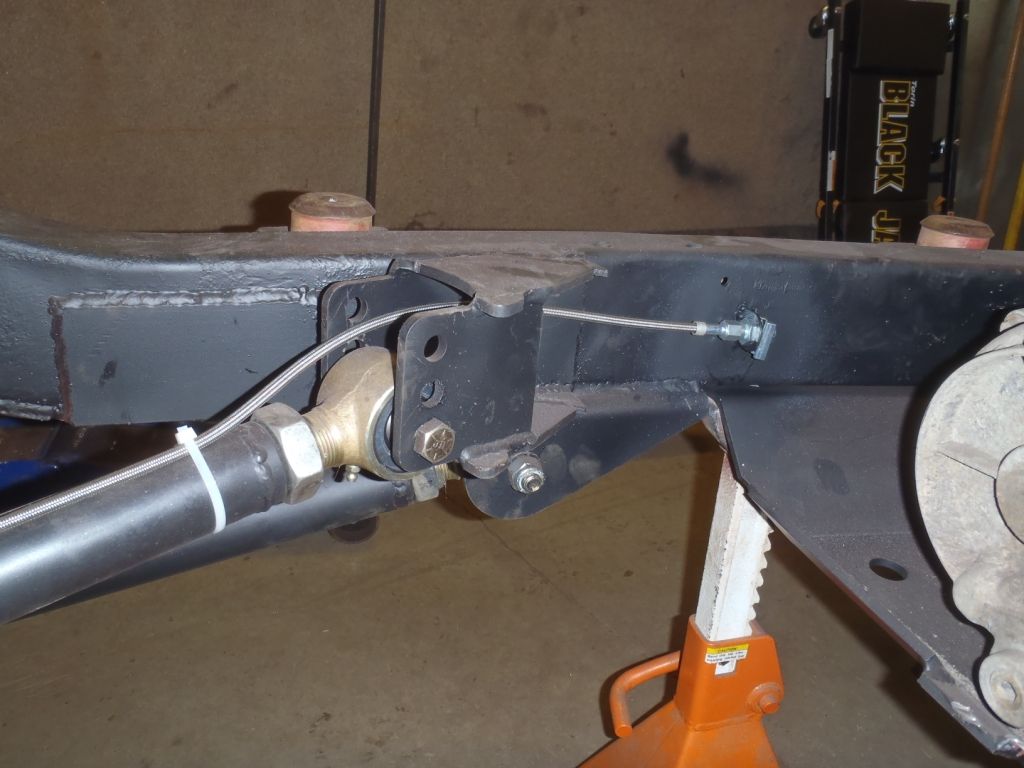
How the ol' girl looks as of tonight...
