Winch Troubleshoot & Repair - Bad Solenoid
Posted: Thu Jul 09, 2015 8:19 pm
Today I decided to re-spool my winch cable in the driveway as it was a bit messy after the last run.
While spooling it in I noticed that occasionally the solenoids would just *click* and the winch motor didn't run. This continued to happen more and more to the point it wouldn't do anything but *click* the solenoids and the winch motor didn't run to spool in the cable. Spool out still worked just fine.
A classic symptom of a bad solenoid.
So.. here a little write up on how to diagnose and fix a bum winch solenoid.
1) Remove the cover that houses the solenoids. On mine they are integrated into the top of the winch under a removable cover. Remove the 4 bolts from the side to remove the cover.
Bolts coming out..
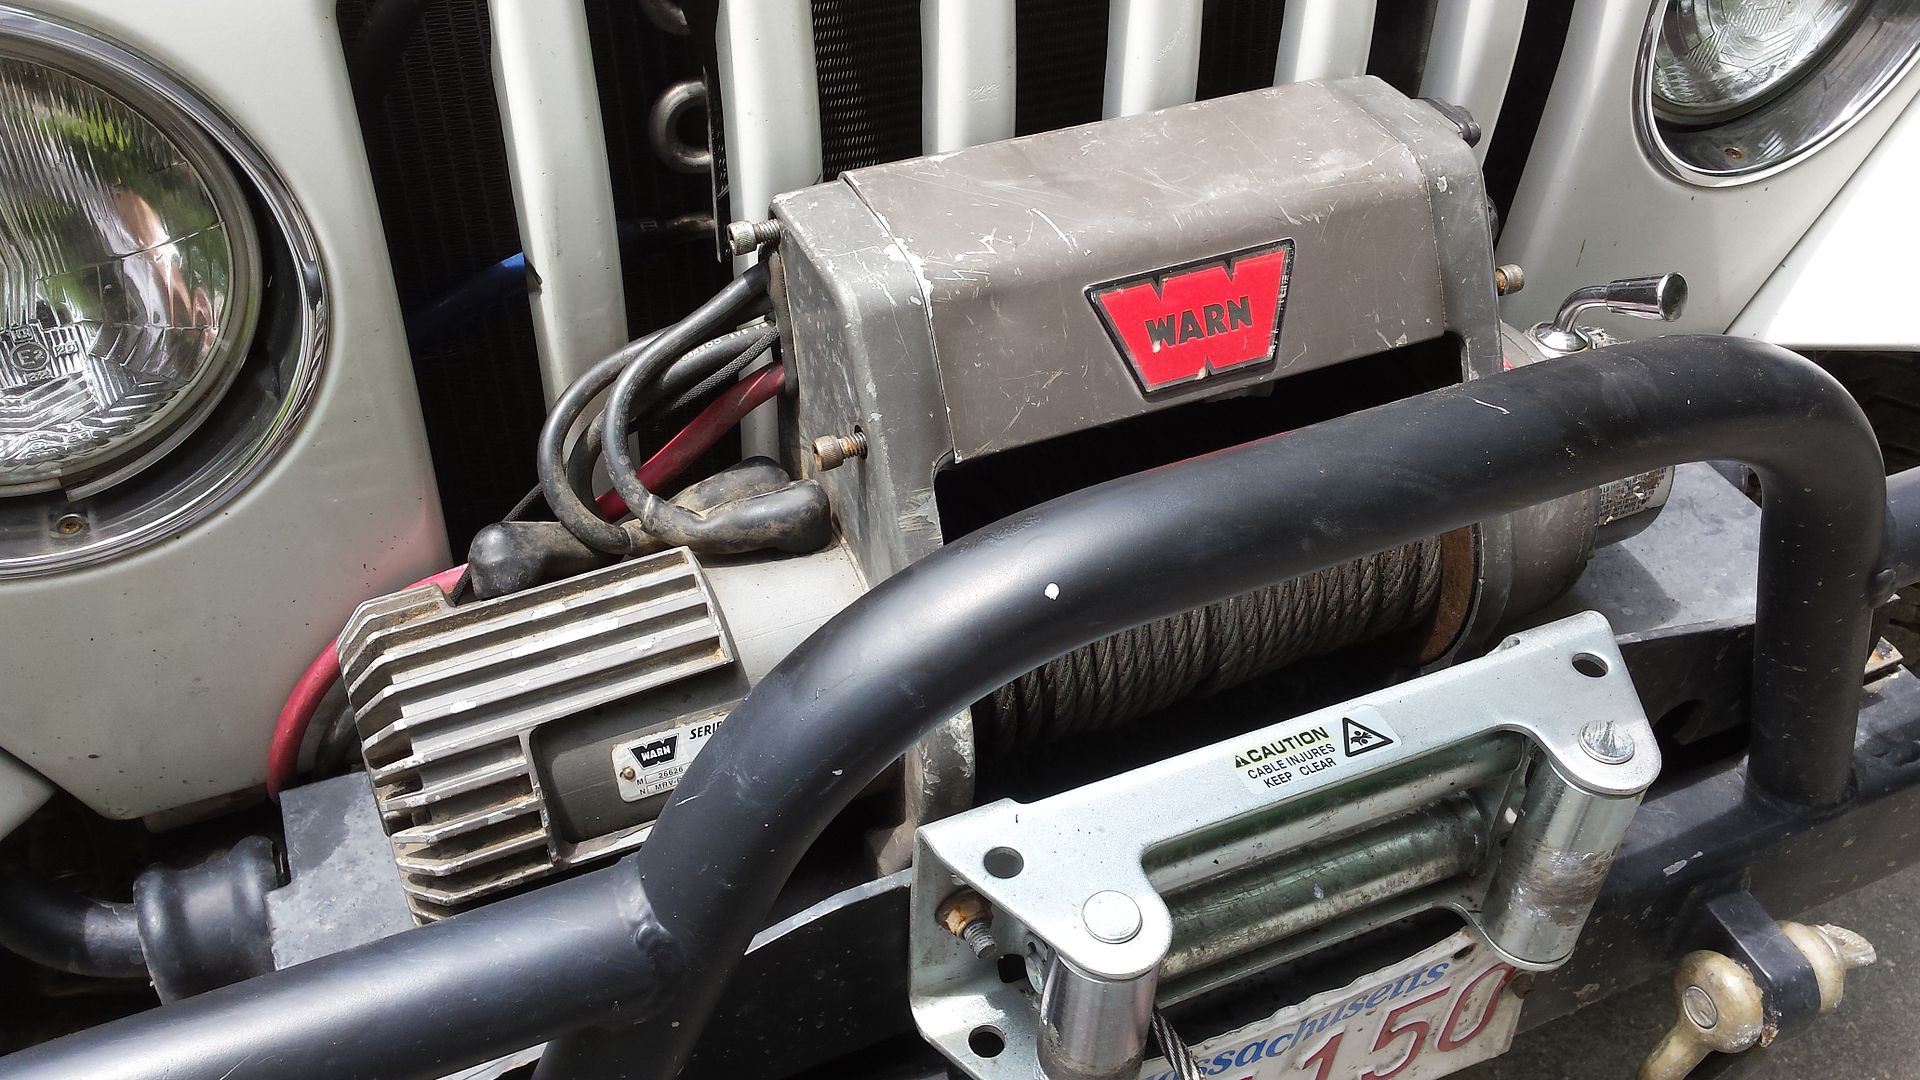
Once the cover was off there were 4 solenoids in mine. Some winch's may have fewer.
The solenoids work like relays or like a started solenoid. Their purpose is to switch very high currents using a small control current (from the winch controllers switch in this case)
Different solenoid(s) are activated when the winch controllers switch are in the "IN" or "OUT" out position.
Sometimes one or two are activated when the controller button is pushed.
Different winch types use different configurations but below is how to figure out which one is bad regardless of winch make or model.
Each solenoid will have 4 terminals on them with wires and/or copper buss bars connected to them. The two SMALL terminals are the ones that tell the solenoid to activate. The two BIG terminals are the ones that are connected together (inside) when the solenoid is activated. The solenoid is activated when 12 volts is applied across the two SMALL terminals.
To begin with a voltmeter is needed to do the troubleshooting. Be sure it's set to DC Volts.
First you need to determine which solenoids are activated when the control button is pushed. For my problem it was the "IN" solenoid(s) that were the issue.
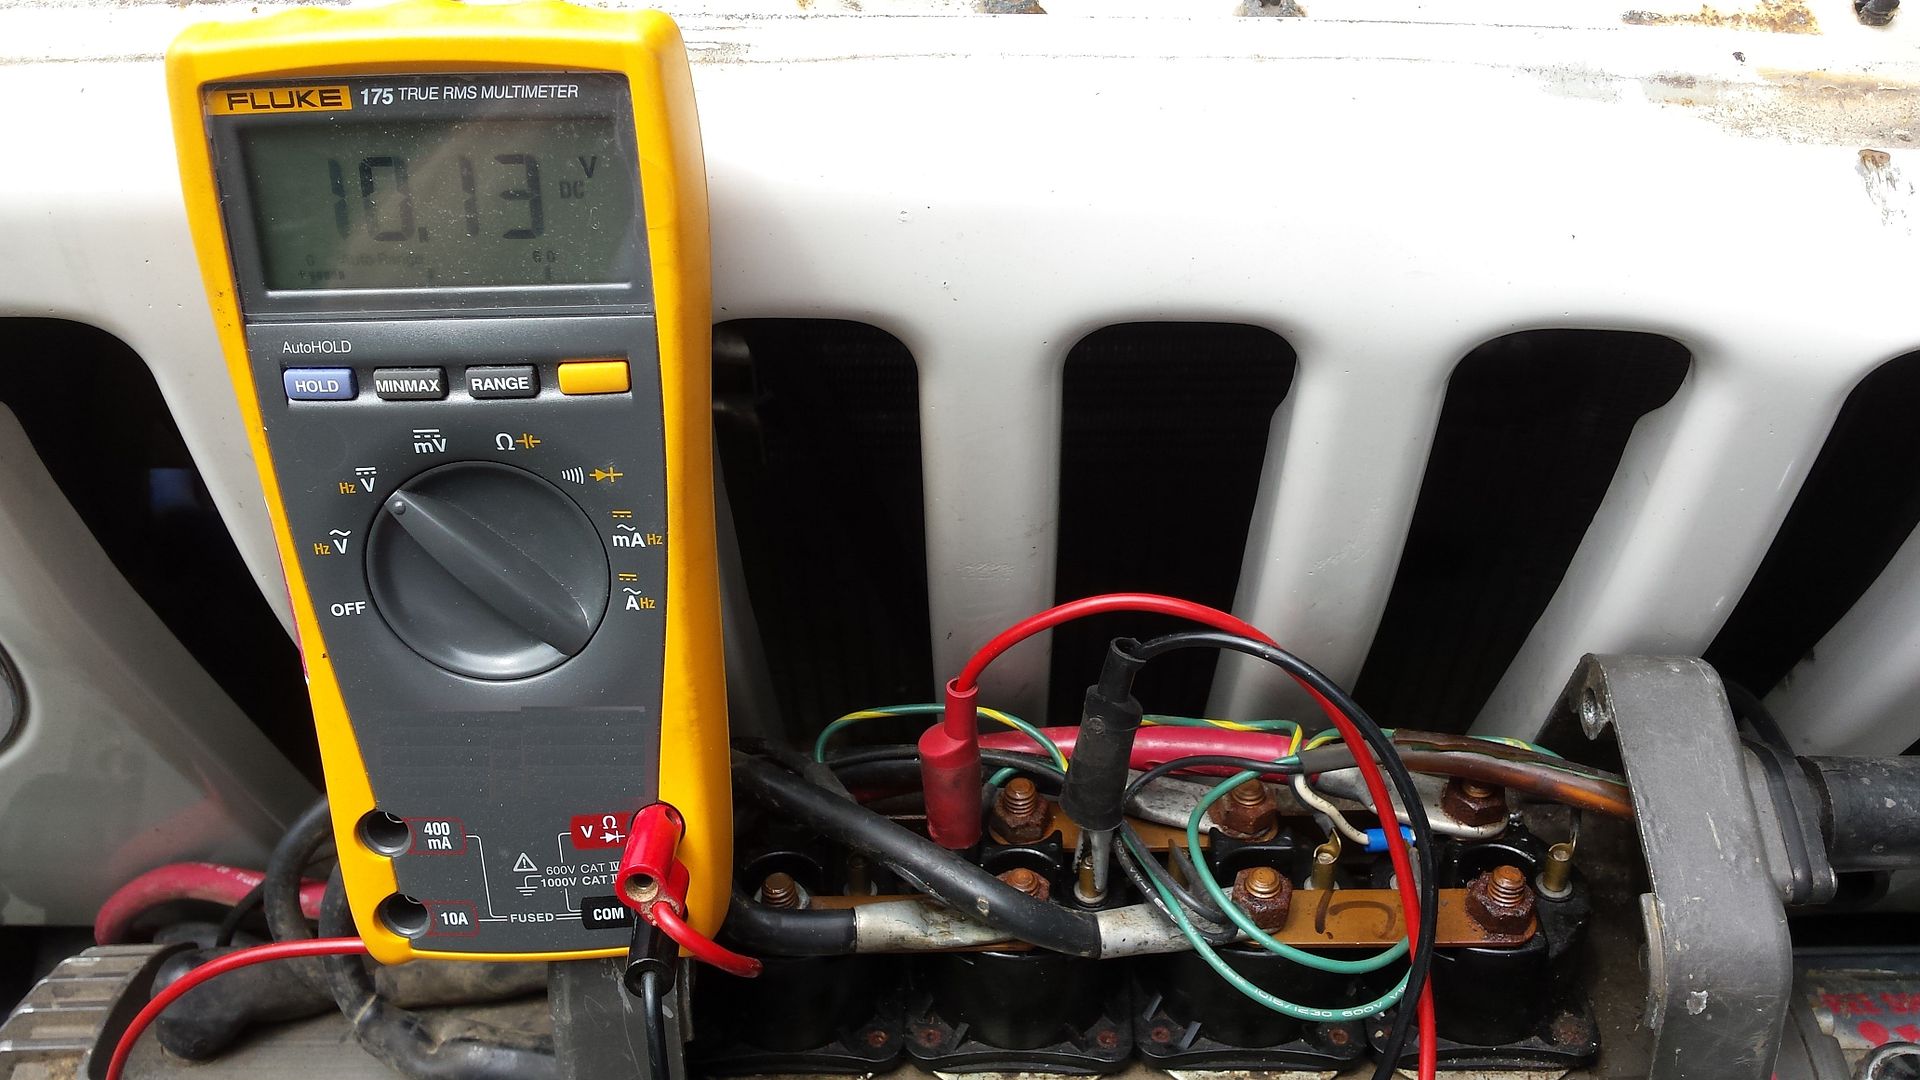
2) One by one connect the Voltmeter to the two SMALL terminals to of each solenoid and press the "IN" button.
(I'll be using "IN" for the rest of this discussion as that was the function that wasn't working for me)
If you measure 10-12 volts on a solenoid it's being activated.
Repeat this for each of the solenoids and make note of which ones are being activated.
Example of solenoid being activated - see meter showing voltage (~10 volts)on the SMALL terminals.
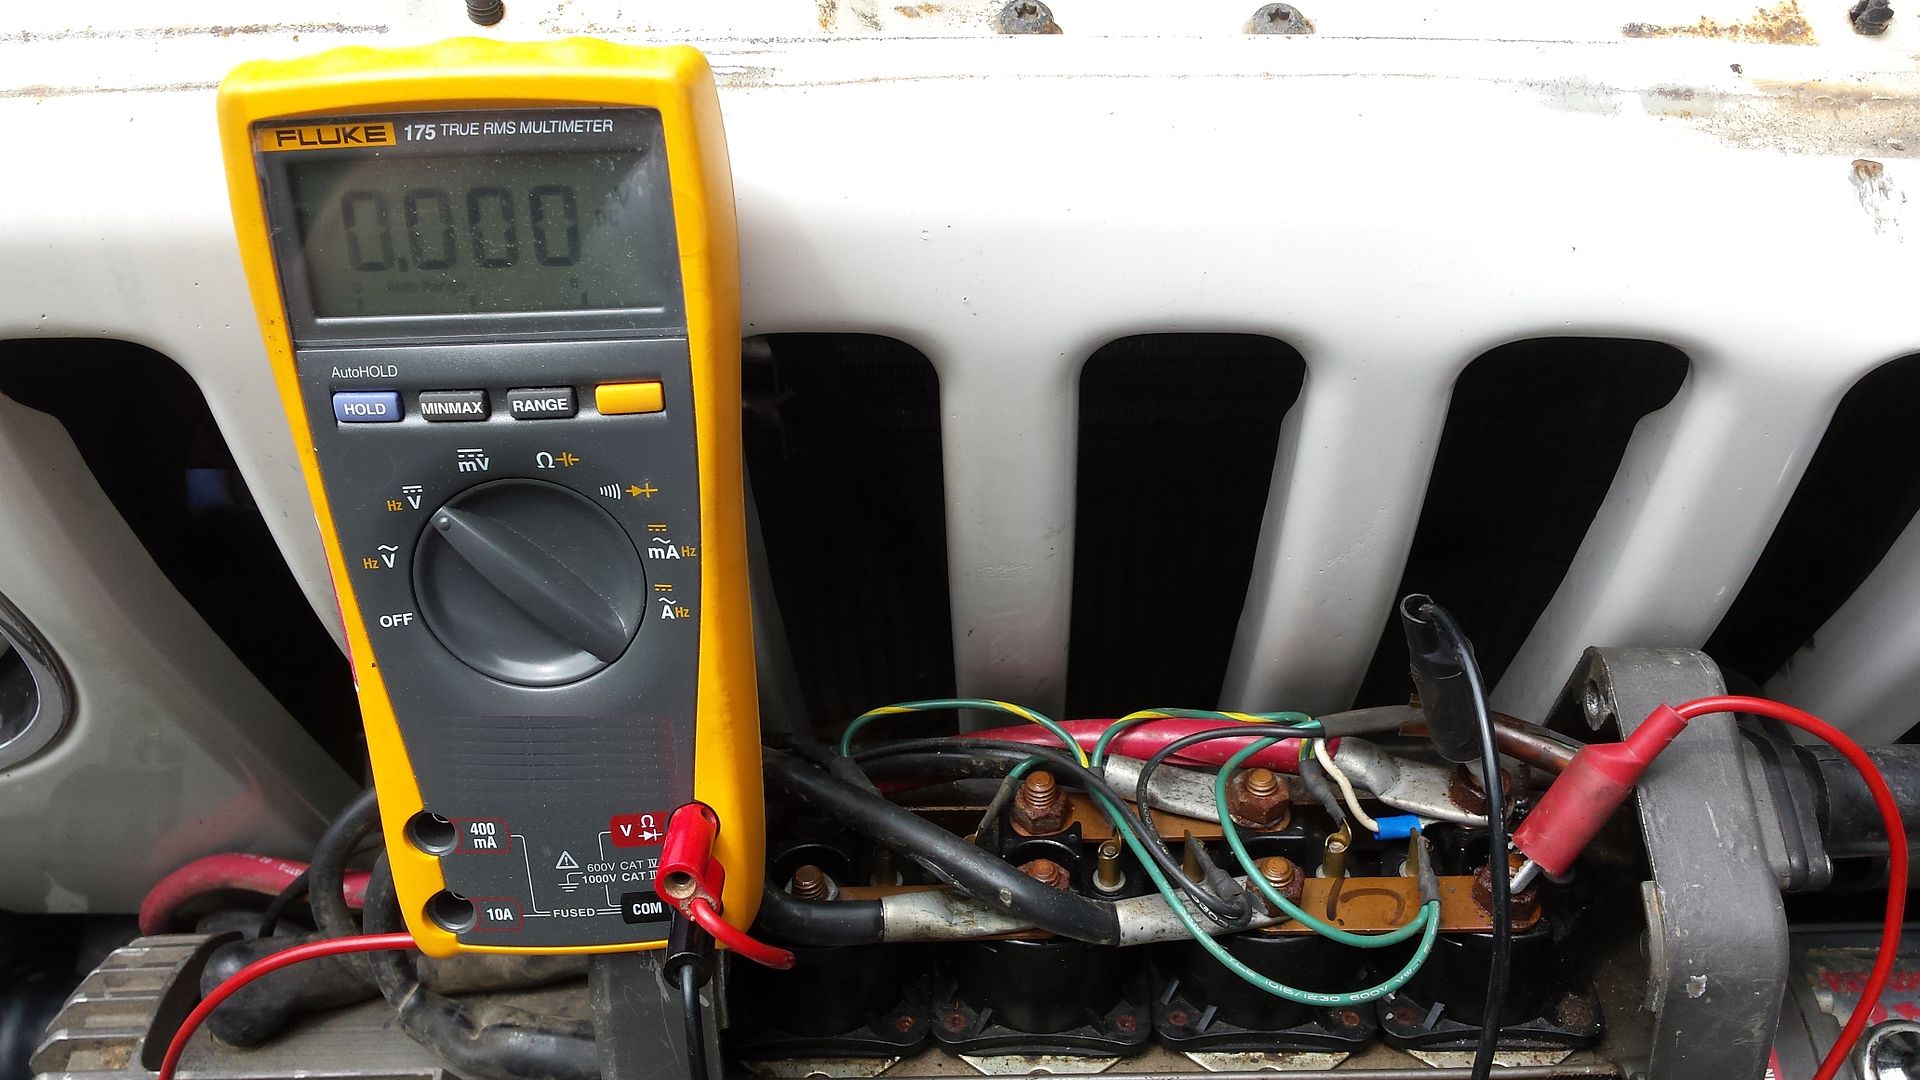
3) Now for each of the activated solenoids repeat the testing but connect the meter to the BIG terminals and again press the "IN" button on the controller. If the meter is reading ~ 0 volts on the two big terminals the solenoid is good.
Example of a good solenoid - meter showing 0 volts
Repeat the testing connecting the meter to the BIG terminals of the activated solenoids and press the "IN" button.
The defective solenoid will show about 12 vols across the BIG terminals.
Example of a bad solenoid - meter showing about 12 volts when activated
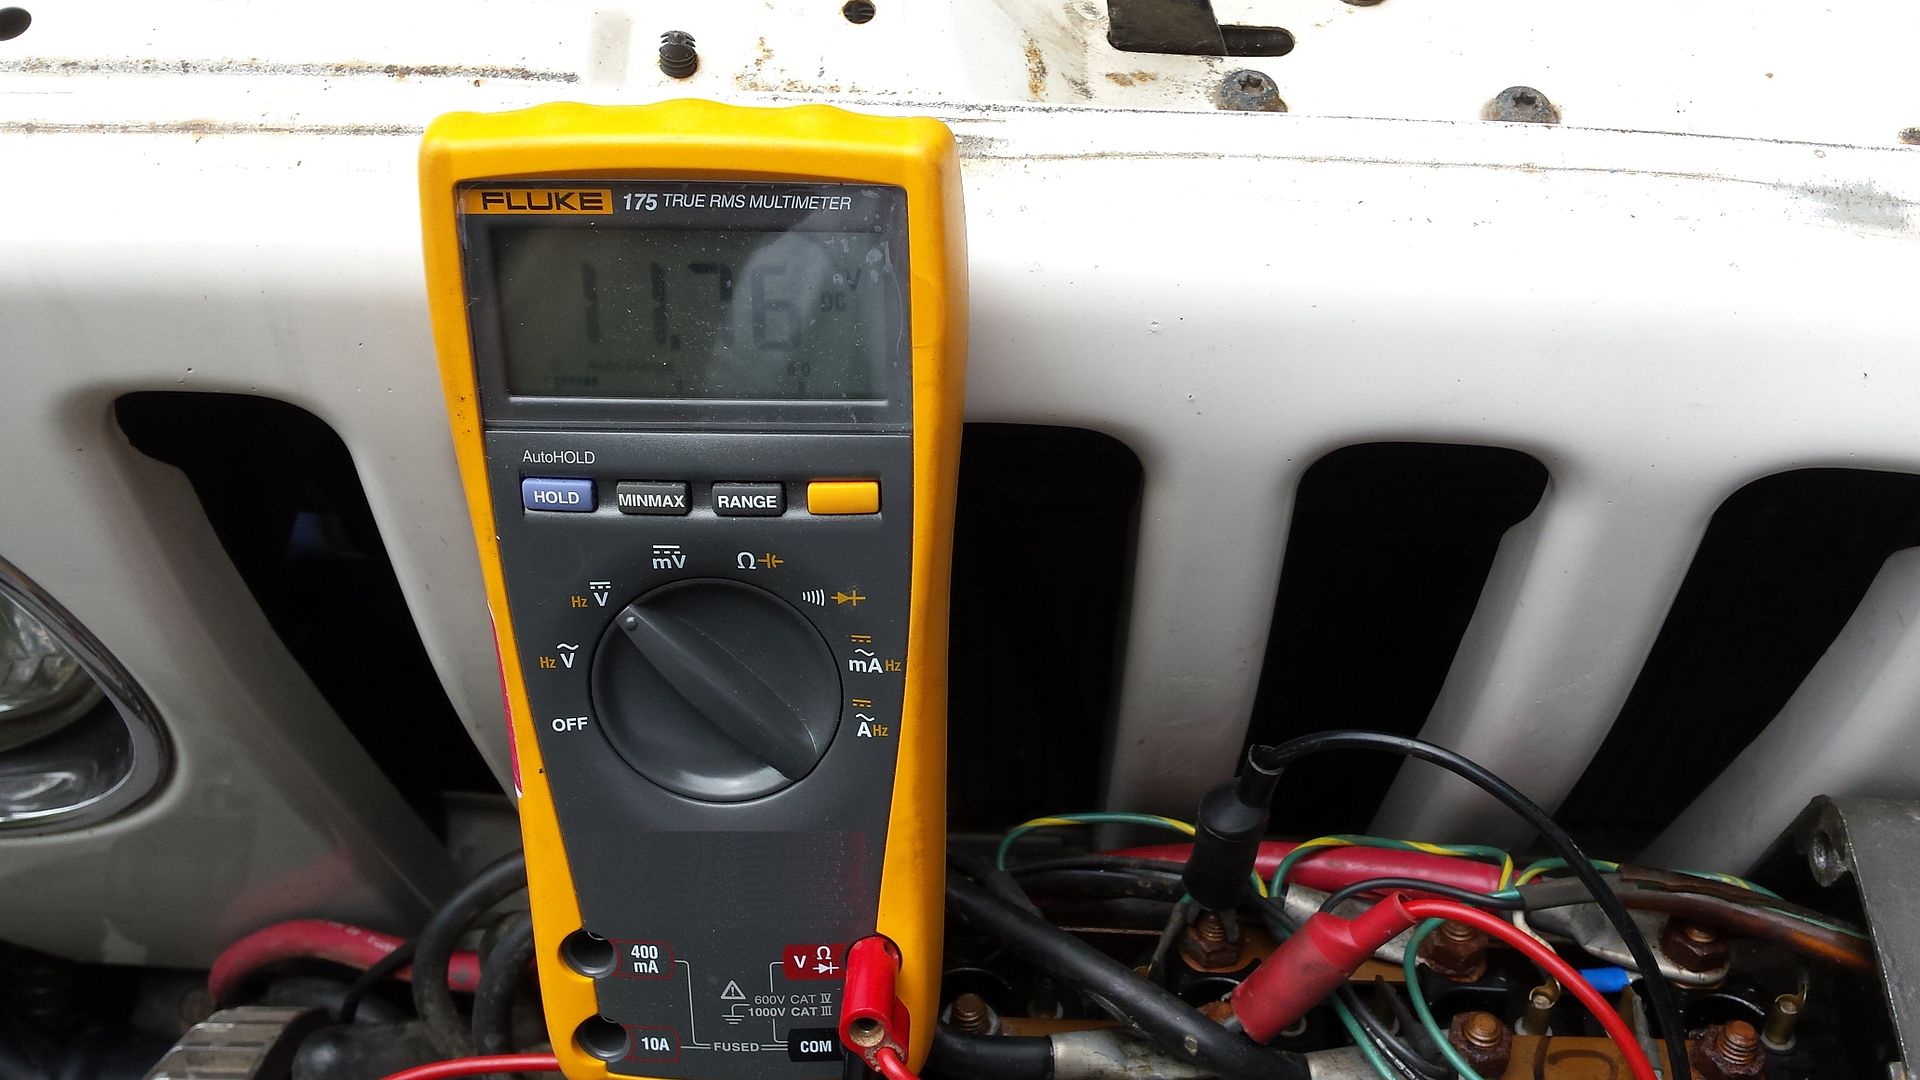
Bingo - found the bad solenoid
Now you have a few of choices. Either buy a new winch (major $), a new solenoid (smaller $) or you can repair the solenoid ($0).
For me I chose the $0 solution.
Now... I'll show you how to repair a typical solenoid.
4) Remove NEGATIVE leads from the battery for both the vehicle and the winch.
5) Make a diagram of how the solenoids are wired so you can be sure to get all the wires back on the correct terminals.
Something like this...
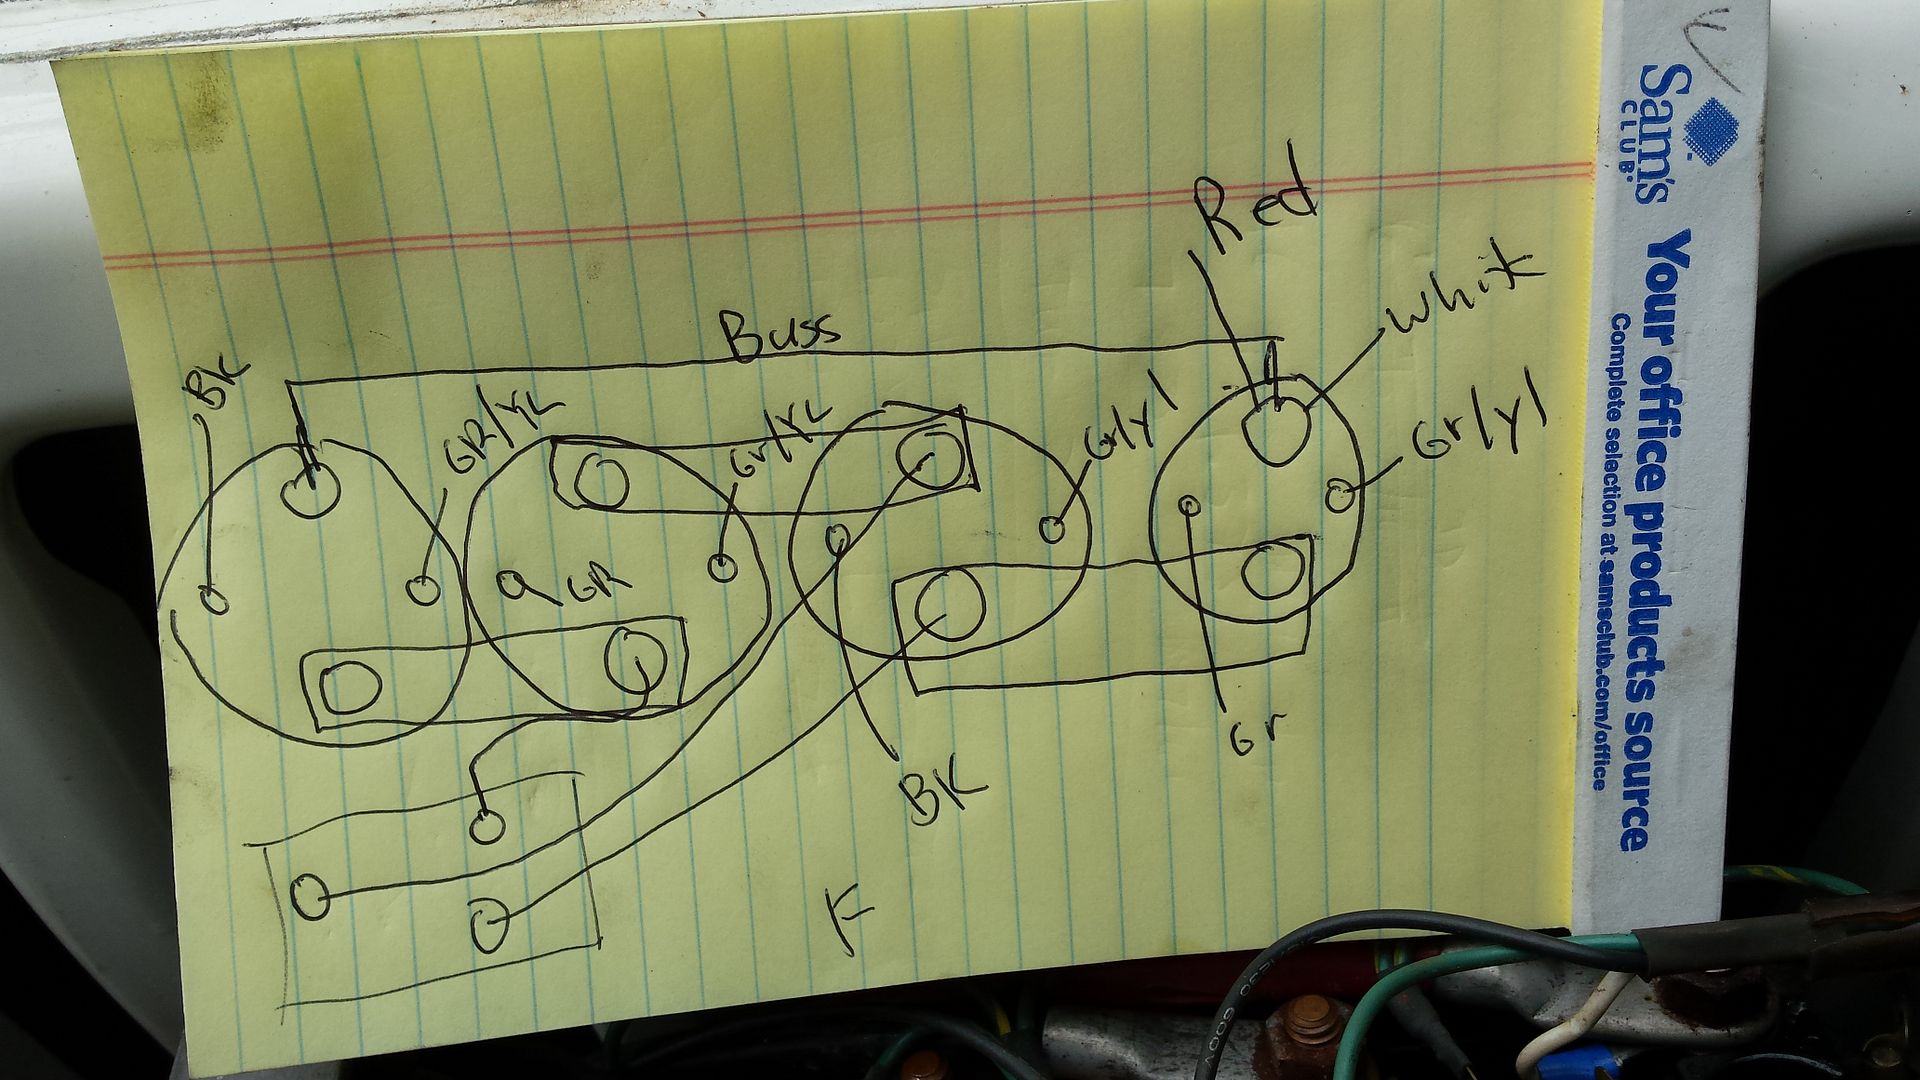
6) Now disconnect the wires you need to to free up the bad solenoid. In my case I chose to disconnect them all.
I had to unbolt the right side of the winch to slide the solenoids out.
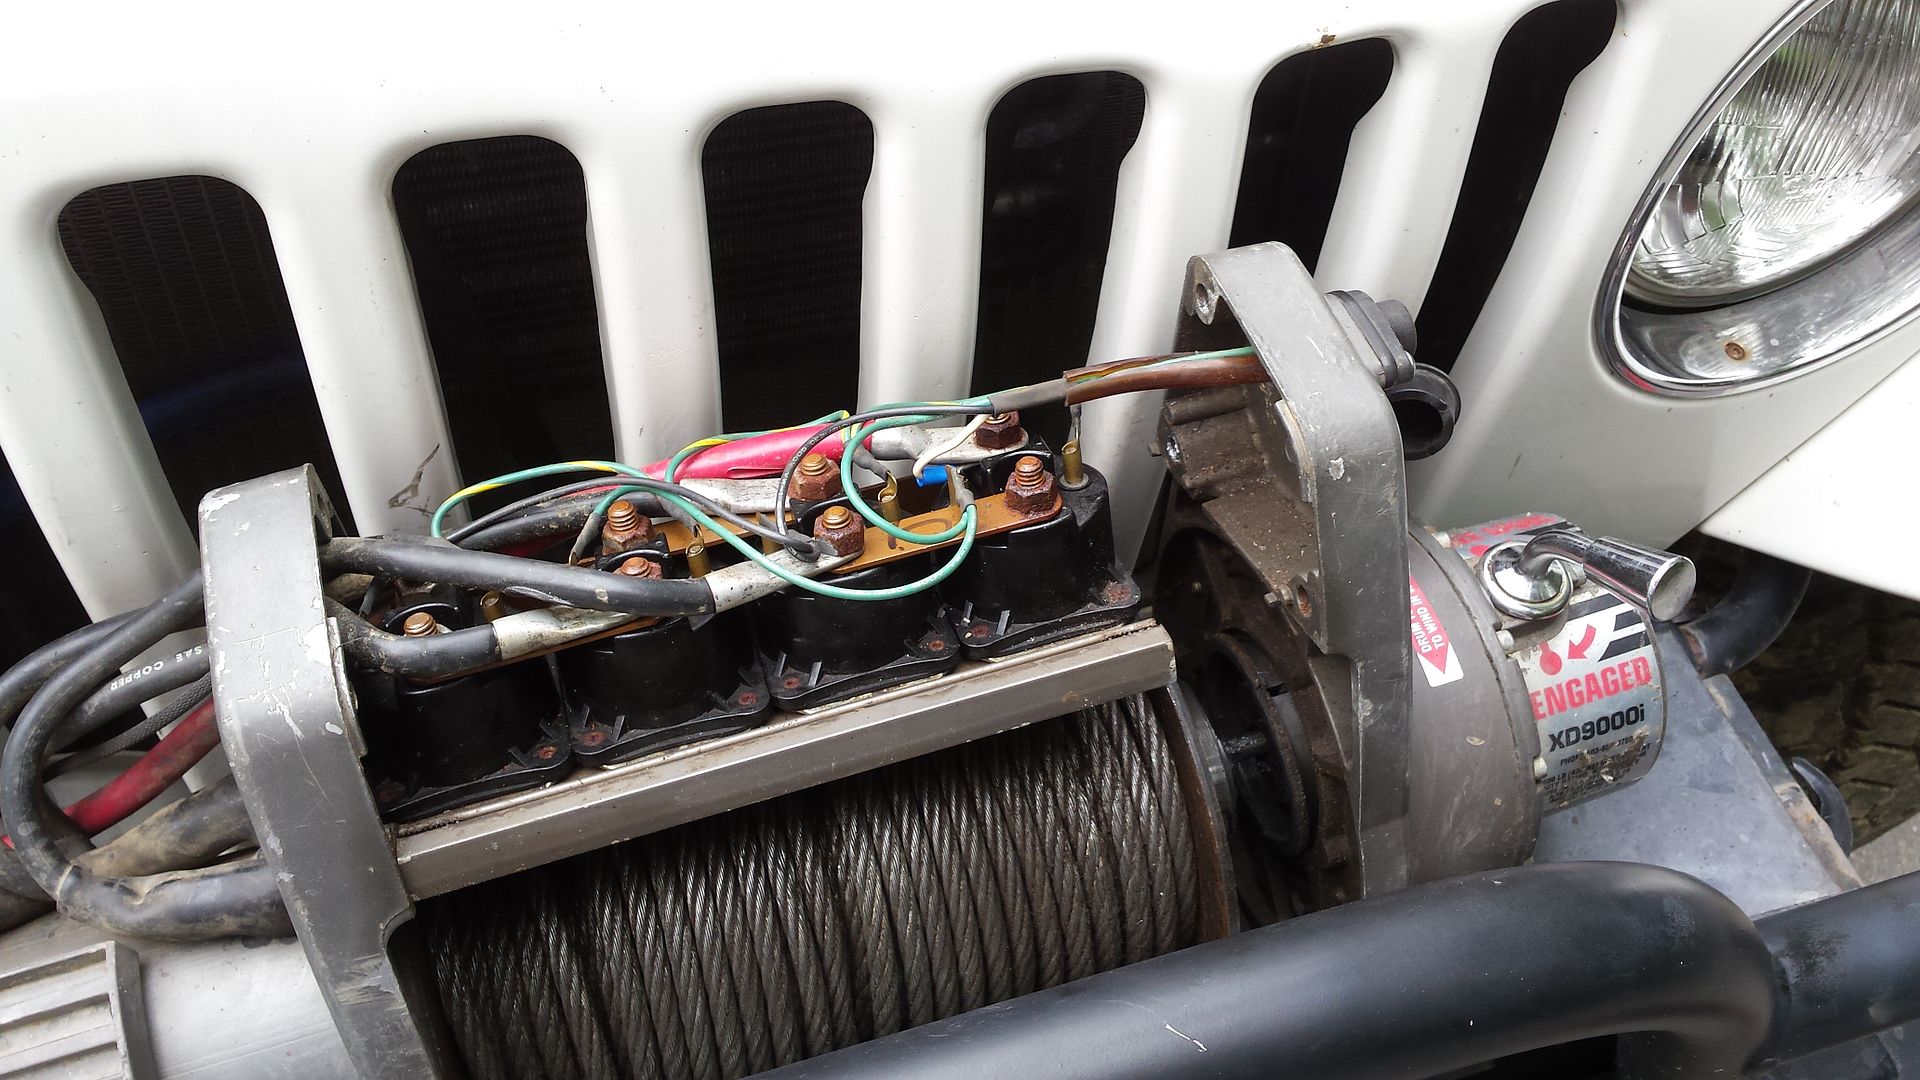
Once the wires are removed there will be some copper bus bars that need to be removed too.
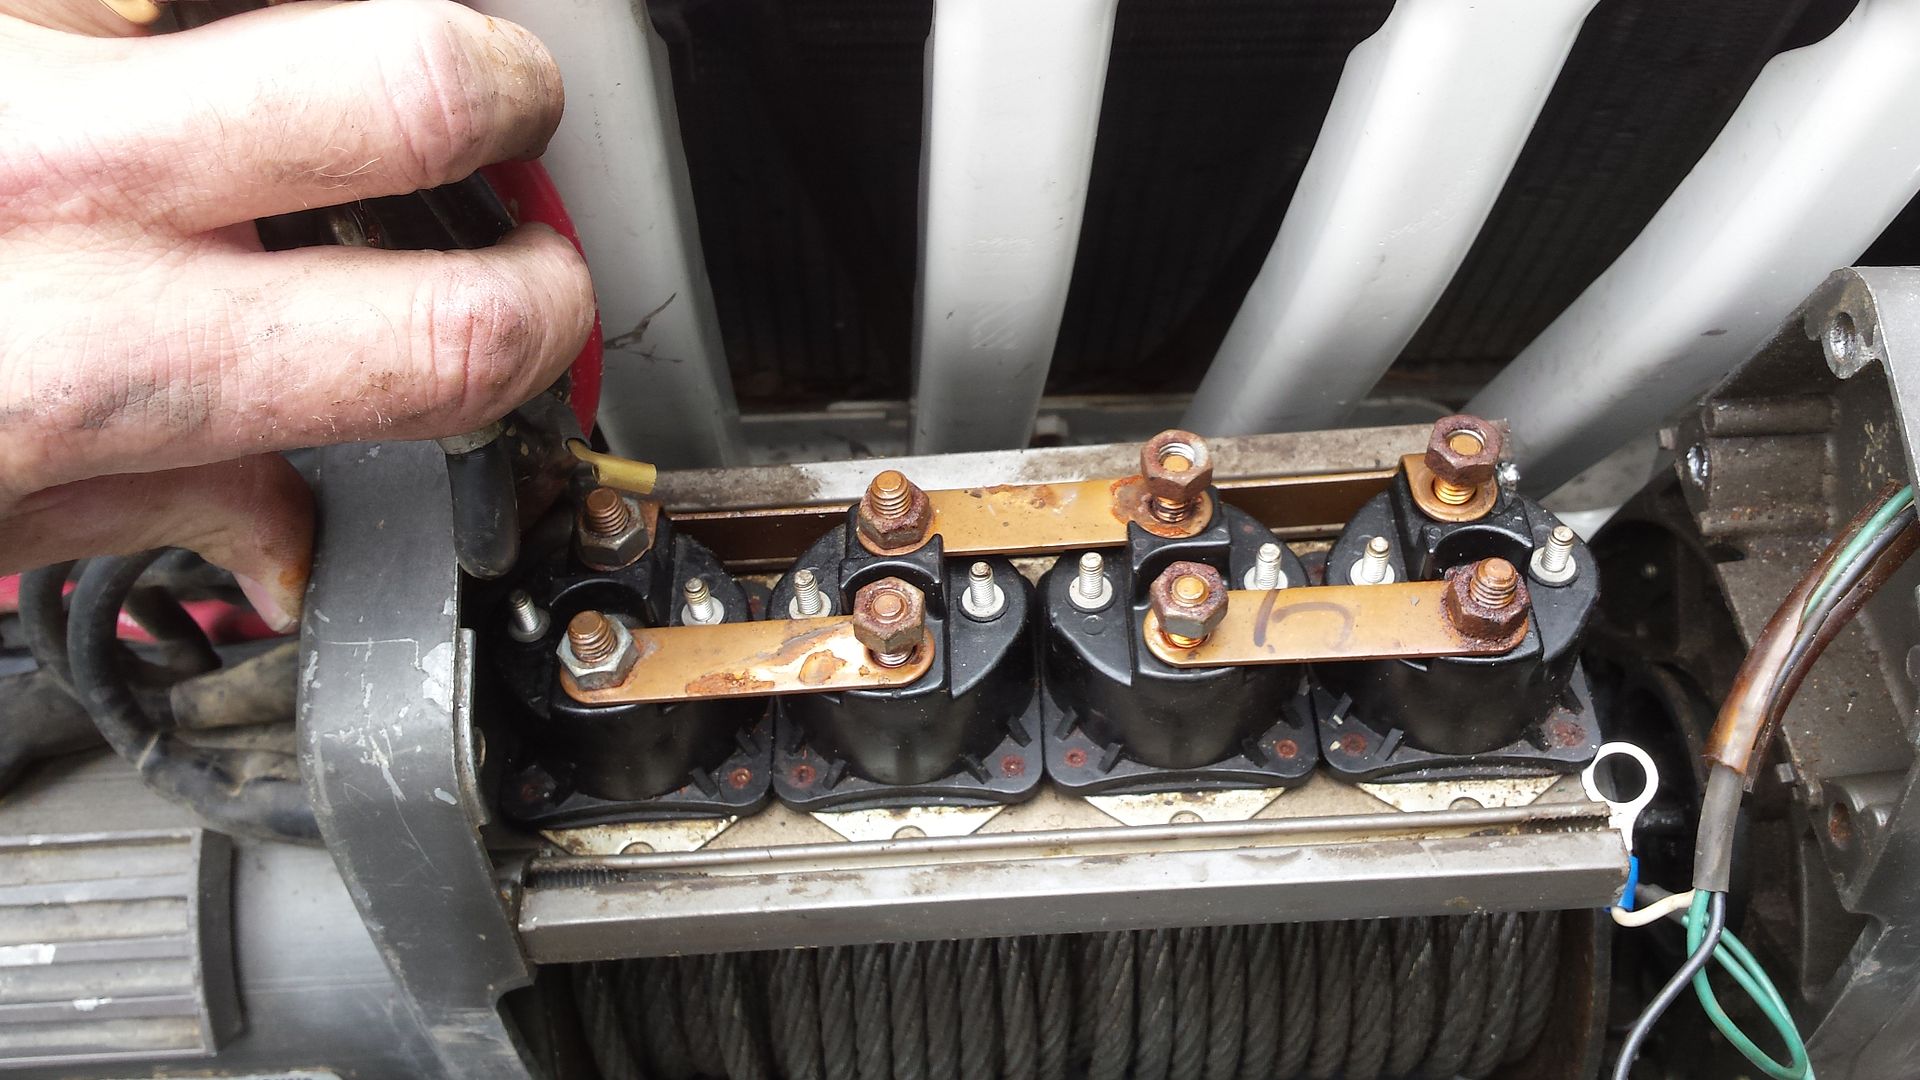
Now remove the defective solenoid.
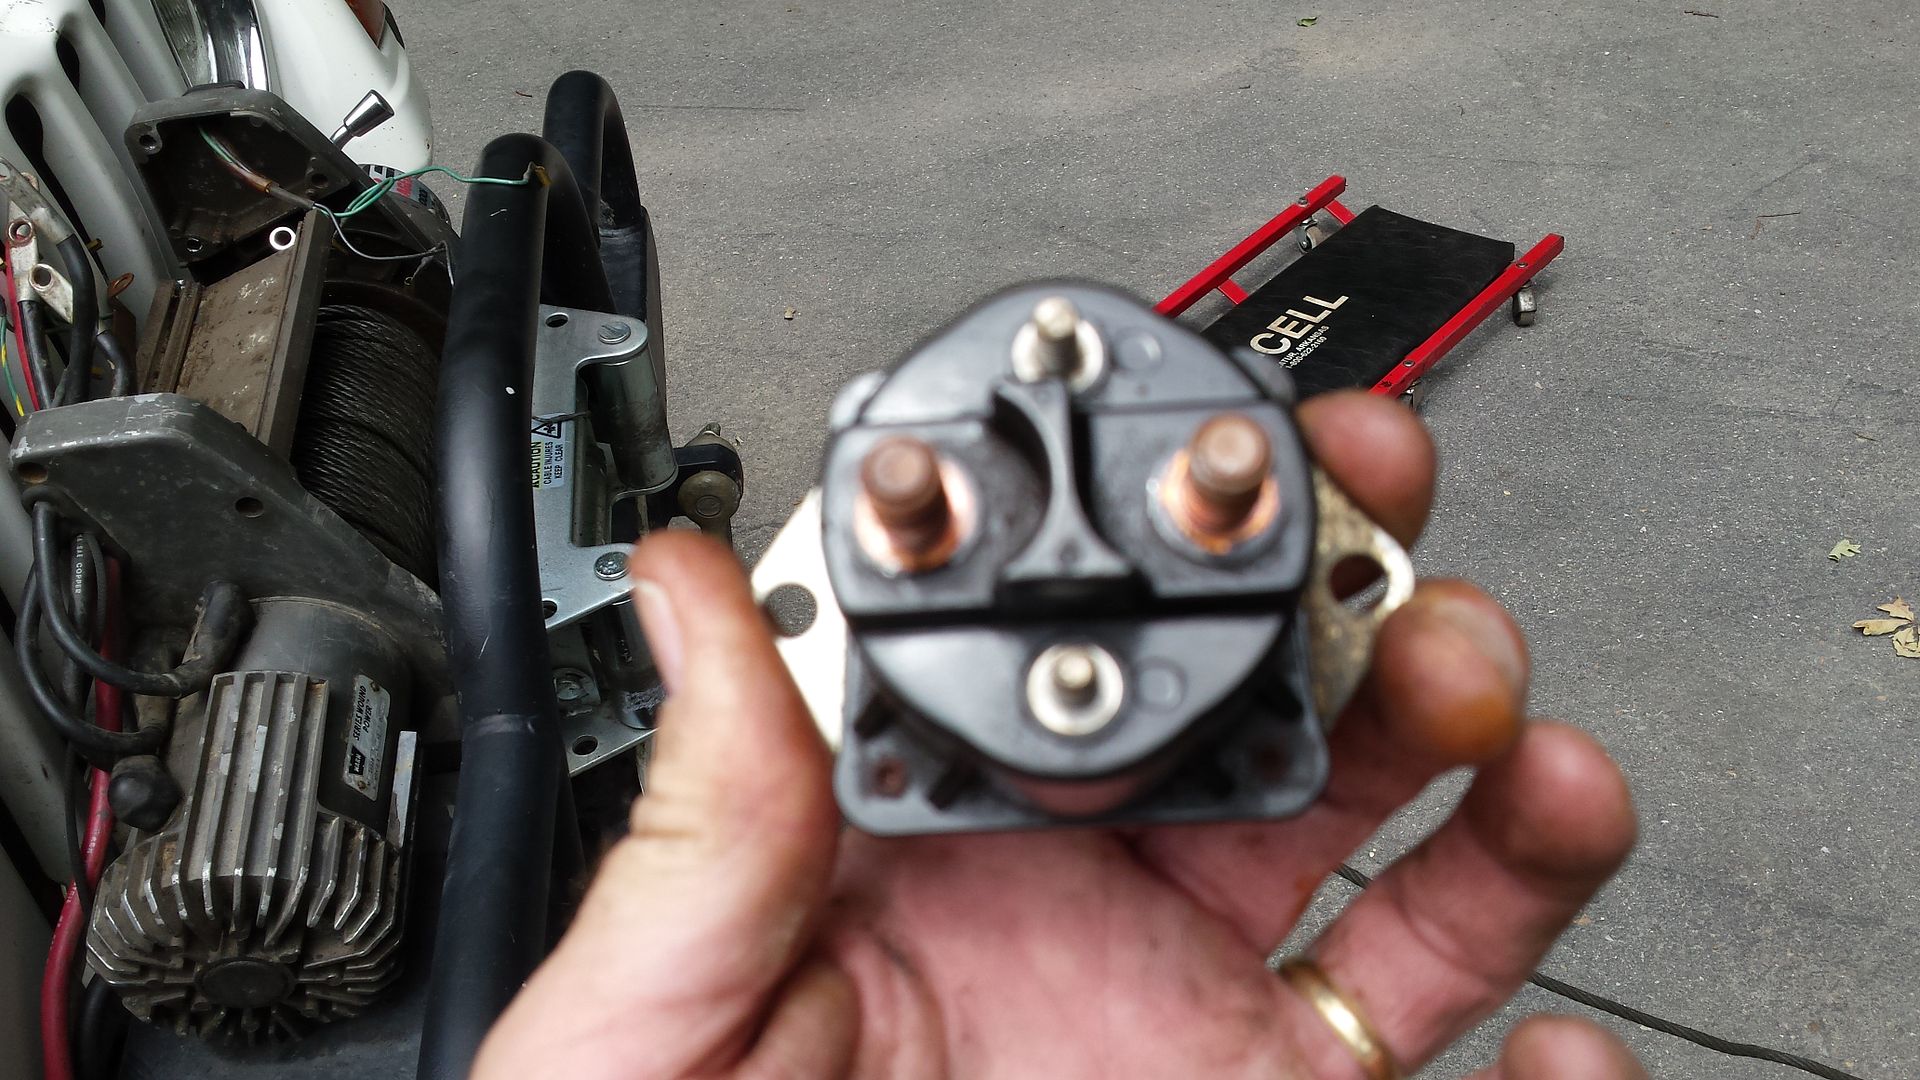
The solenoids usually have a metal cover on the bottom of them.
On some solenoids the covers may be held on with metal tabs that can be bent to remove the cover.
On mine they were riveted on.
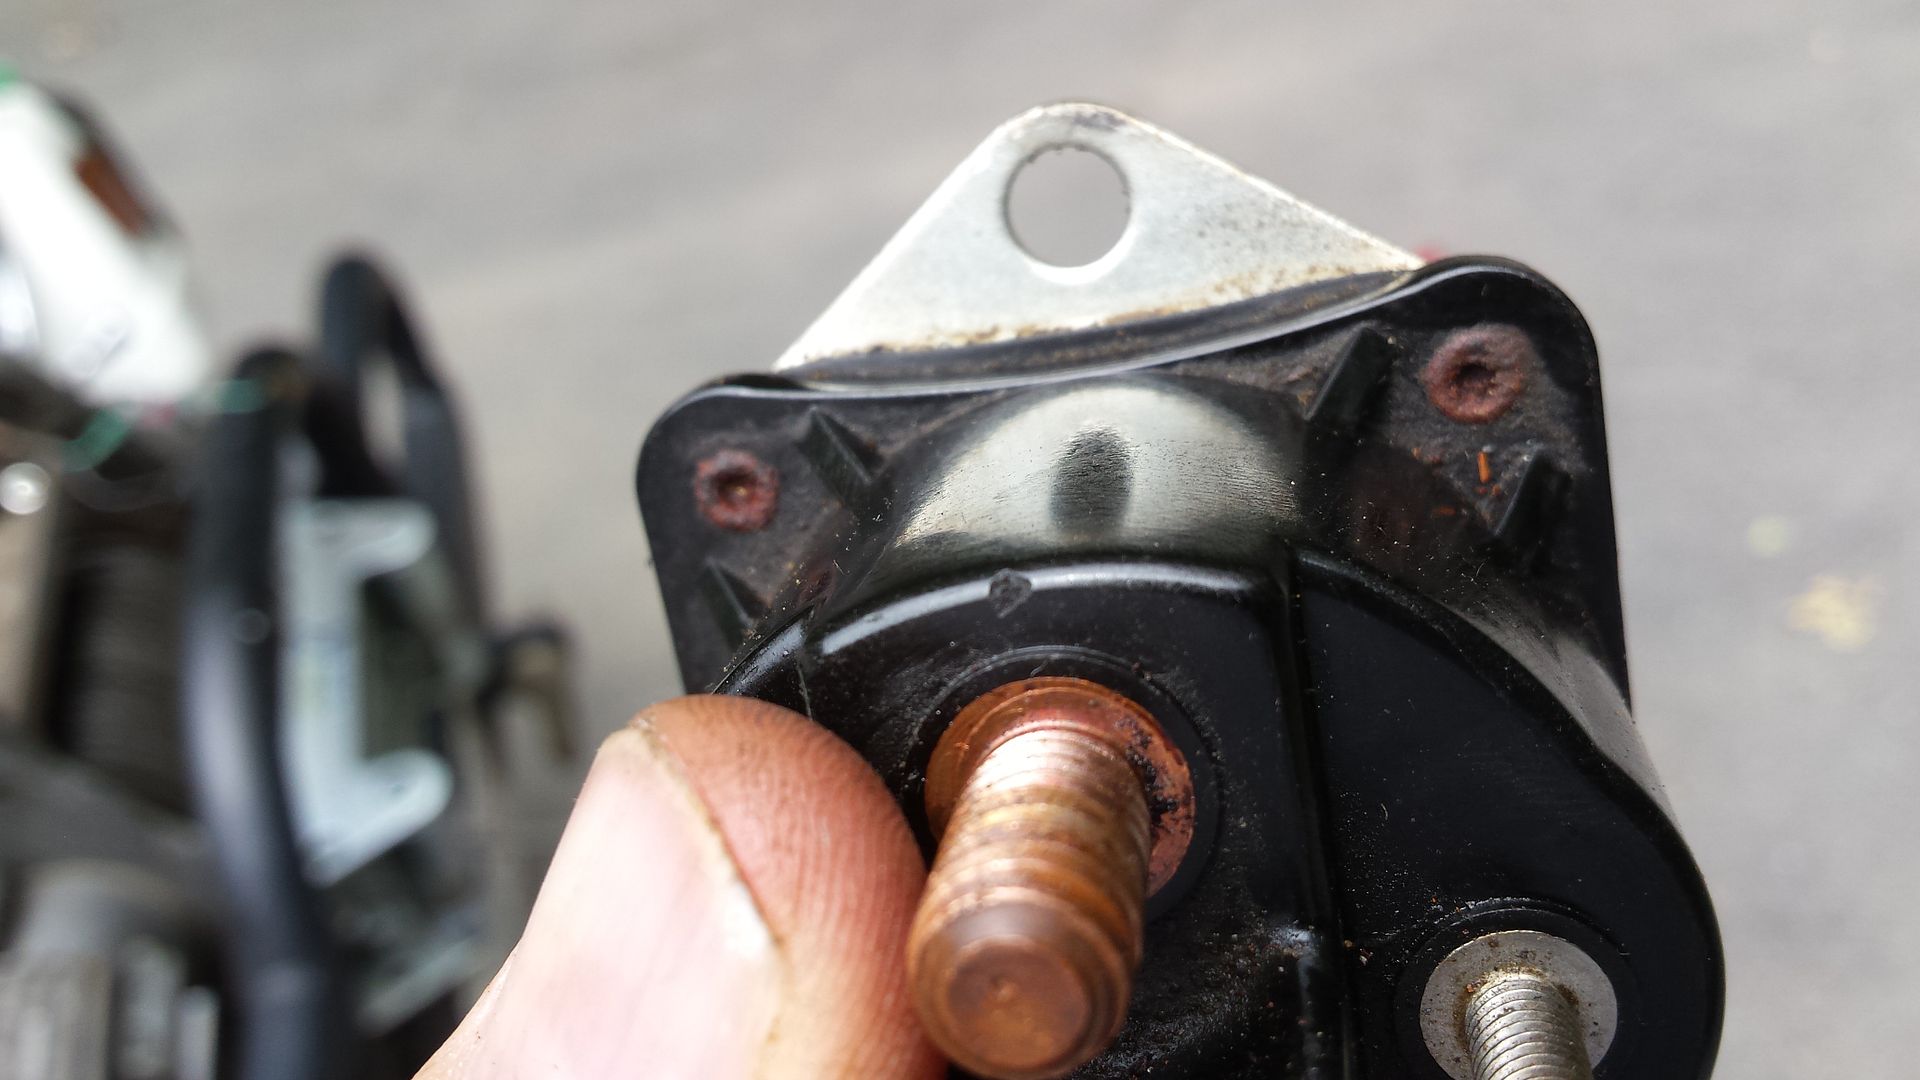
One mine I needed to drill out the 4 rivets on the drill press.
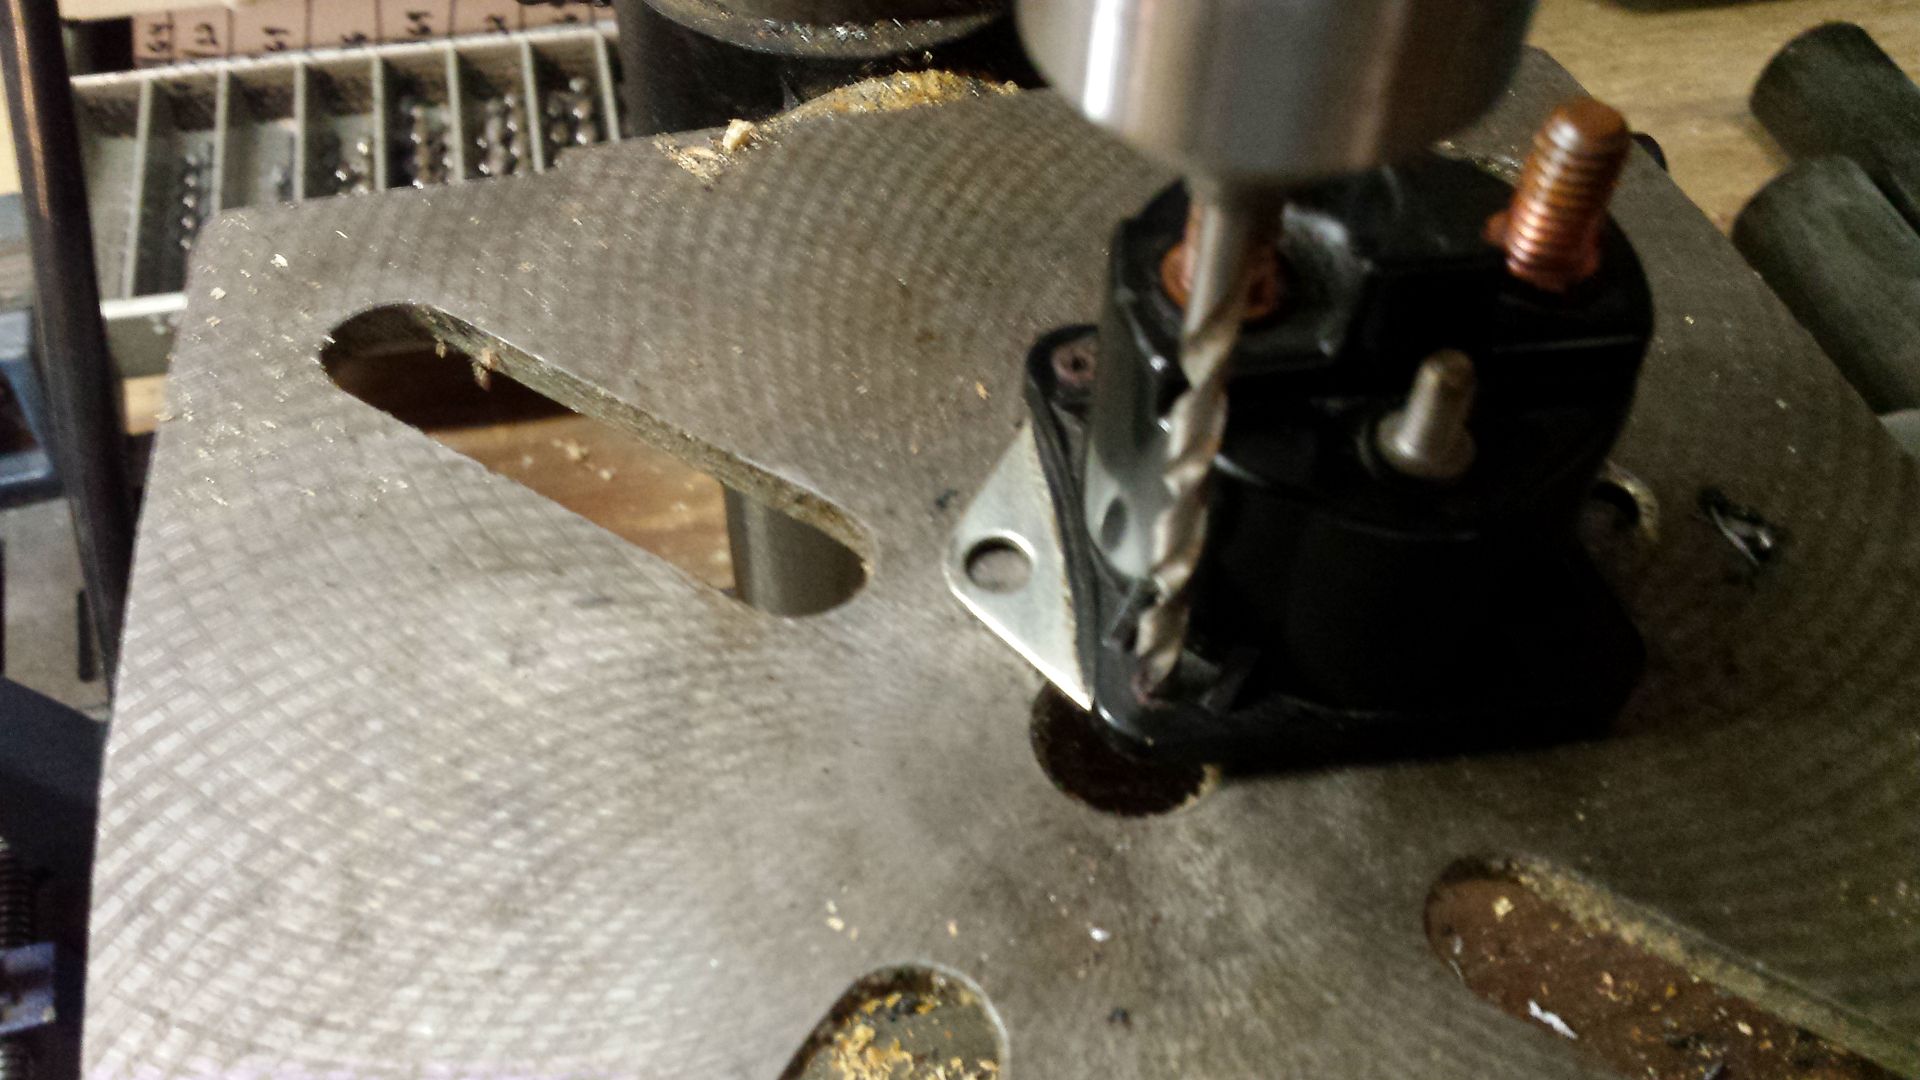
Once drilled out the cover can be removed revealing the guts of the solenoid.
All solenoids will have an electromagnetic coil in them with wires from the SMALL terminals to the coil.
On mine they were soldered so I had to unsolder them.
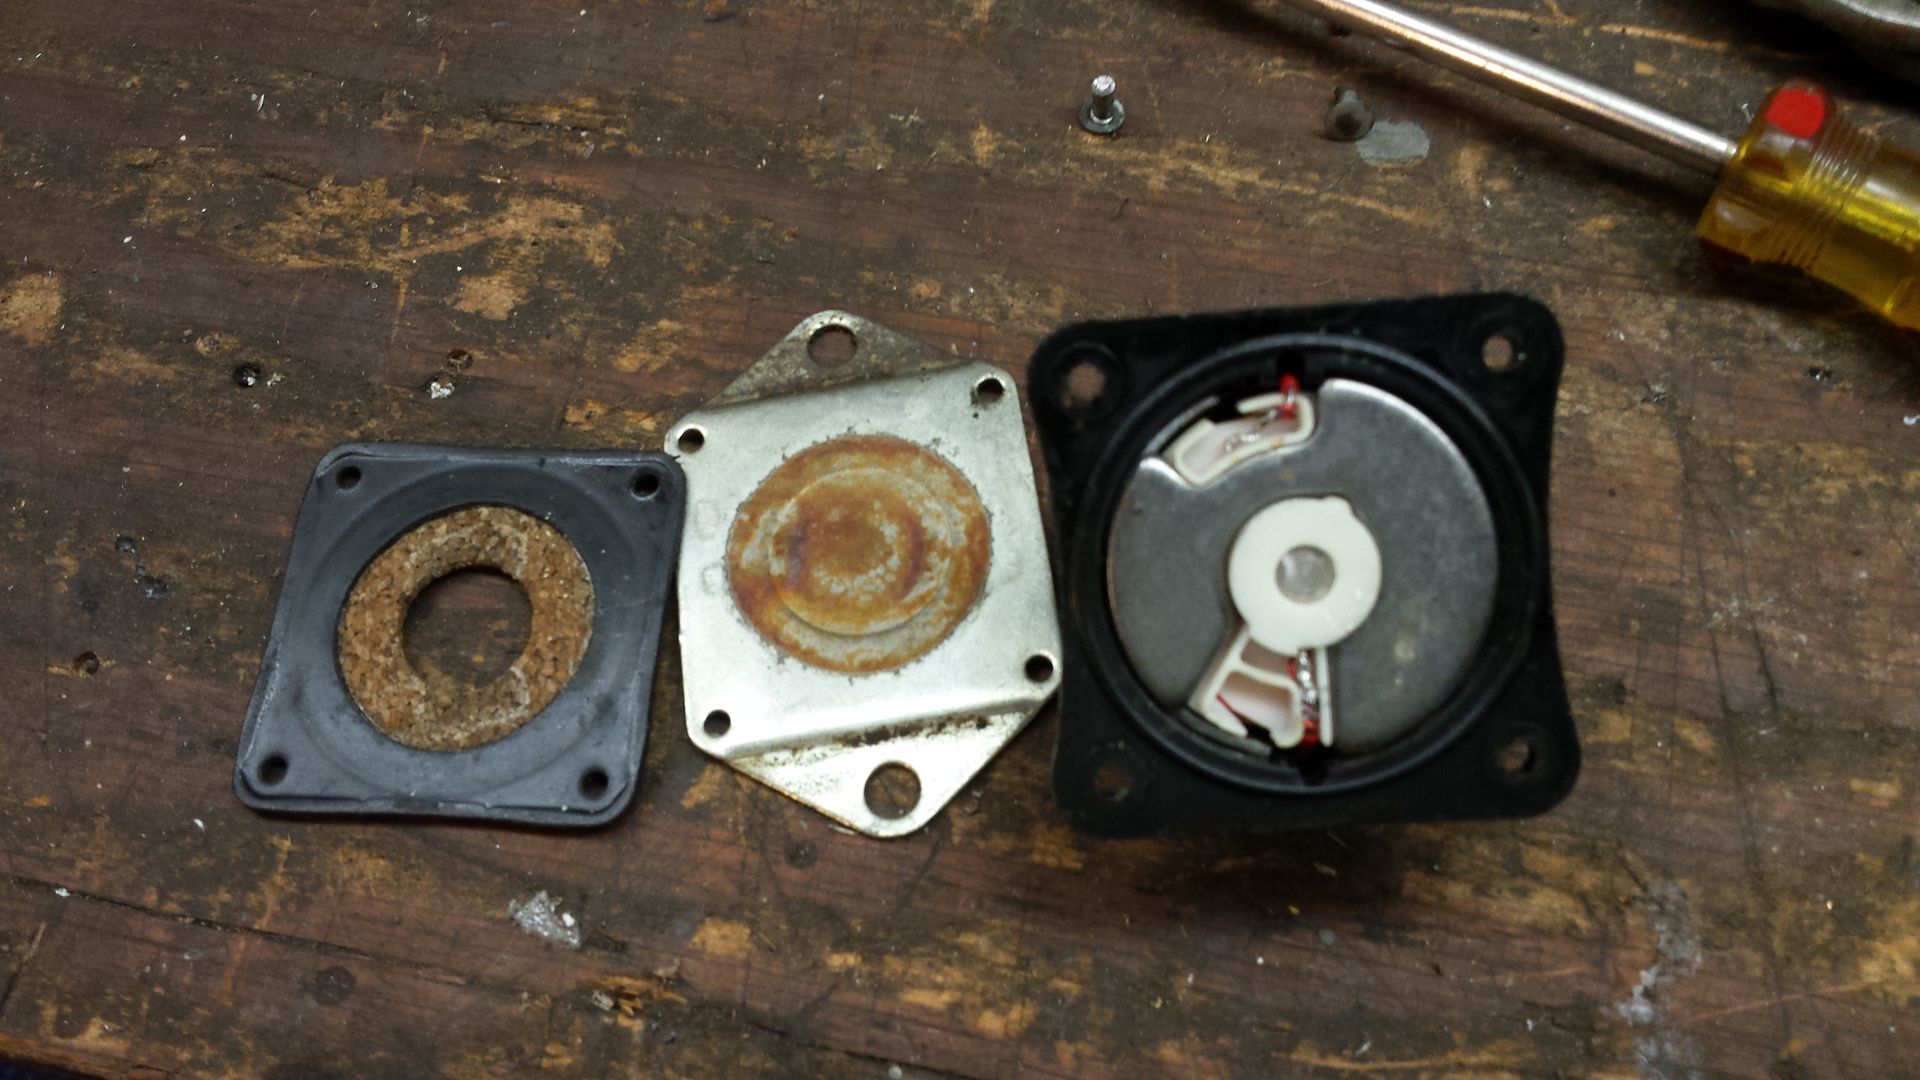
Once unsoldered the coil could be slid out of the solenoid cavity.
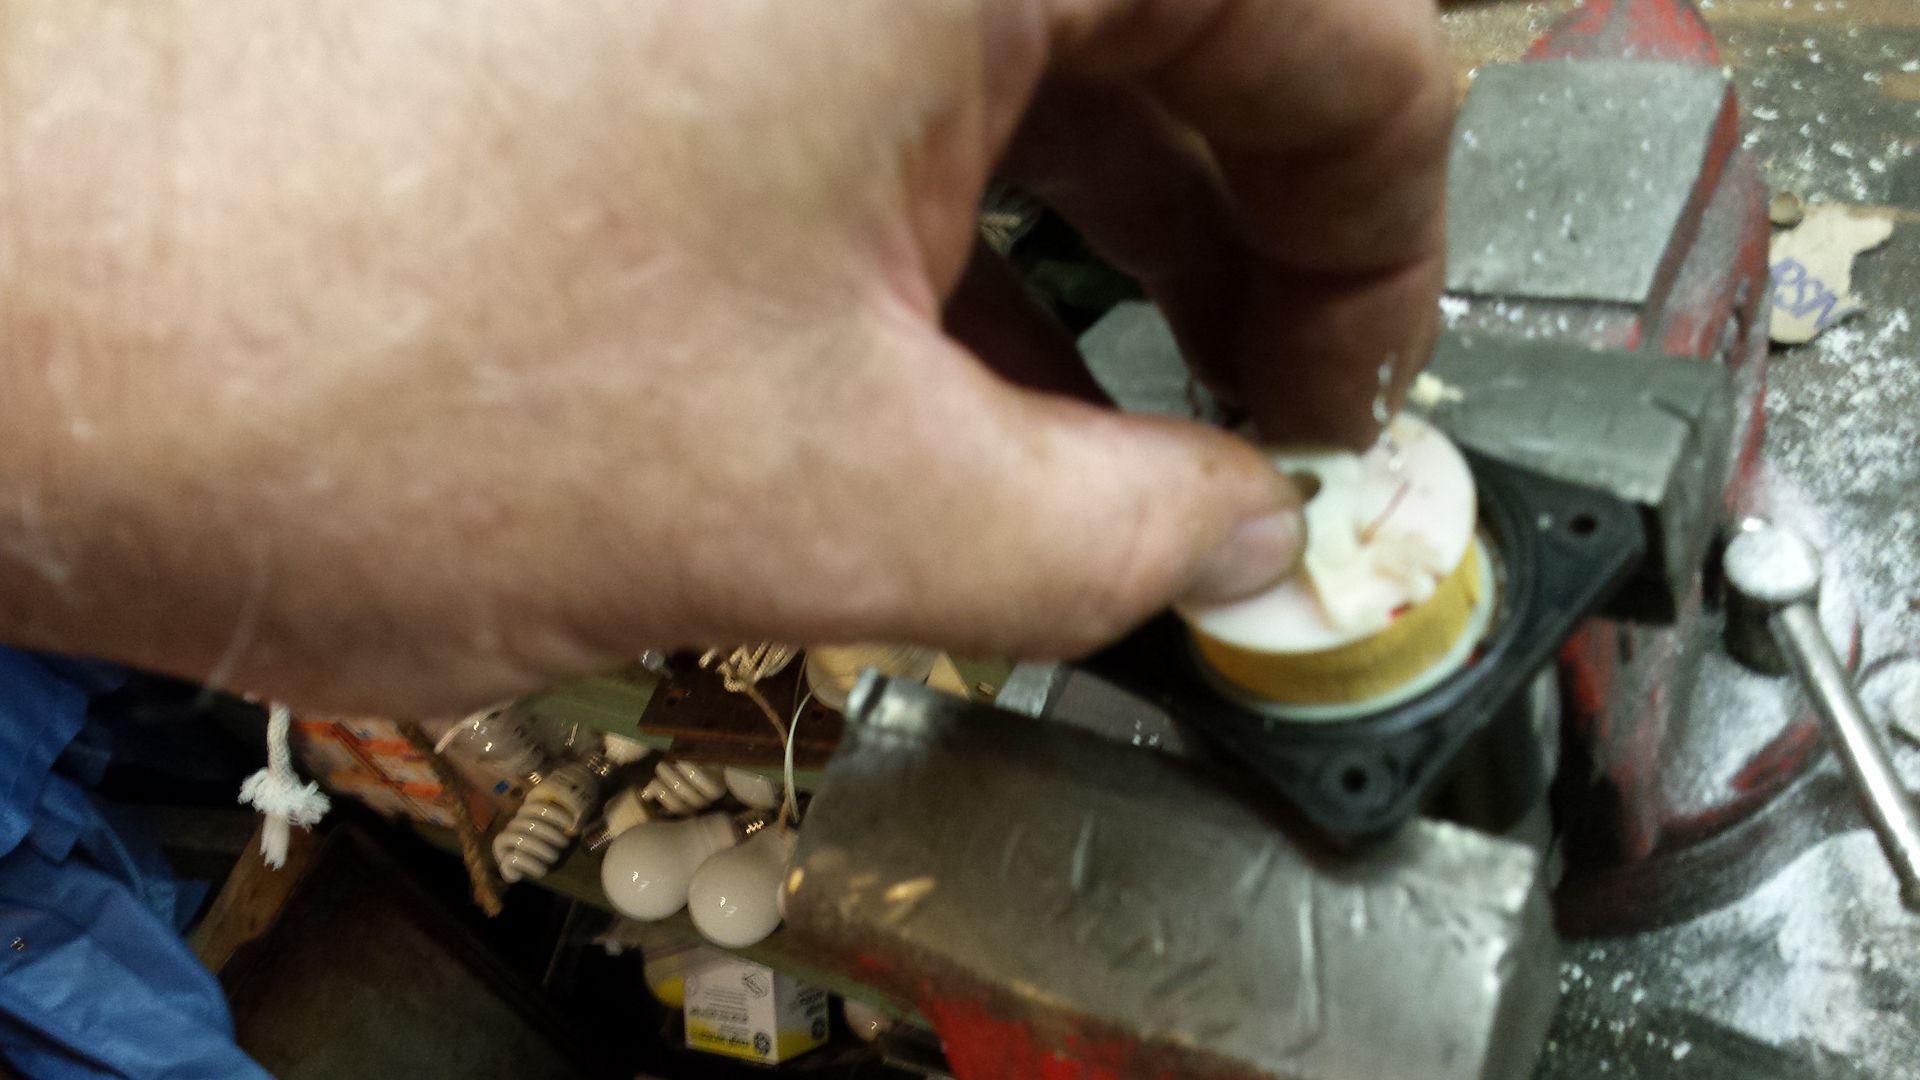
Once all the guts are out you will see the back side of the two BIG bolts on the solenoid case.
They are the two dark round things on the left and right down in the cavity.
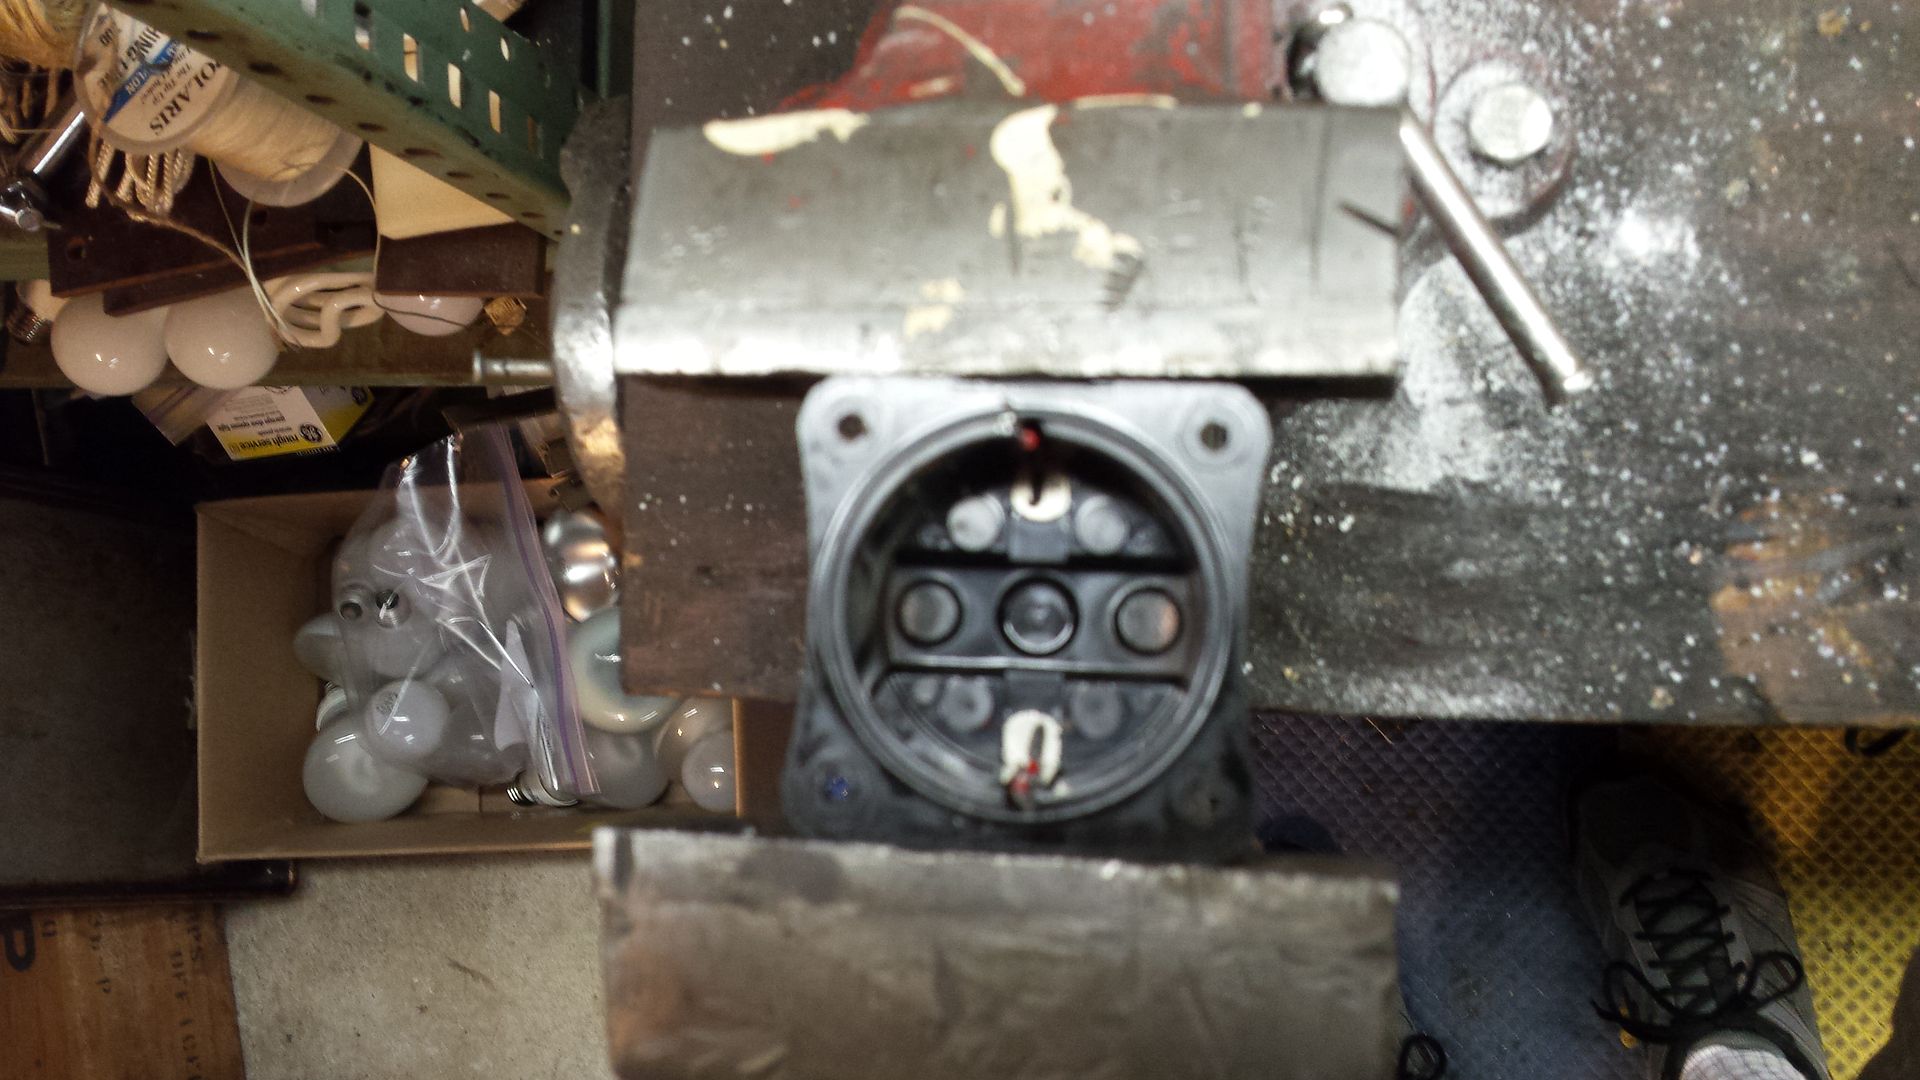
Found that mine were black from corrosion, heat, and arcing. All of that was causing the contacts to not connect properly. Not good!
There will be a part that the electromagnet forces to contact the back of the two BIG bolts.
Here was the part in mine. It too showed signs of arcing and burning from abuse.
(The areas on the right and left ends of the horizontal strip.)
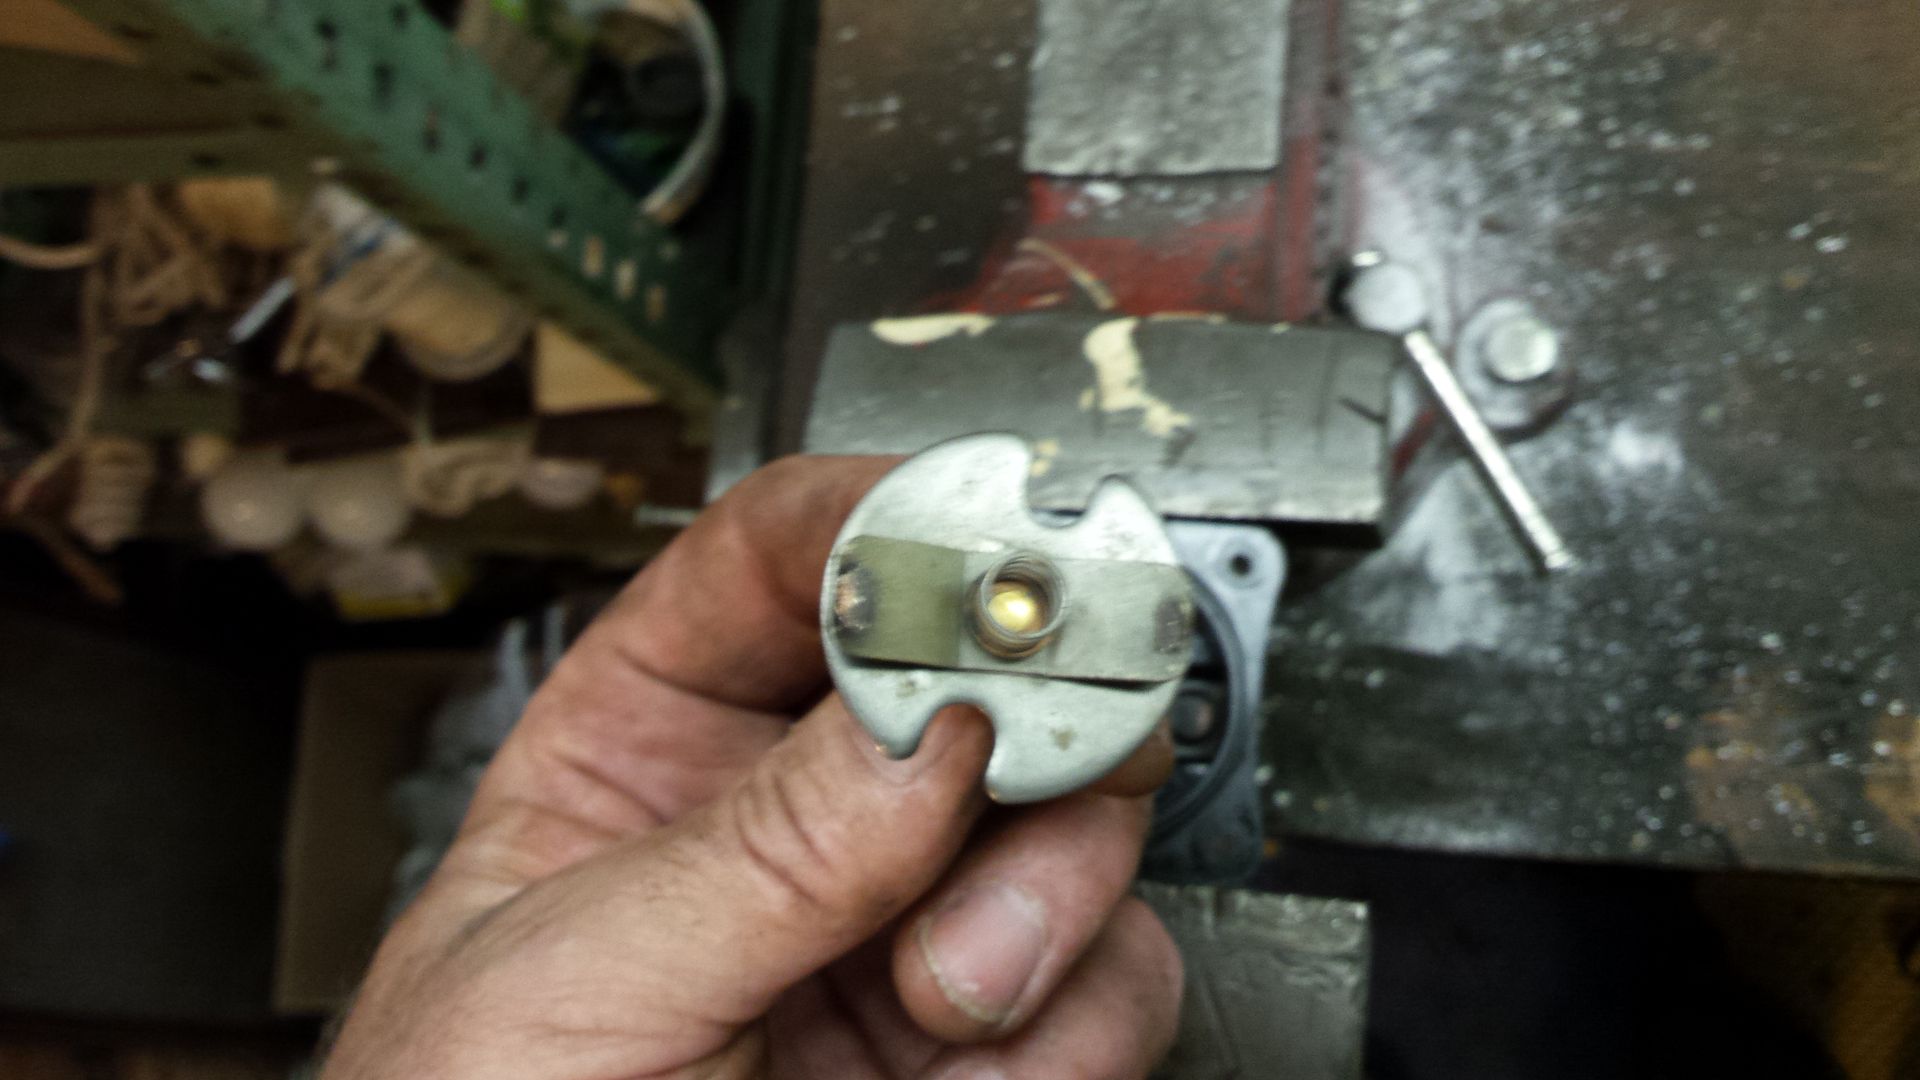
Next task was to clean the contacts up with a dremel with a wire cup brush.
Nice and shiney now.
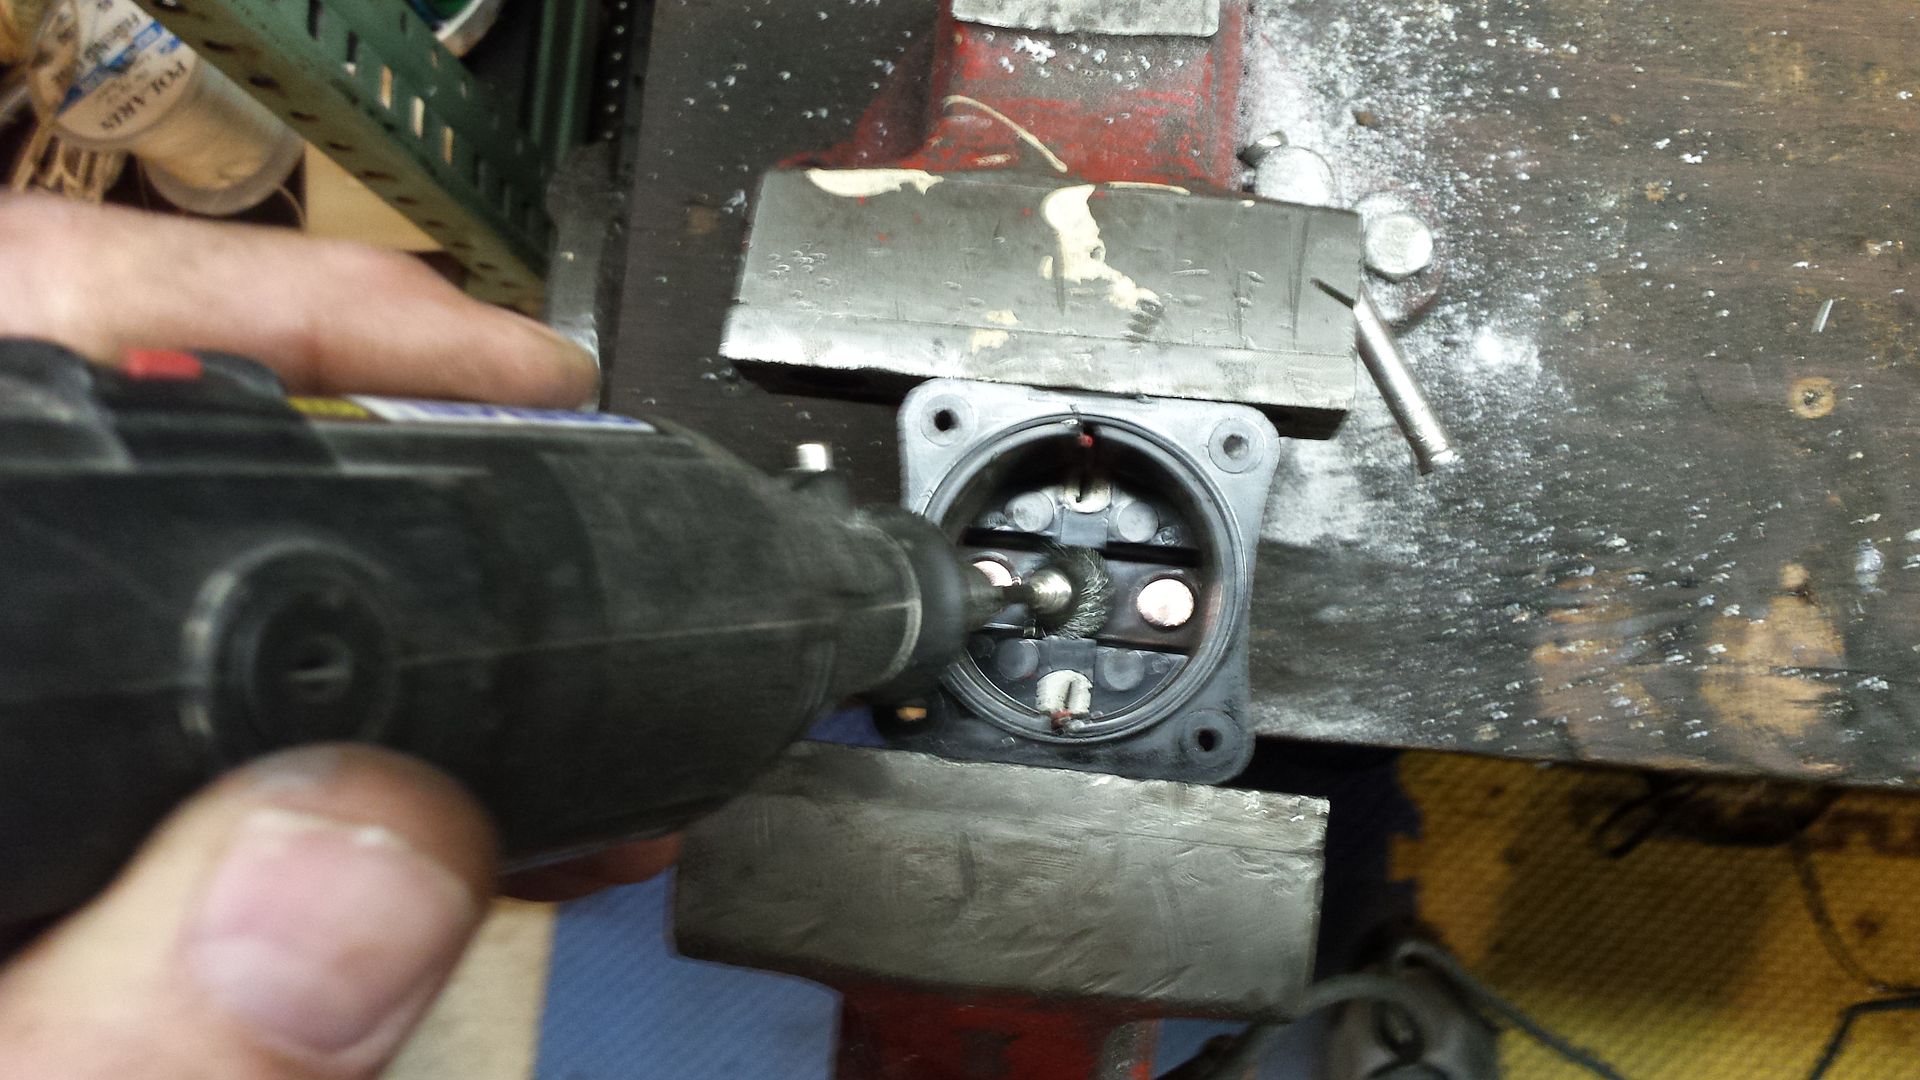
Also cleaned up the other two contacts with the dremel wire brush.
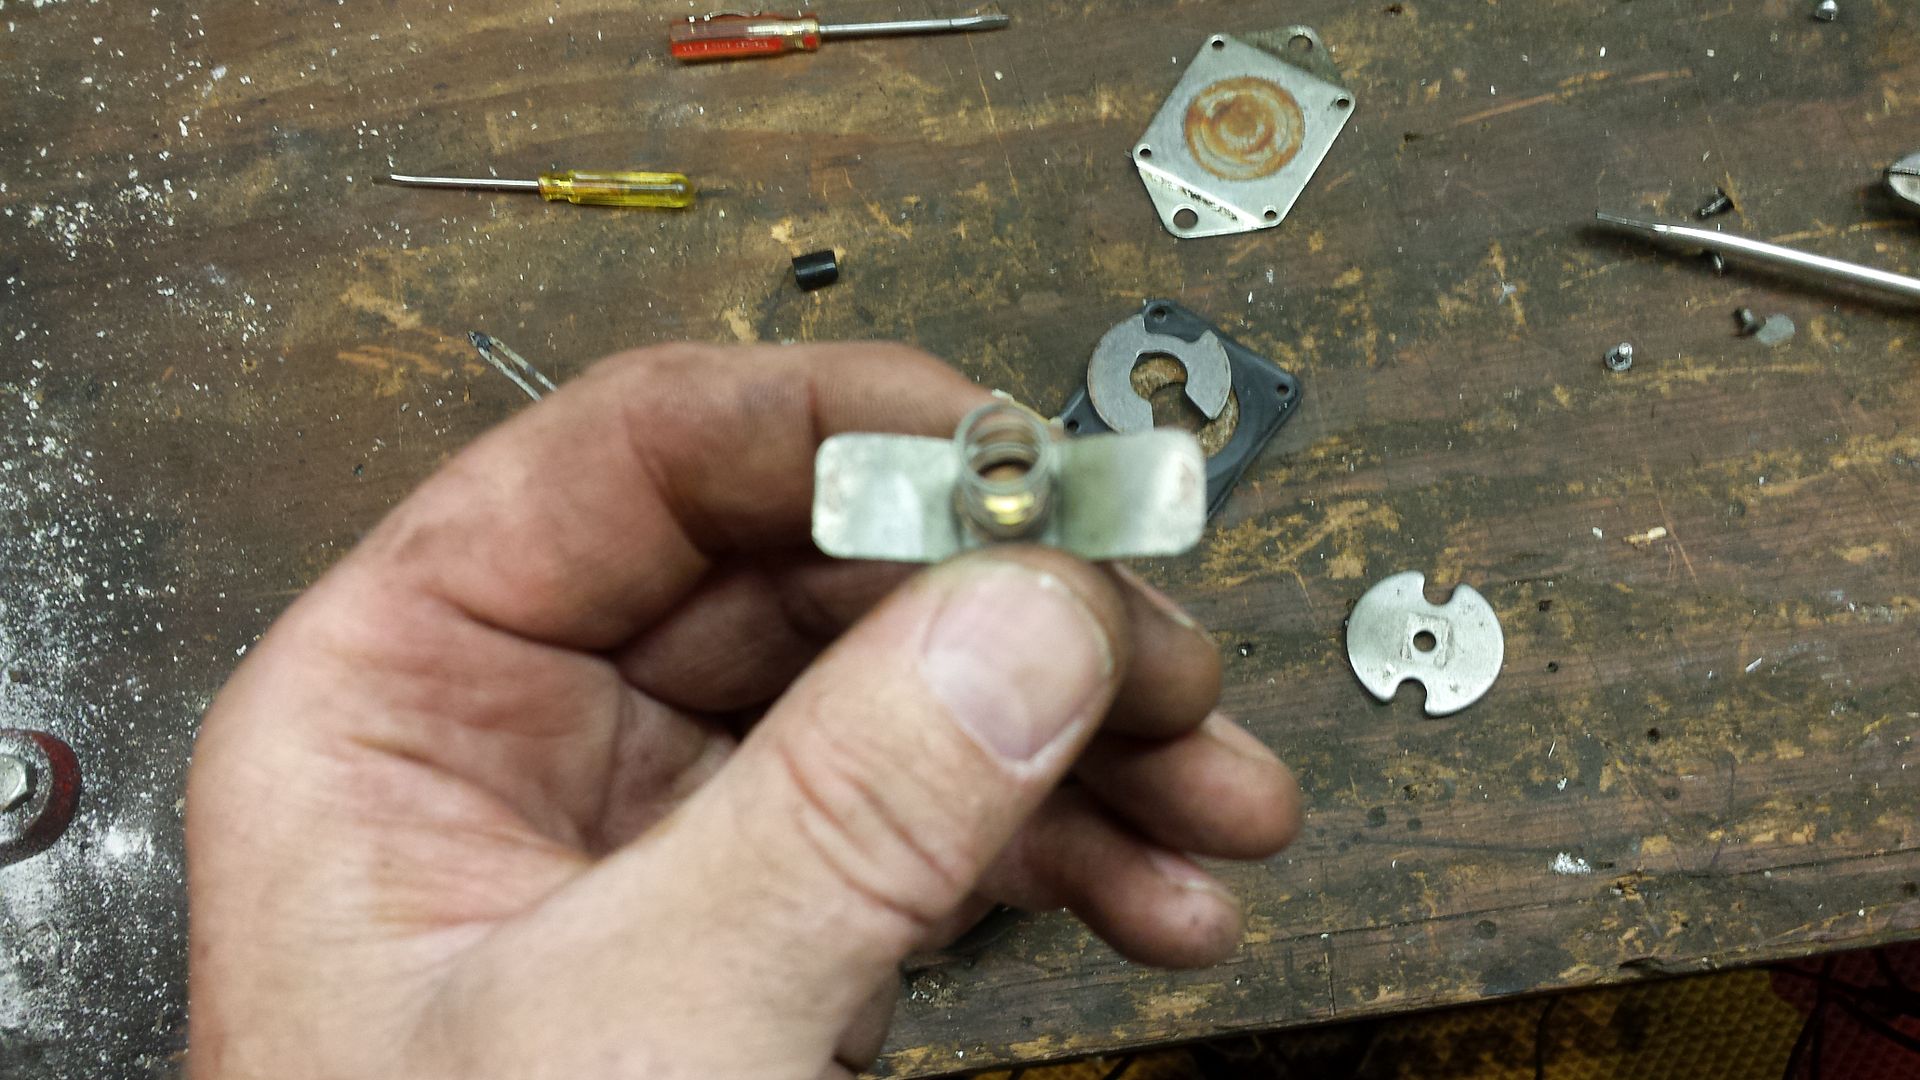
Once cleaned up re-assemble in the reverse order and re-solder the coil wires. Make sure they can't come into any metal once they are tucked back in place.
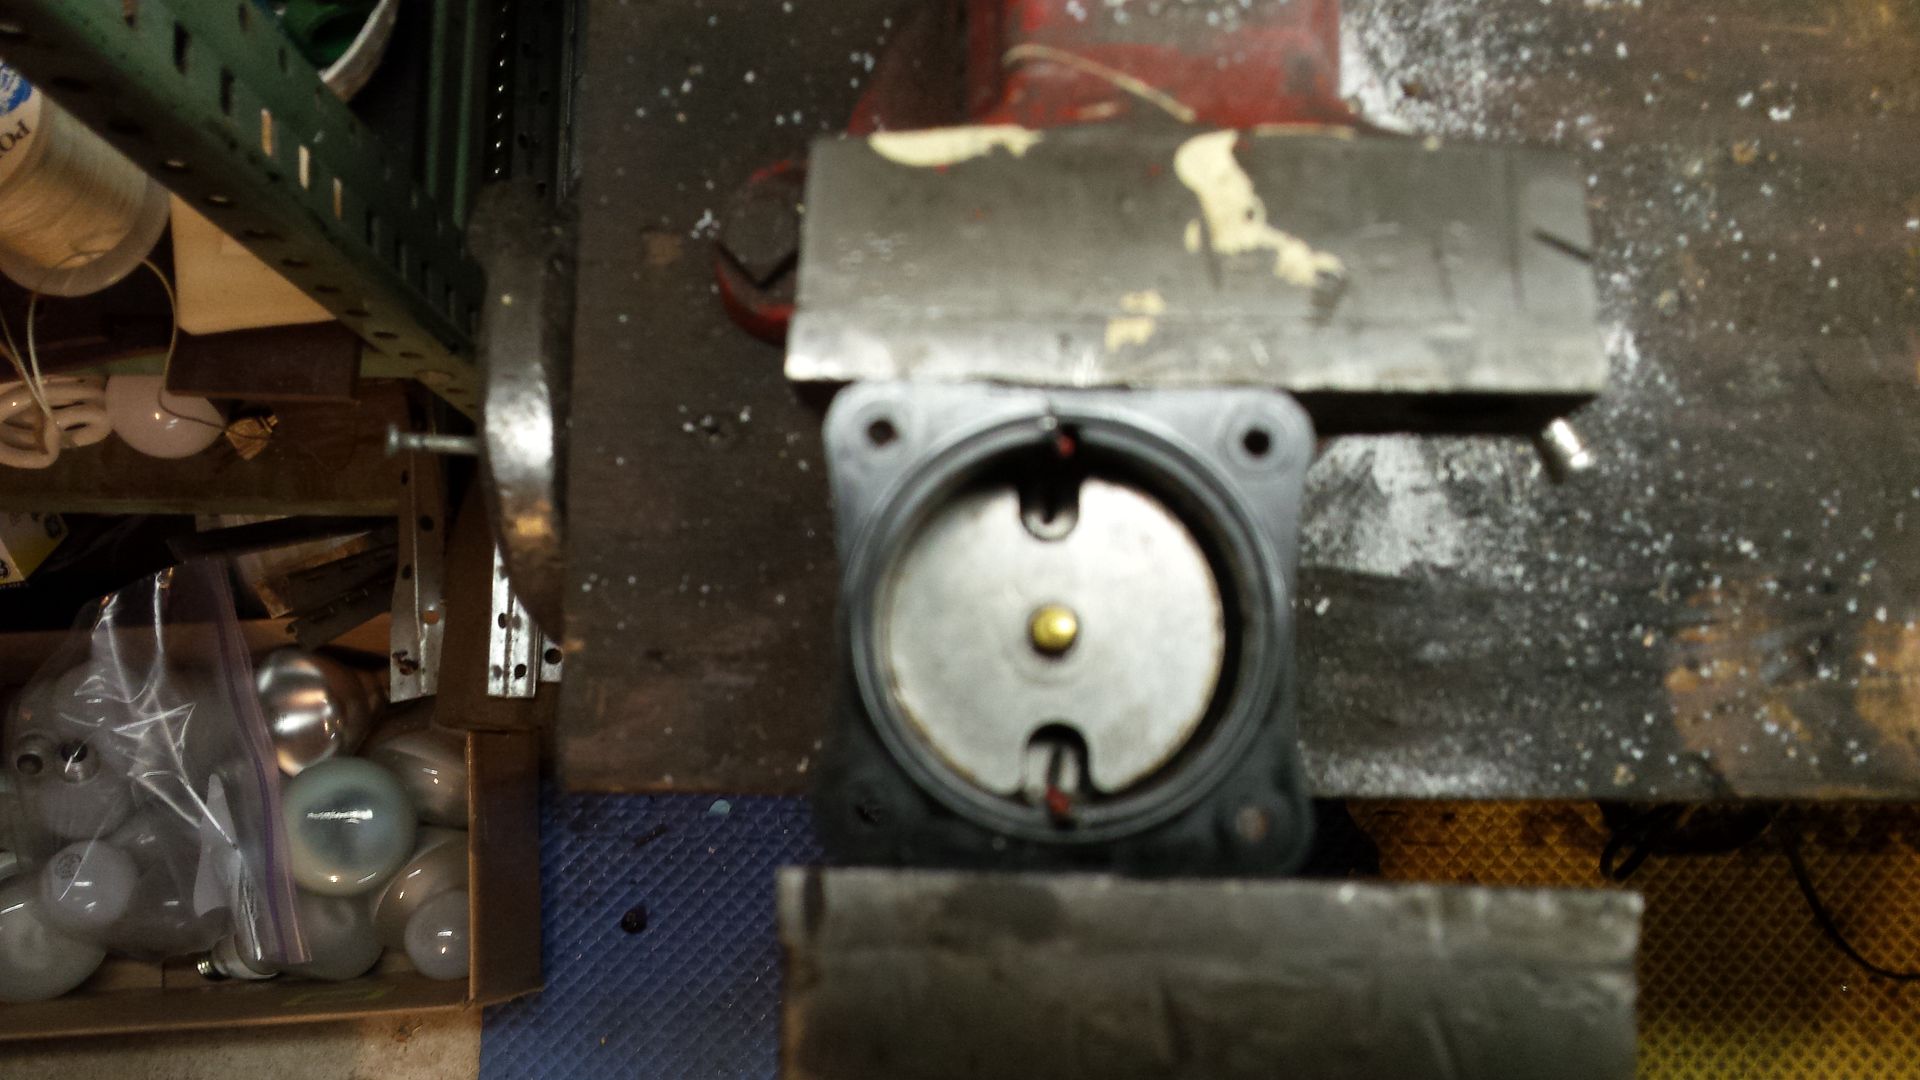
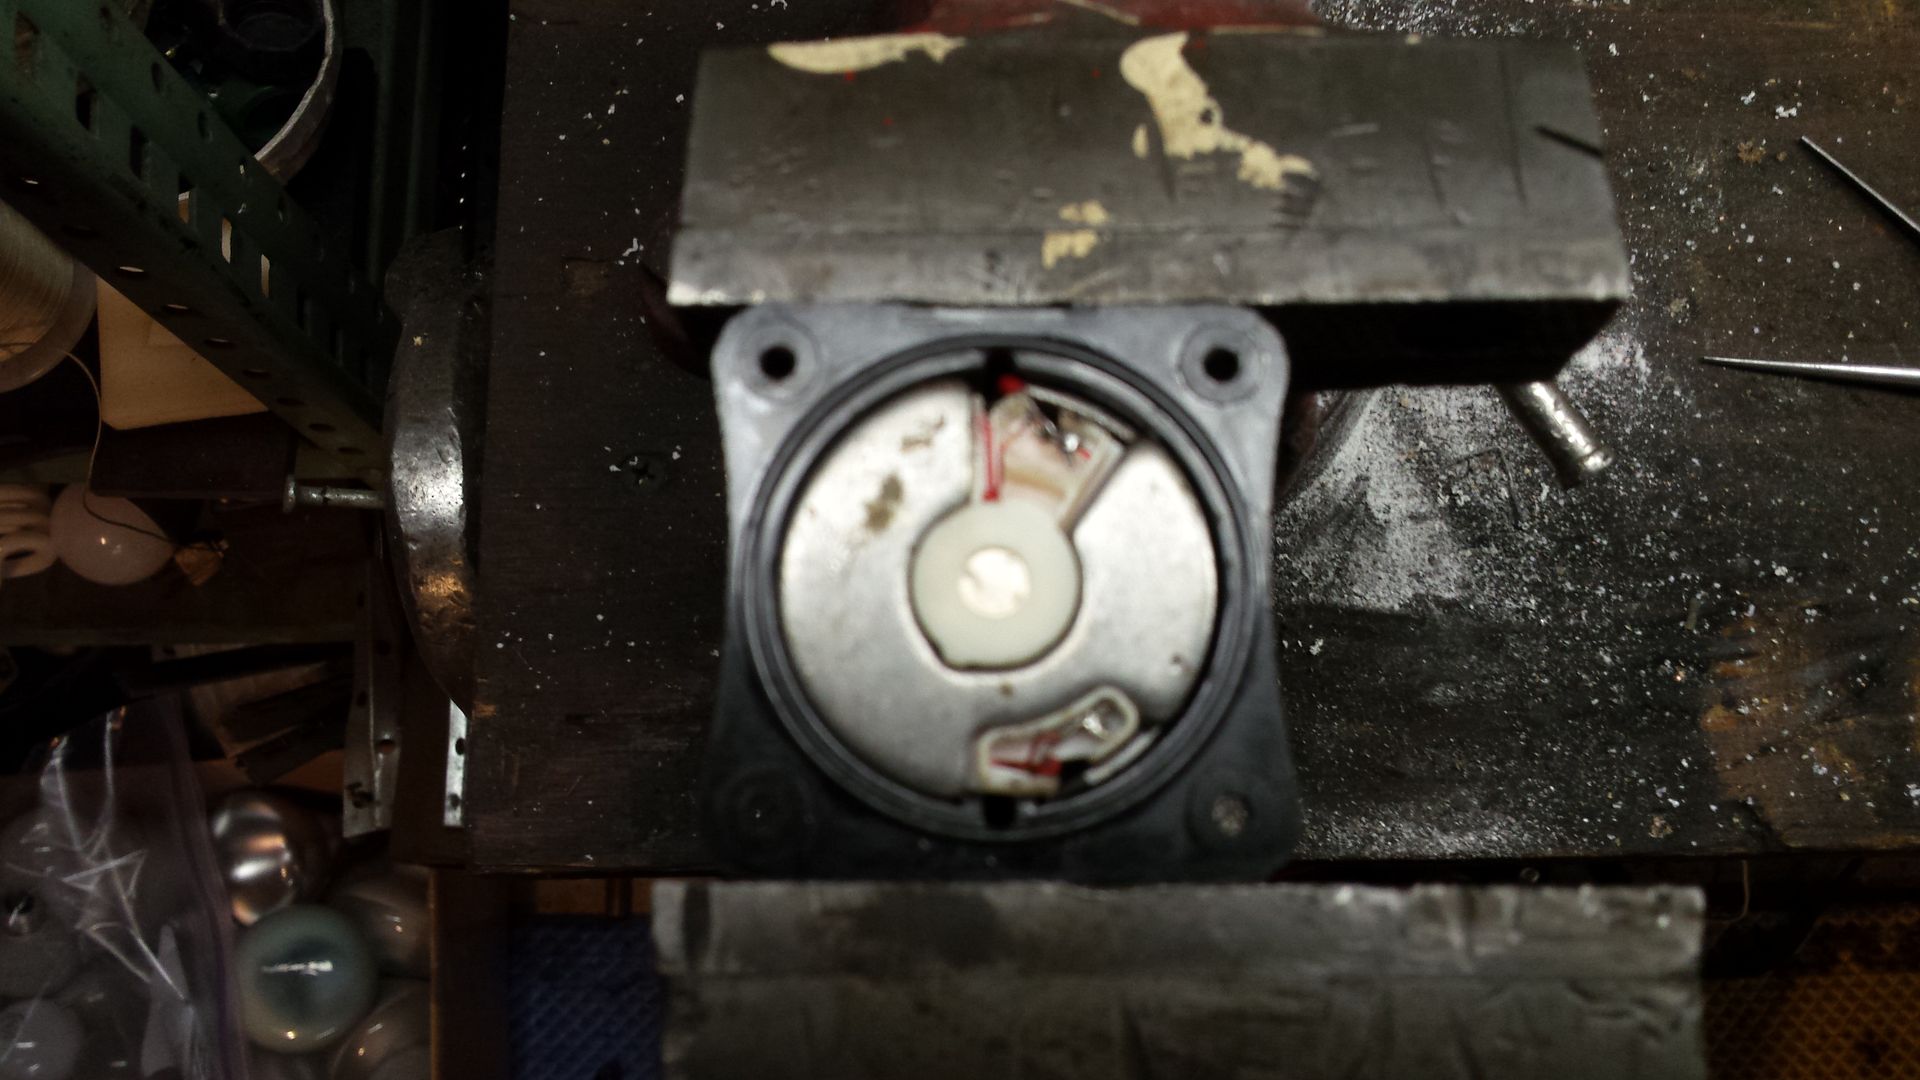
Position the gasket and then the metal cover back on the solenoid and clamp them into place.
I used a vise to apply some gentle pressure and to hold it together while I pop-riveted the metal plate back in place.
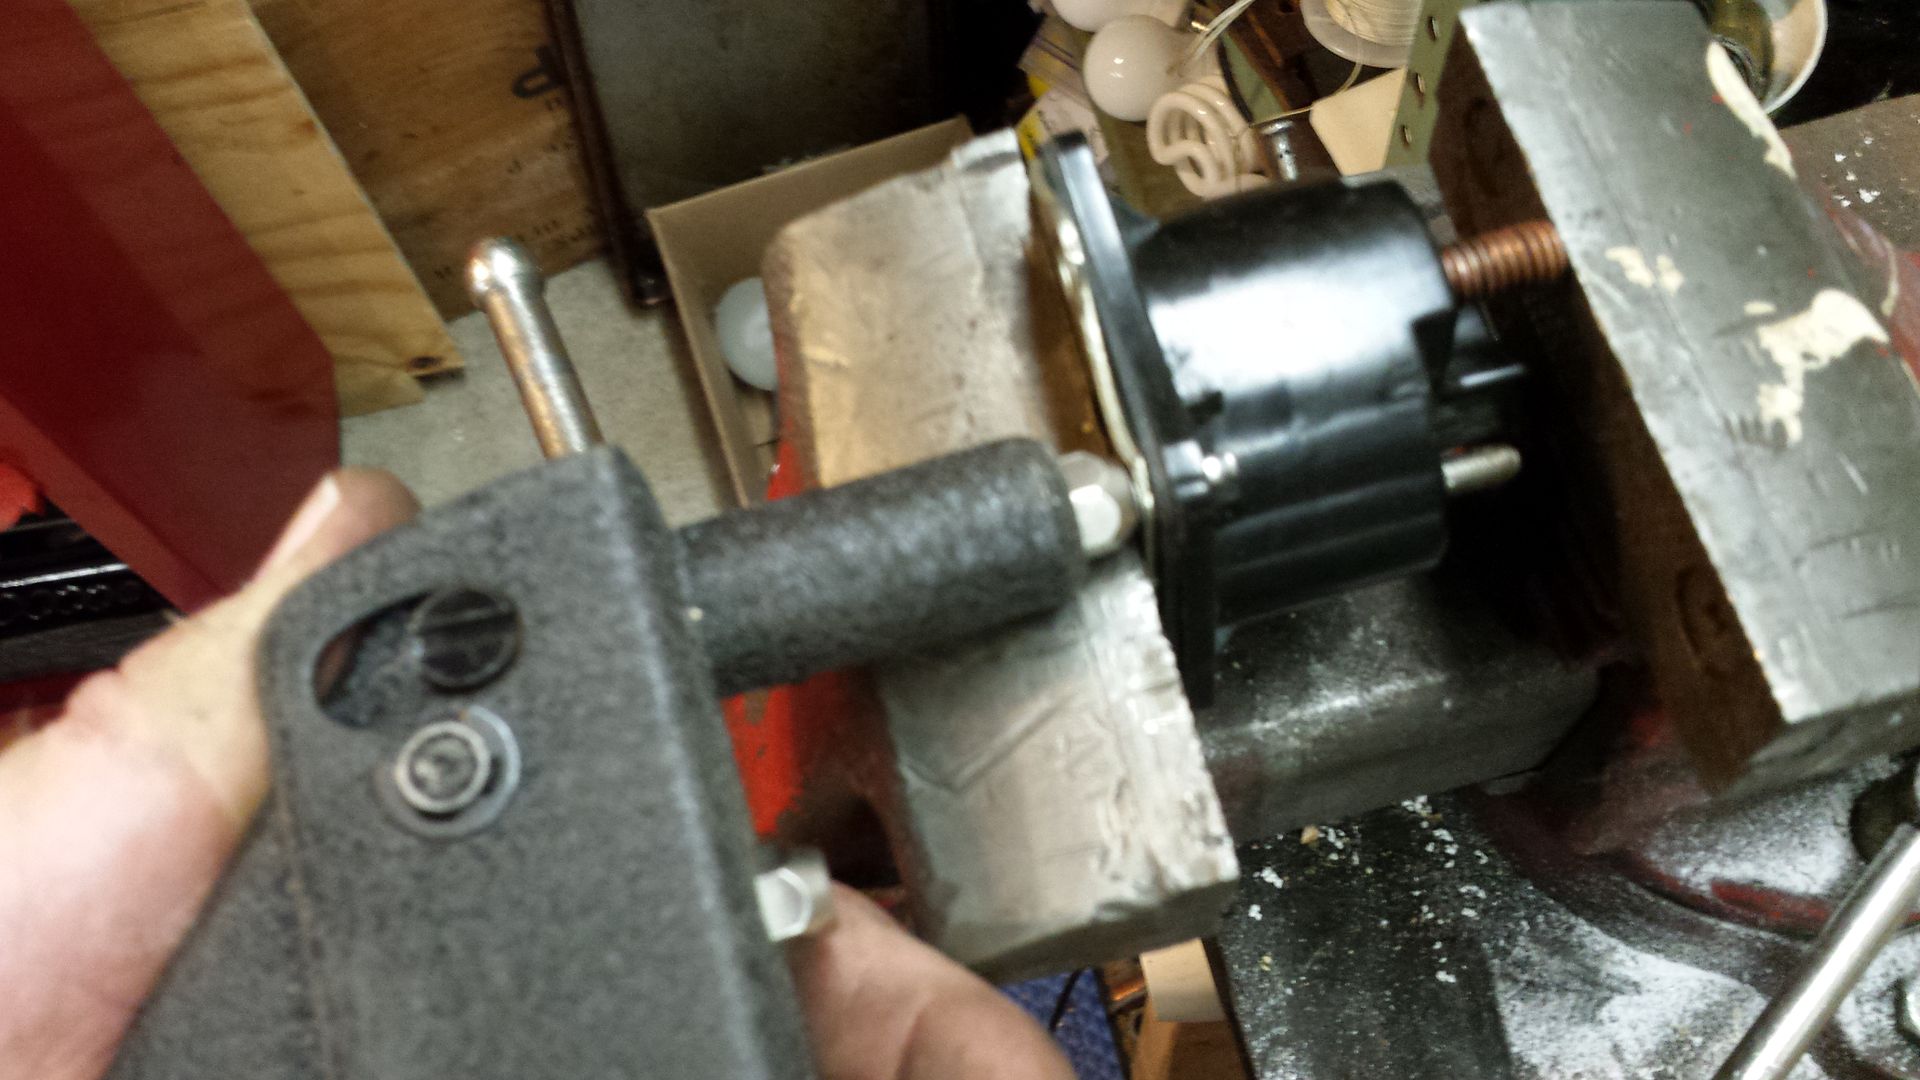
Finished
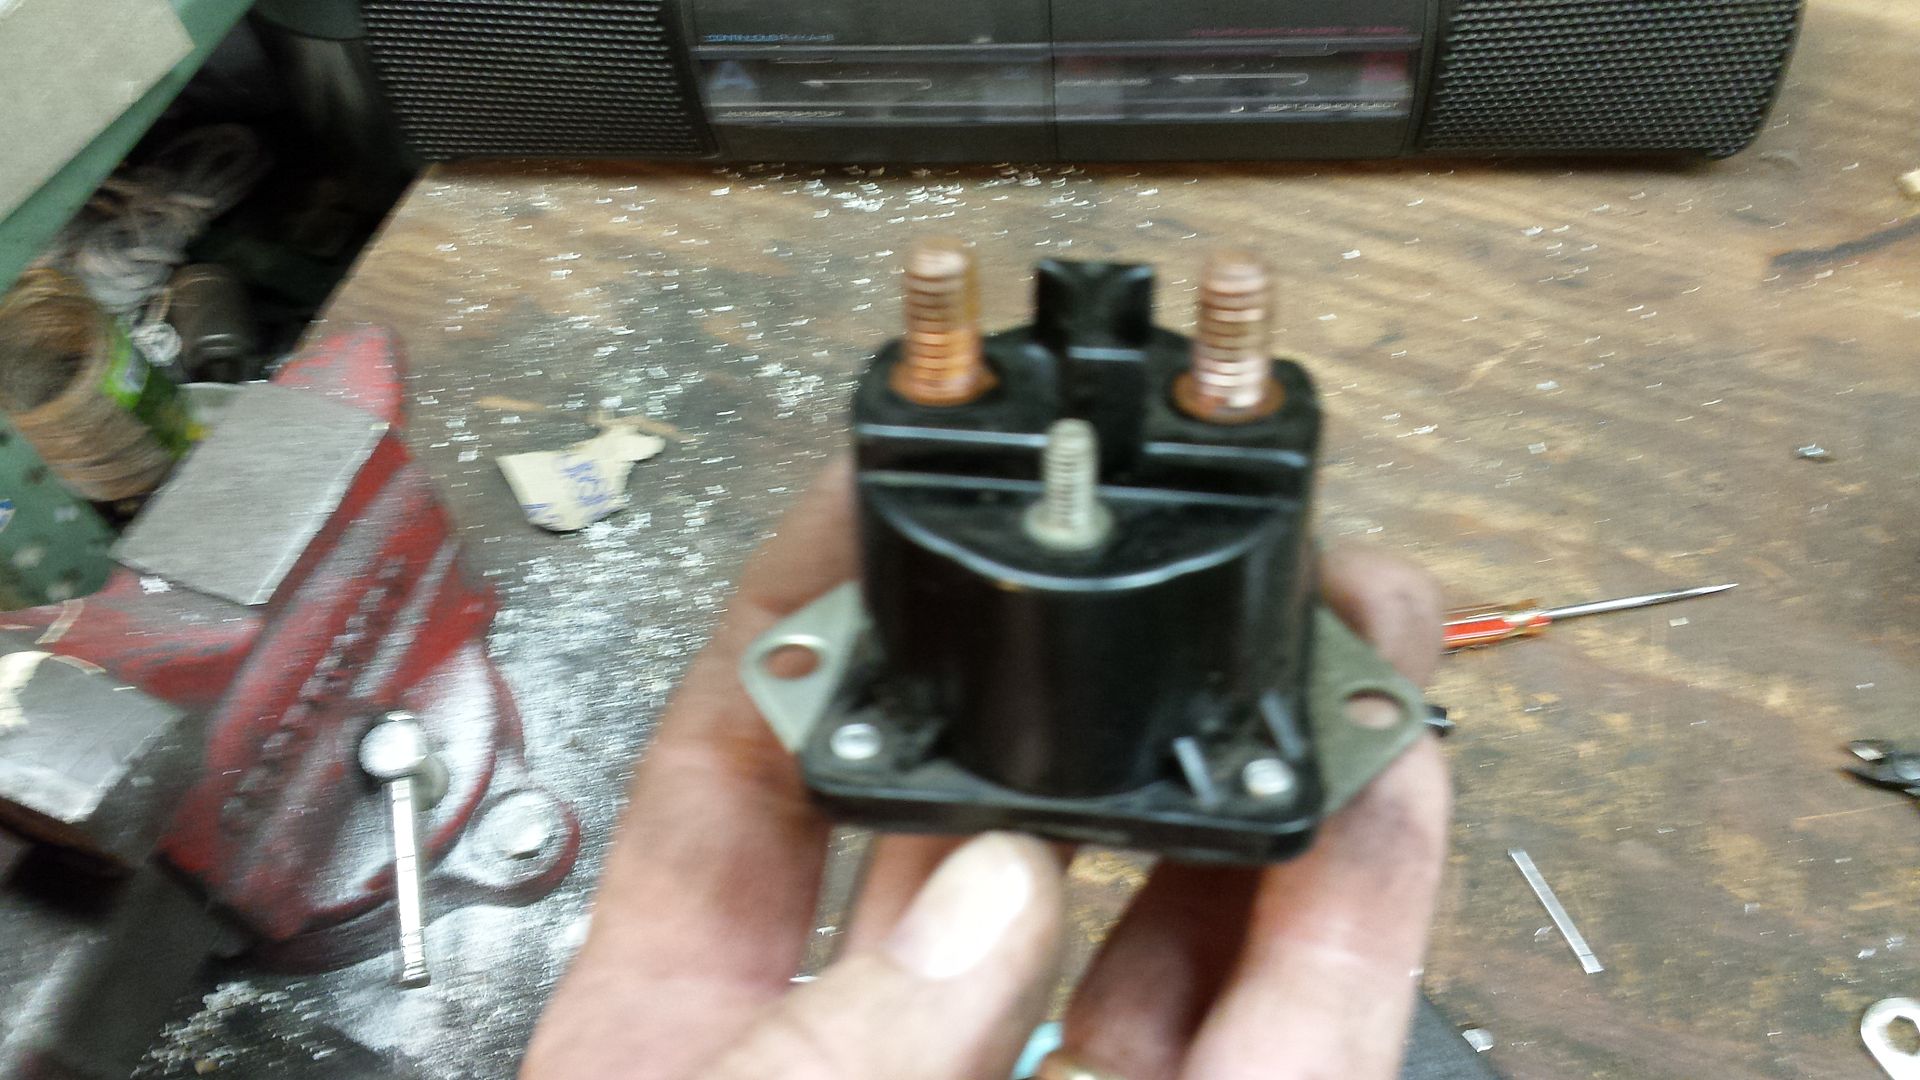
I knew the other solenoid that was activated for "IN" was probably in bad shape too so I removed it and did the same repair. Good thing as it's contacts inside were equally bad. The second one went much faster.
I also took the copper bus bars off and hit them with the wire wheel to shine up the points where they were connected to the solenoid terminals.
Now re-install the solenoid(s) and connect the buss bars and wires and cables back up following your diagram.
Once back together re-connect the NEGATIVE vehicle and winch cables back to the battery.
Since the battery was disconnected you will may need to reset your vehicle clock and radio presets.
Also the vehicle PCM will be reset so it may run rough for a minute at the first start up until the PCM re-learns some engine parameters.
Now test out your repaired winch!
If all is working well re-install the solenoid cover and pat yourself on the back for fixing your own winch.
While spooling it in I noticed that occasionally the solenoids would just *click* and the winch motor didn't run. This continued to happen more and more to the point it wouldn't do anything but *click* the solenoids and the winch motor didn't run to spool in the cable. Spool out still worked just fine.
A classic symptom of a bad solenoid.
So.. here a little write up on how to diagnose and fix a bum winch solenoid.
1) Remove the cover that houses the solenoids. On mine they are integrated into the top of the winch under a removable cover. Remove the 4 bolts from the side to remove the cover.
Bolts coming out..

Once the cover was off there were 4 solenoids in mine. Some winch's may have fewer.
The solenoids work like relays or like a started solenoid. Their purpose is to switch very high currents using a small control current (from the winch controllers switch in this case)
Different solenoid(s) are activated when the winch controllers switch are in the "IN" or "OUT" out position.
Sometimes one or two are activated when the controller button is pushed.
Different winch types use different configurations but below is how to figure out which one is bad regardless of winch make or model.
Each solenoid will have 4 terminals on them with wires and/or copper buss bars connected to them. The two SMALL terminals are the ones that tell the solenoid to activate. The two BIG terminals are the ones that are connected together (inside) when the solenoid is activated. The solenoid is activated when 12 volts is applied across the two SMALL terminals.
To begin with a voltmeter is needed to do the troubleshooting. Be sure it's set to DC Volts.
First you need to determine which solenoids are activated when the control button is pushed. For my problem it was the "IN" solenoid(s) that were the issue.
2) One by one connect the Voltmeter to the two SMALL terminals to of each solenoid and press the "IN" button.
(I'll be using "IN" for the rest of this discussion as that was the function that wasn't working for me)
If you measure 10-12 volts on a solenoid it's being activated.
Repeat this for each of the solenoids and make note of which ones are being activated.
Example of solenoid being activated - see meter showing voltage (~10 volts)on the SMALL terminals.

3) Now for each of the activated solenoids repeat the testing but connect the meter to the BIG terminals and again press the "IN" button on the controller. If the meter is reading ~ 0 volts on the two big terminals the solenoid is good.
Example of a good solenoid - meter showing 0 volts

Repeat the testing connecting the meter to the BIG terminals of the activated solenoids and press the "IN" button.
The defective solenoid will show about 12 vols across the BIG terminals.
Example of a bad solenoid - meter showing about 12 volts when activated

Bingo - found the bad solenoid
Now you have a few of choices. Either buy a new winch (major $), a new solenoid (smaller $) or you can repair the solenoid ($0).
For me I chose the $0 solution.
Now... I'll show you how to repair a typical solenoid.
4) Remove NEGATIVE leads from the battery for both the vehicle and the winch.
5) Make a diagram of how the solenoids are wired so you can be sure to get all the wires back on the correct terminals.
Something like this...

6) Now disconnect the wires you need to to free up the bad solenoid. In my case I chose to disconnect them all.
I had to unbolt the right side of the winch to slide the solenoids out.

Once the wires are removed there will be some copper bus bars that need to be removed too.

Now remove the defective solenoid.

The solenoids usually have a metal cover on the bottom of them.
On some solenoids the covers may be held on with metal tabs that can be bent to remove the cover.
On mine they were riveted on.

One mine I needed to drill out the 4 rivets on the drill press.

Once drilled out the cover can be removed revealing the guts of the solenoid.
All solenoids will have an electromagnetic coil in them with wires from the SMALL terminals to the coil.
On mine they were soldered so I had to unsolder them.

Once unsoldered the coil could be slid out of the solenoid cavity.

Once all the guts are out you will see the back side of the two BIG bolts on the solenoid case.
They are the two dark round things on the left and right down in the cavity.

Found that mine were black from corrosion, heat, and arcing. All of that was causing the contacts to not connect properly. Not good!
There will be a part that the electromagnet forces to contact the back of the two BIG bolts.
Here was the part in mine. It too showed signs of arcing and burning from abuse.
(The areas on the right and left ends of the horizontal strip.)

Next task was to clean the contacts up with a dremel with a wire cup brush.
Nice and shiney now.

Also cleaned up the other two contacts with the dremel wire brush.

Once cleaned up re-assemble in the reverse order and re-solder the coil wires. Make sure they can't come into any metal once they are tucked back in place.


Position the gasket and then the metal cover back on the solenoid and clamp them into place.
I used a vise to apply some gentle pressure and to hold it together while I pop-riveted the metal plate back in place.

Finished

I knew the other solenoid that was activated for "IN" was probably in bad shape too so I removed it and did the same repair. Good thing as it's contacts inside were equally bad. The second one went much faster.
I also took the copper bus bars off and hit them with the wire wheel to shine up the points where they were connected to the solenoid terminals.
Now re-install the solenoid(s) and connect the buss bars and wires and cables back up following your diagram.
Once back together re-connect the NEGATIVE vehicle and winch cables back to the battery.
Since the battery was disconnected you will may need to reset your vehicle clock and radio presets.
Also the vehicle PCM will be reset so it may run rough for a minute at the first start up until the PCM re-learns some engine parameters.
Now test out your repaired winch!
If all is working well re-install the solenoid cover and pat yourself on the back for fixing your own winch.