Poison Spyder Tire Carrier write up
Posted: Mon Jun 22, 2015 11:53 am
Poison Spyder Tire Carrier Write up
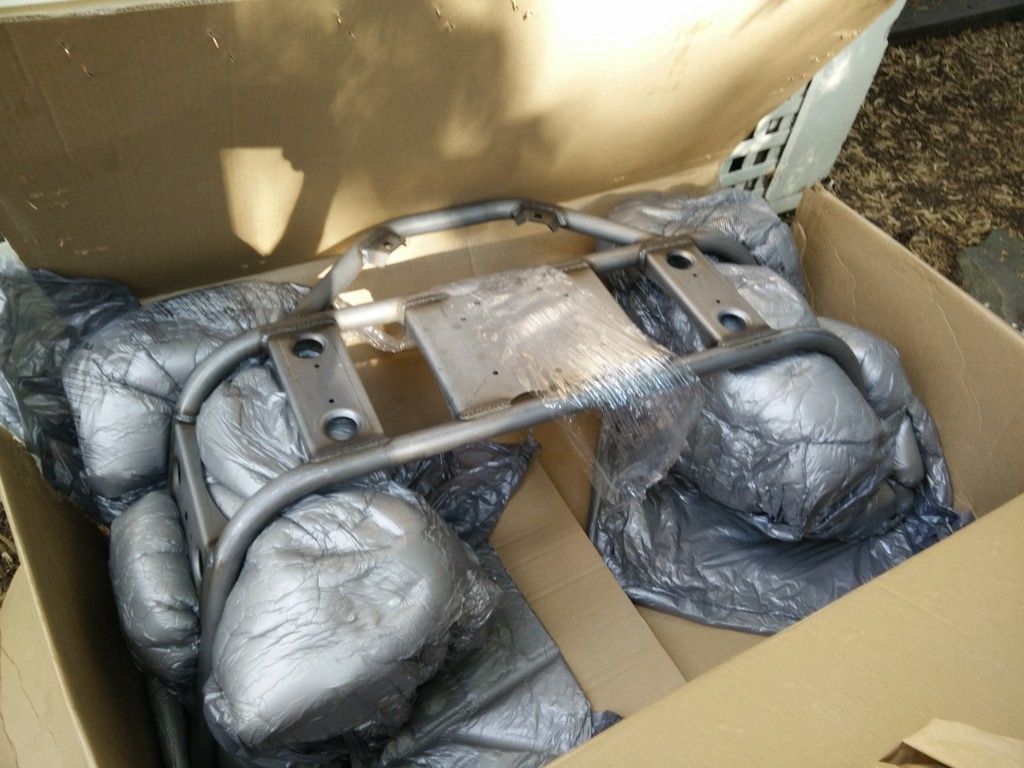
My first impression when unboxing the carrier was the quality of packaging. The carrier was buried in expanding foam and there were almost no scuff or scrapes. The hardware was packaged incredibly well, better than any other companies product I have purchase for my Jeep. The hardware was divided up by type and size in sections of one neat strip of packaging (only company I have seen doing this). The instructions are easy to follow, very straightforward and I color which is a nice touch. One of the best features in the kit is the mounting bracket on the driver’s side comes with a template which make drilling the holes a breeze.
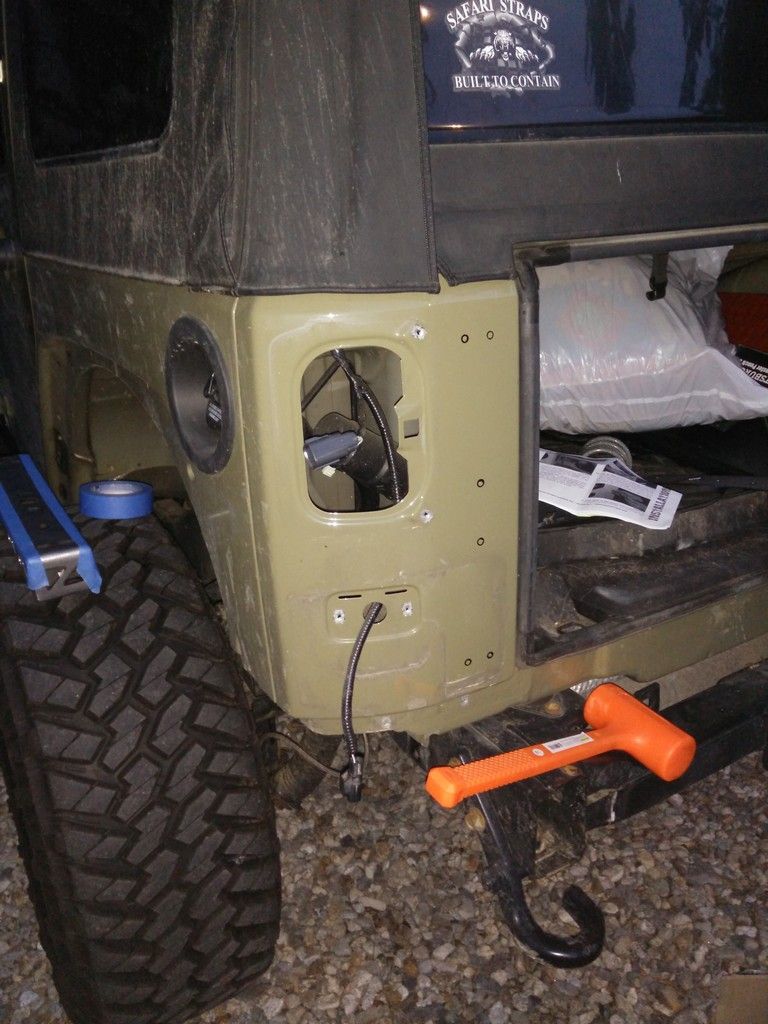
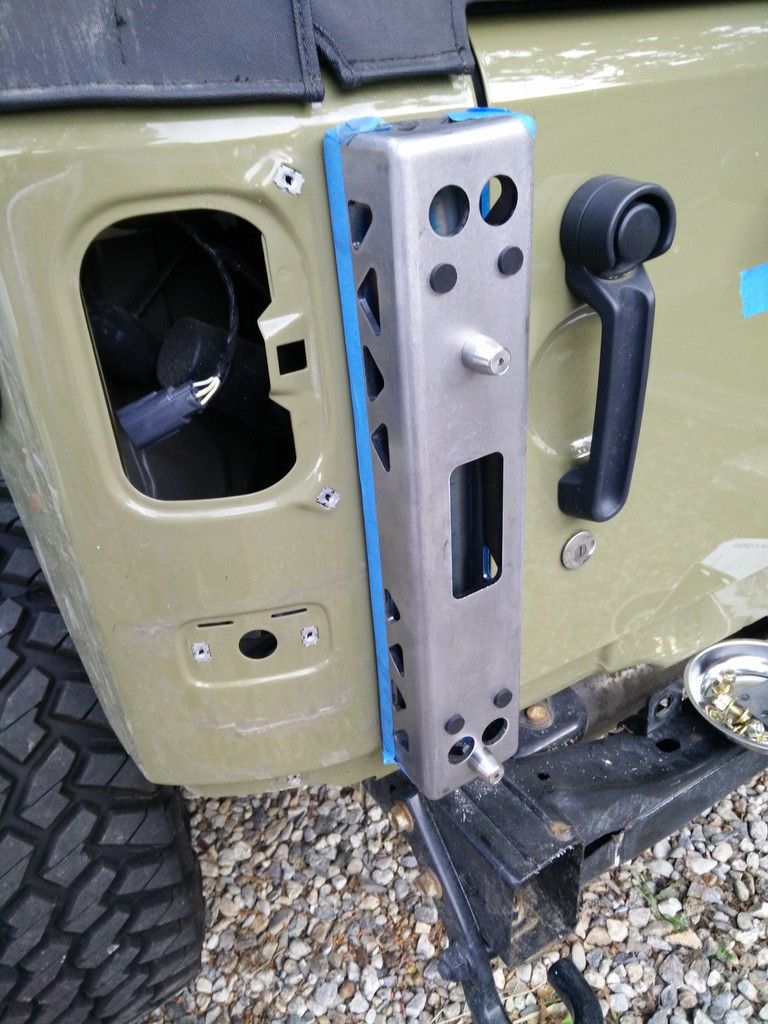
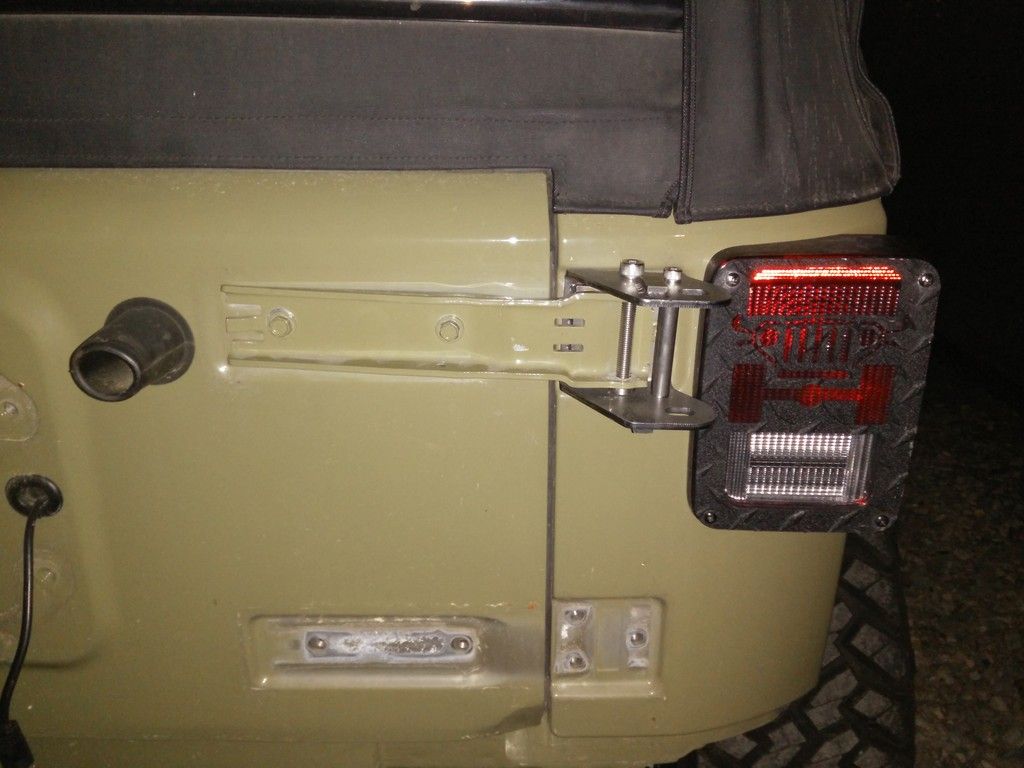
After removing the tail light and license plate the first step is simple lining up the template and drilling the holes for it. Once this is done attaching the bracket is easy with the exception of sliding the washers onto the bolts since the bolts are an inch inside the bracket and my fingers are slightly too large to maneuver the washers into place. I solved this by placing the washer on a zip-tie placing the end without the lock onto the top of the bolt then sliding the washers down the zip-tie. You then bolt the internal bottom brace into the existing holes. Attach the bracket then the upper brace to the bracket and punch the locations to drill for the top brace. Getting to where the upper brace hole will be drilled require removing the plastic cover the back section of the tub around the roll bar area, you do not need to remove it all the way but can remove the screws and push it back out of the way.
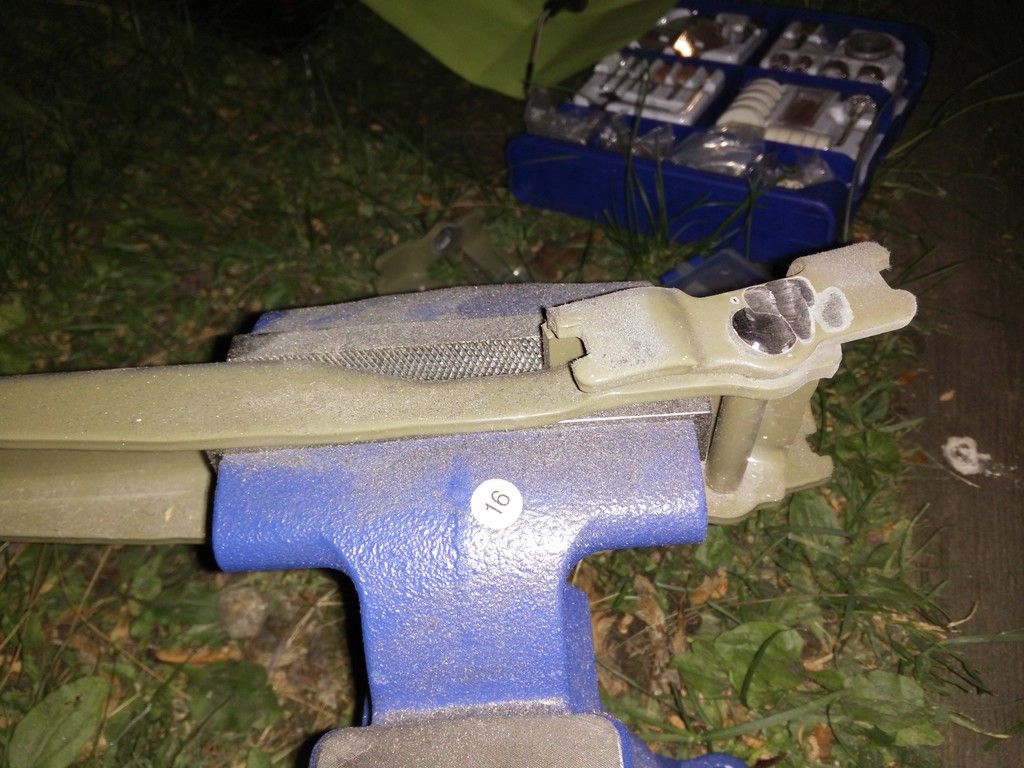
Then you remove ONE hinge at a time to grind off the top of the pin holing the body side of the hinge to the door side. Then take a punch and hammer out the pin. Then attach the supplied hinge in the factory location with the new SS pin in the old one’s place. The next part of the setup is pretty straightforward. Hammer in bushings (a little grease goes a long way), attach swing arm, bolt in, bolt on tire mount, add tire and accessories you are going to run then install the latch. Then adjust the height of the arm using the adjuster nuts supplied to mate with the alignment cones on the driver’s side bracket. Adjust latch so it clamps the arm in place.
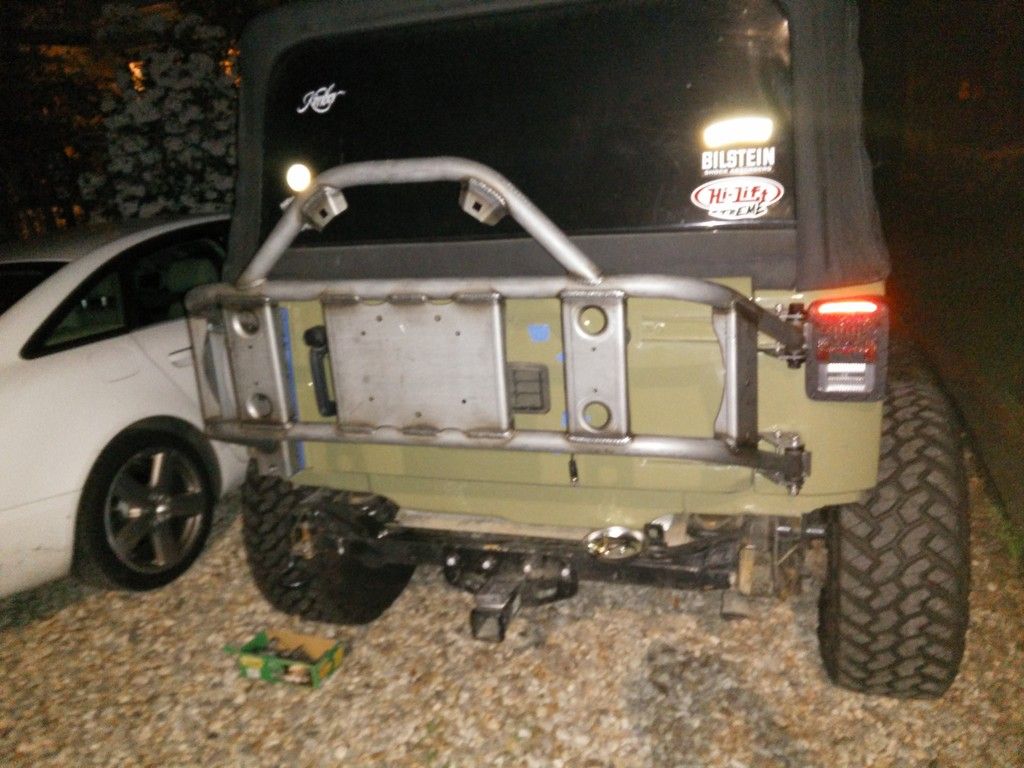
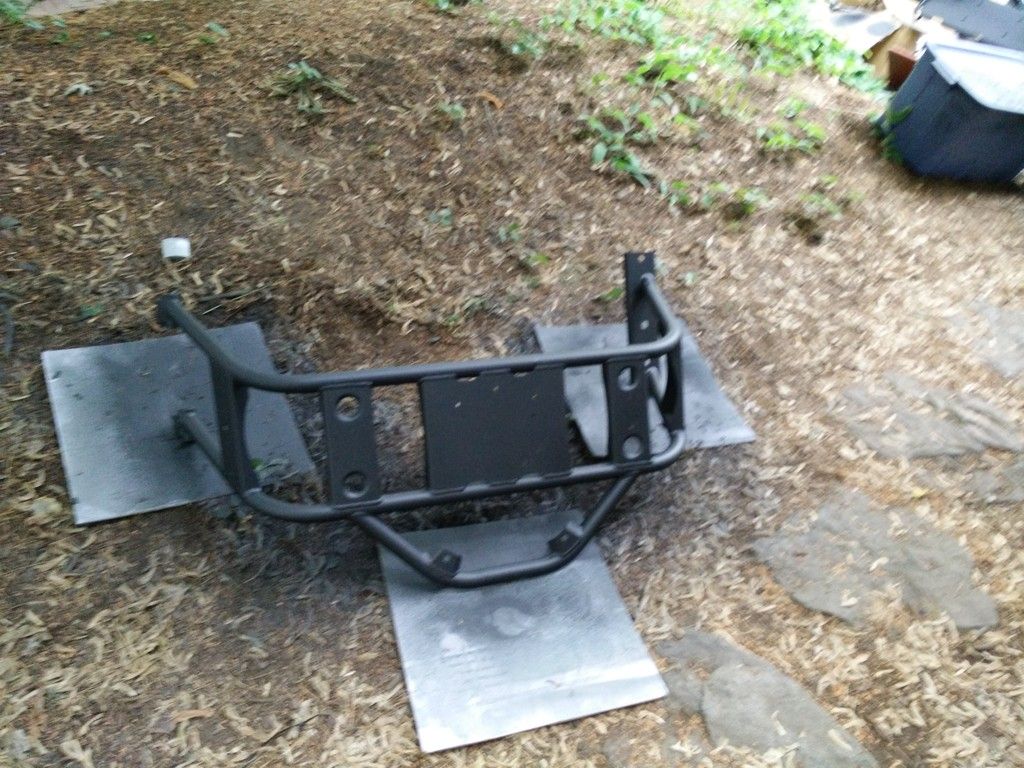
I drove around with it for a while before removing it to paint. The carrier is very strong no wobbles no sounds. I even backed into a steel support at my girlfriend’s house which she said she could feel the impact and the carrier had no damage and barely a mark. It seems like it will hold up to quite a beating and will be even stronger when I bolt the driver’s side bracket through the crusher corners I just installed. There will also be a write up on the slight modifications required to use the corners and the carrier together.

My first impression when unboxing the carrier was the quality of packaging. The carrier was buried in expanding foam and there were almost no scuff or scrapes. The hardware was packaged incredibly well, better than any other companies product I have purchase for my Jeep. The hardware was divided up by type and size in sections of one neat strip of packaging (only company I have seen doing this). The instructions are easy to follow, very straightforward and I color which is a nice touch. One of the best features in the kit is the mounting bracket on the driver’s side comes with a template which make drilling the holes a breeze.


After removing the tail light and license plate the first step is simple lining up the template and drilling the holes for it. Once this is done attaching the bracket is easy with the exception of sliding the washers onto the bolts since the bolts are an inch inside the bracket and my fingers are slightly too large to maneuver the washers into place. I solved this by placing the washer on a zip-tie placing the end without the lock onto the top of the bolt then sliding the washers down the zip-tie. You then bolt the internal bottom brace into the existing holes. Attach the bracket then the upper brace to the bracket and punch the locations to drill for the top brace. Getting to where the upper brace hole will be drilled require removing the plastic cover the back section of the tub around the roll bar area, you do not need to remove it all the way but can remove the screws and push it back out of the way.
Then you remove ONE hinge at a time to grind off the top of the pin holing the body side of the hinge to the door side. Then take a punch and hammer out the pin. Then attach the supplied hinge in the factory location with the new SS pin in the old one’s place. The next part of the setup is pretty straightforward. Hammer in bushings (a little grease goes a long way), attach swing arm, bolt in, bolt on tire mount, add tire and accessories you are going to run then install the latch. Then adjust the height of the arm using the adjuster nuts supplied to mate with the alignment cones on the driver’s side bracket. Adjust latch so it clamps the arm in place.


I drove around with it for a while before removing it to paint. The carrier is very strong no wobbles no sounds. I even backed into a steel support at my girlfriend’s house which she said she could feel the impact and the carrier had no damage and barely a mark. It seems like it will hold up to quite a beating and will be even stronger when I bolt the driver’s side bracket through the crusher corners I just installed. There will also be a write up on the slight modifications required to use the corners and the carrier together.