River Raider Armor Install
Posted: Thu Jun 21, 2012 2:40 pm
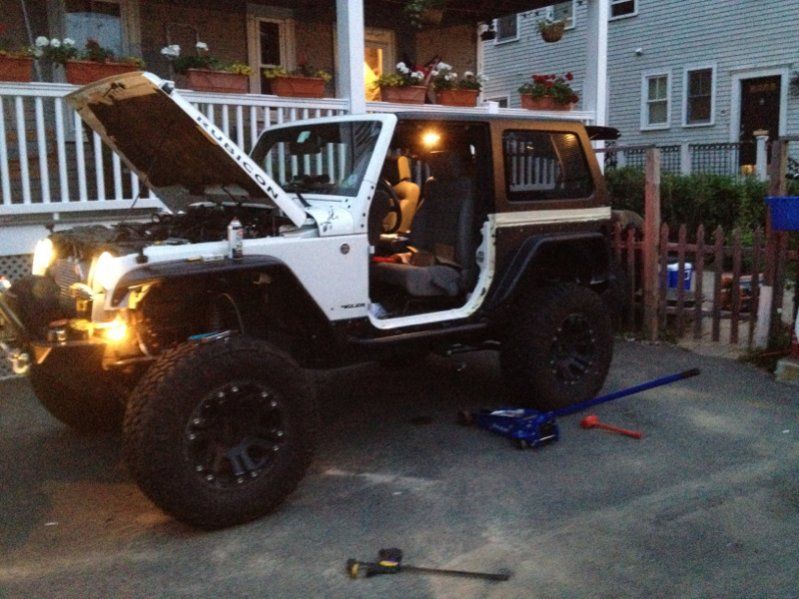
I've been done with this for a few weeks now but I figured I'd do a quick write up of the install. The object here obviously was to protect the body as much as possible from damage before it happens. I gotta say its a major pain to take on any job that's more than a day's work without having a garage. First welding job for me also, so take it easy on me 
First step was to rip off the JK tupper-flares and inner fender liners. Pretty easy process, just grab and snatch (if you're not worried about snapping the "T" clips that hold them on.) Then remove the stock rubi rock rails.
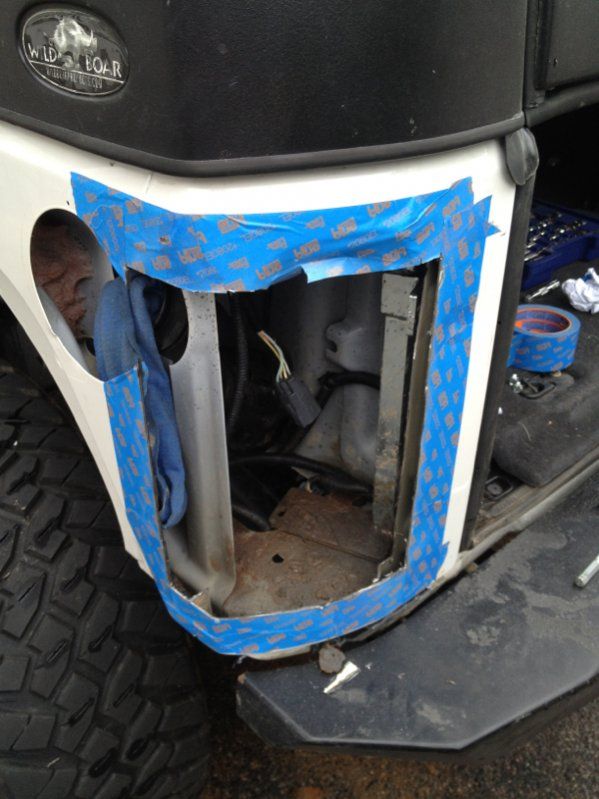
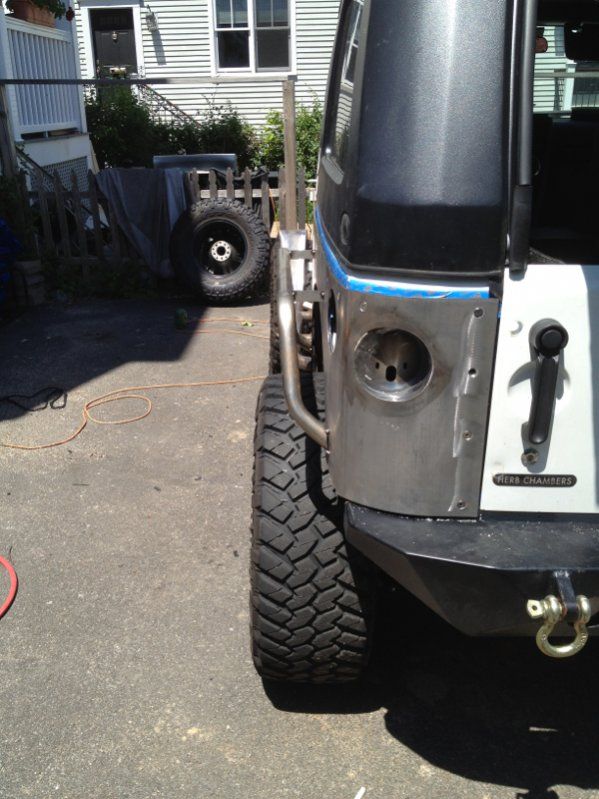
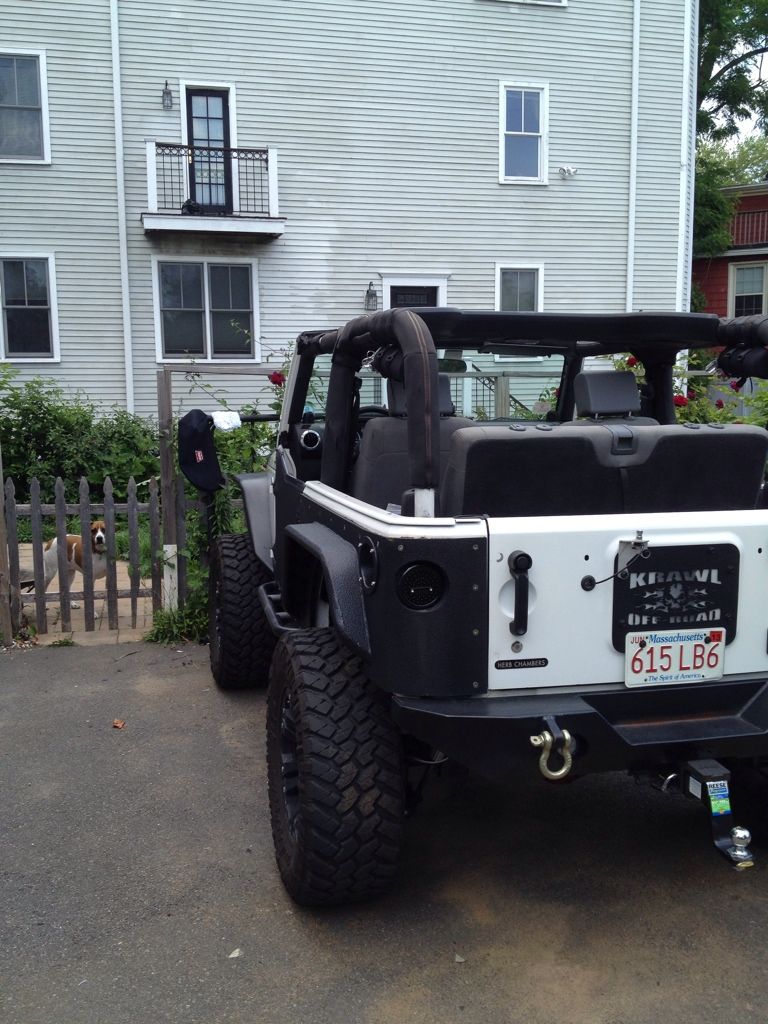
Next I had a nice big hole to cut where the old tail lights used to sit. Has to be done for the corners to properly fit to the body with minimal gap due to the JK's compound body curve at this point.
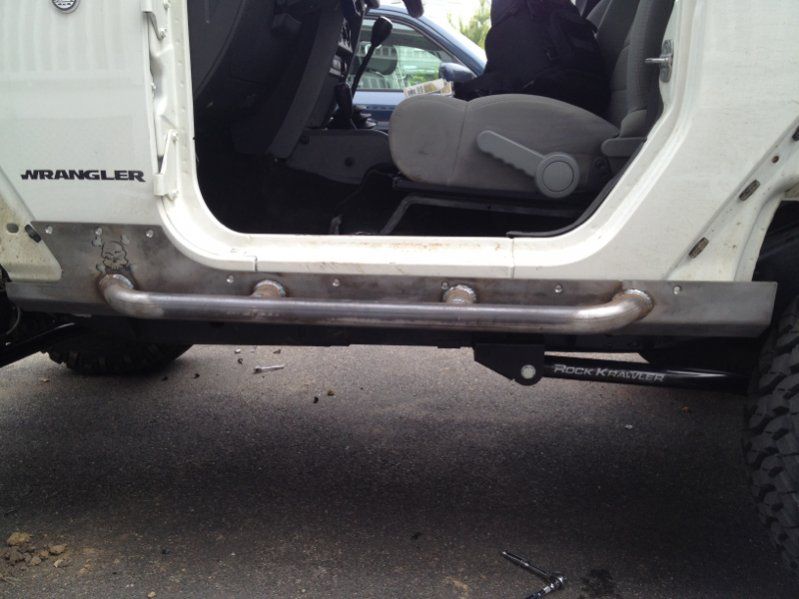
Then I test fit the new boat side sliders. Really sturdy, they bolt to the frame in two locations through the body mount, and have about 8 well nuts on each of them. After fitting, I marked and center punched all the holes for the well nuts.
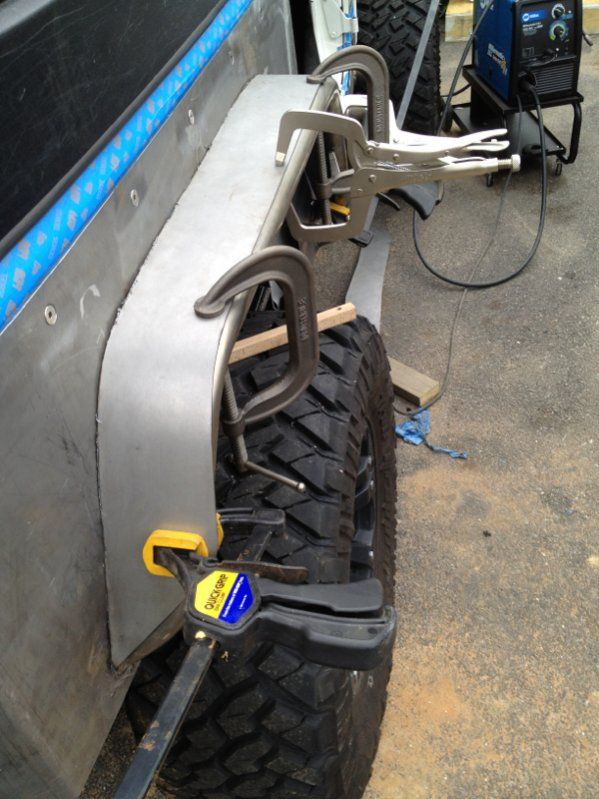
After fitting the sliders, it was time to fit the corners on. I used a number of C clamps, and of course the handy Irwin Quick Grips. Love 'em.
With the corners fitted I marked and center punched for well nuts.
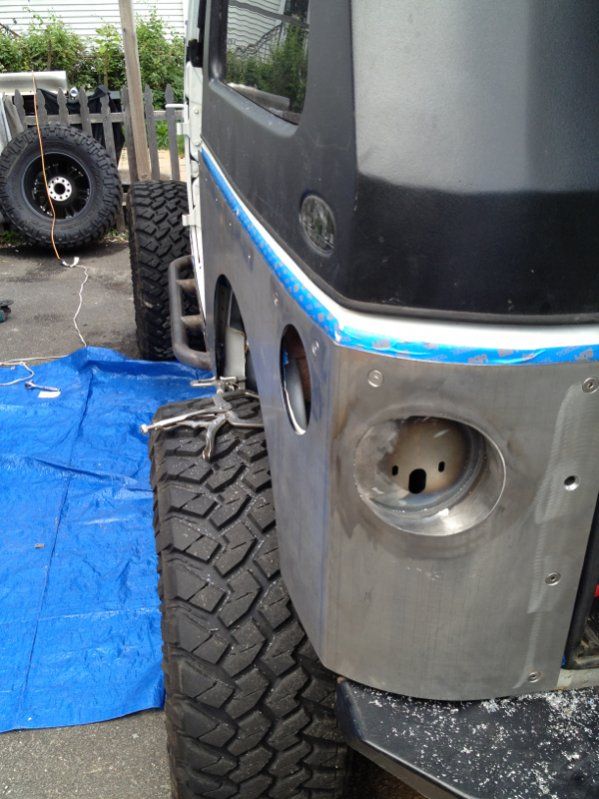
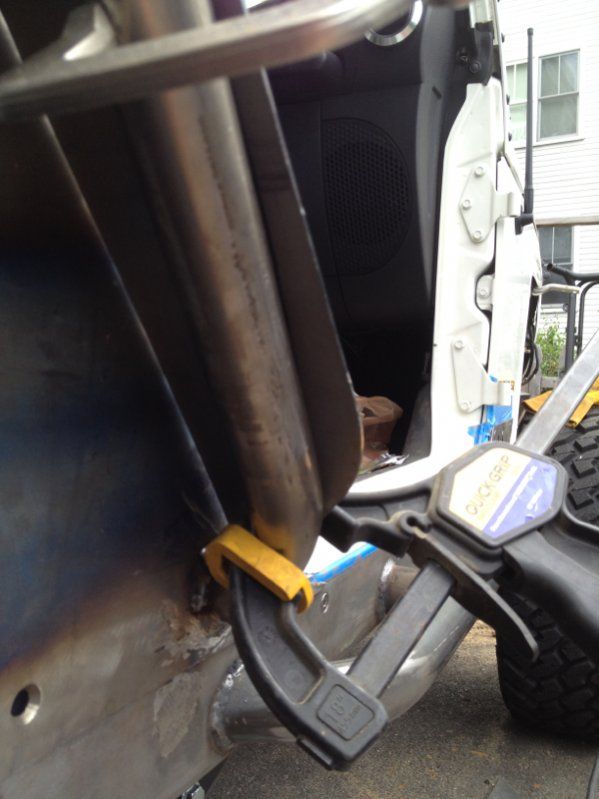
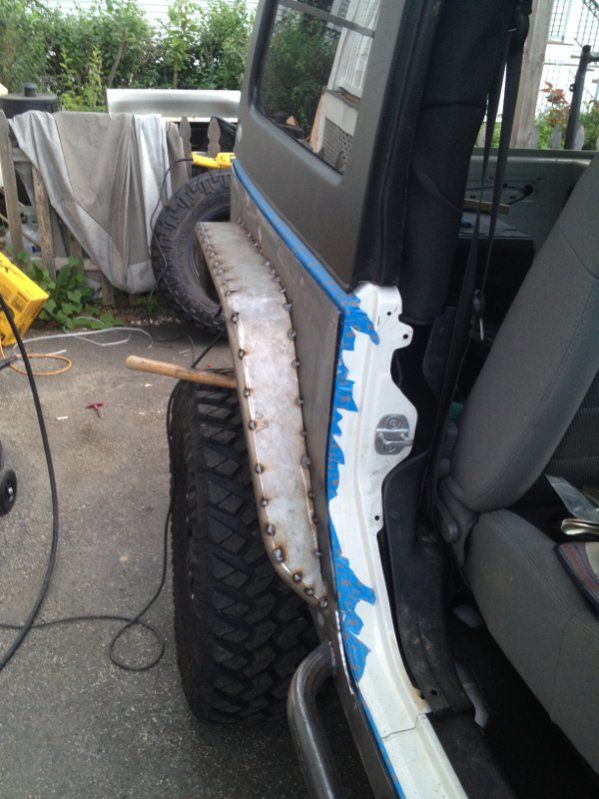
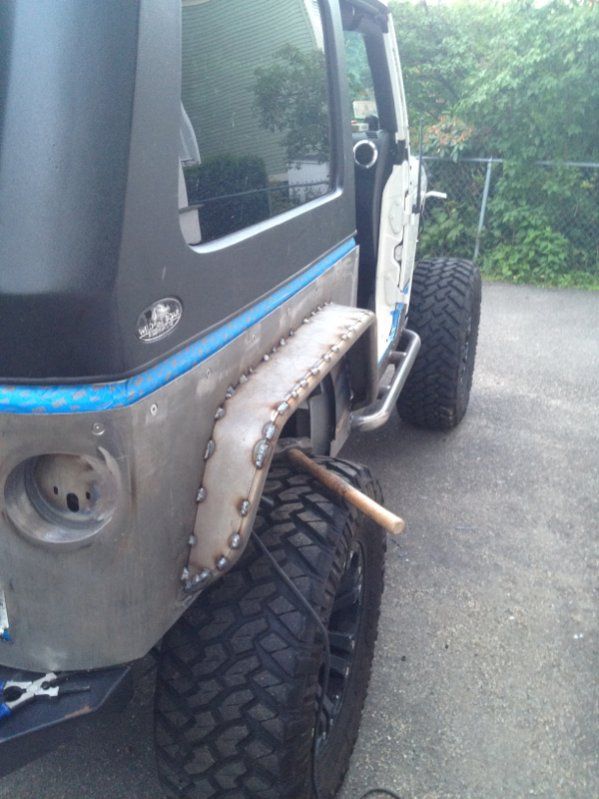
After securing the corners to the body with the well nuts I had to weld on the fender flares. The corners come with a "builder's kit" including 2 pre-bent tubes, 2 sheet metal skins to make the flares with, and 2 support brackets for each side. They ship as a pretty wide flare, I decided to make them a good bit narrower and went with 3.5" from the corner to the center of the tube at its widest point. I did the driver's side first to make sure the flare location would clear the gas filler.
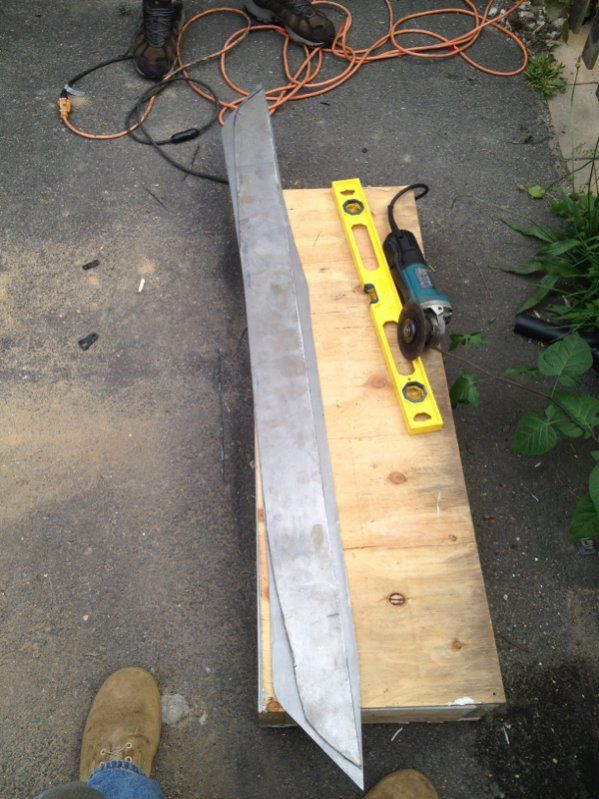
After welding the tube in place, I started working with the 16 gauge skin and trimming it down to fit.
This one show about how much I took off...
Then used the first one I did as a template for the second. If I had half a brain, or half as many beers at that point, I would have used CARDBOARD to mock up the fender skin first. Still worked out for me though.
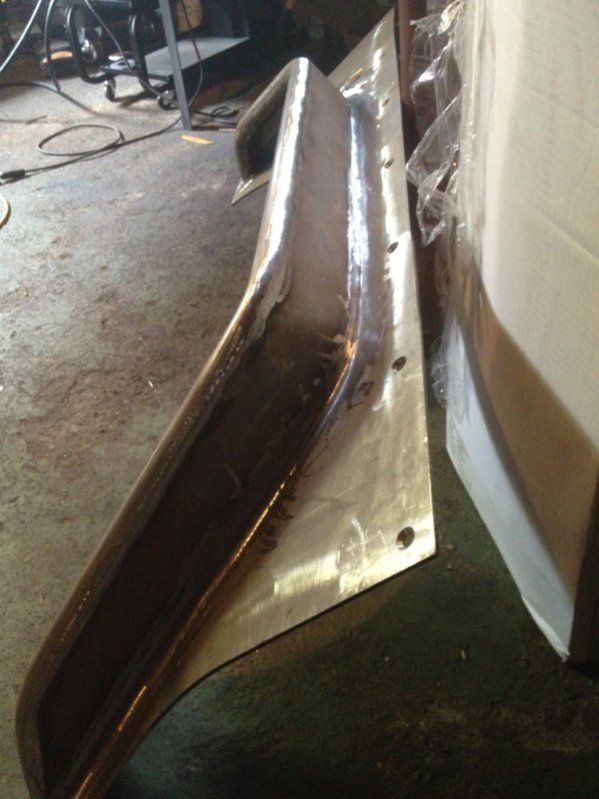
Then tack welded the skins to the tubes.
And brought them down to the basement and finish welded everything. I know. Ugly. I spent so much time grinding my welds I couldn't feel my hands for a day
Then I hit them with a few coats of primer after prepping them with a wire wheel to get any surface rust off.
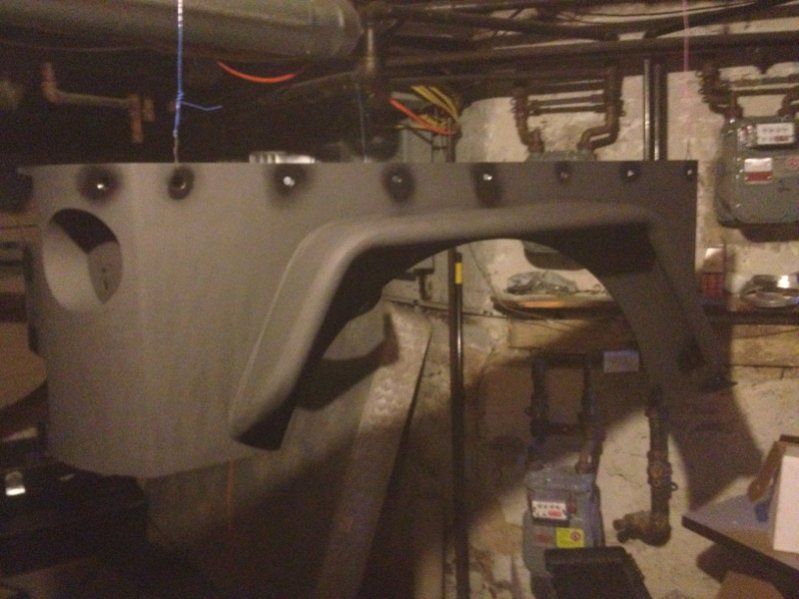
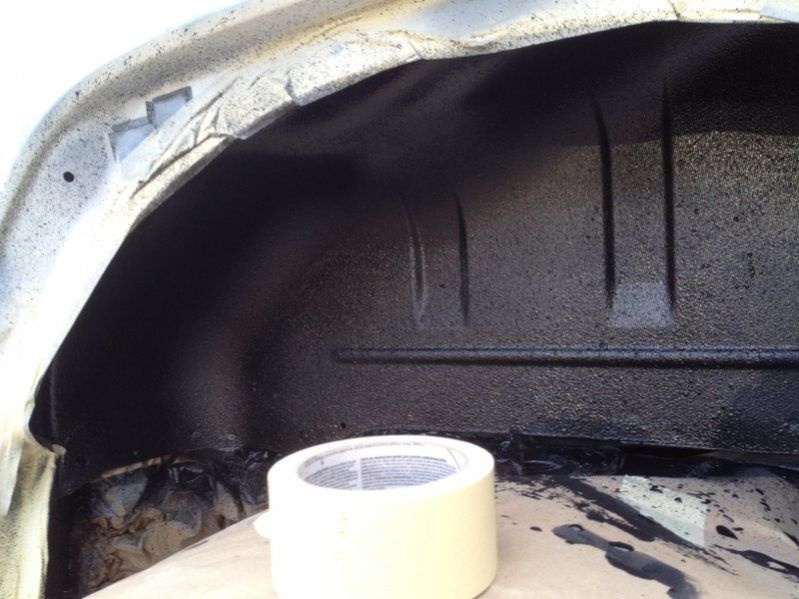
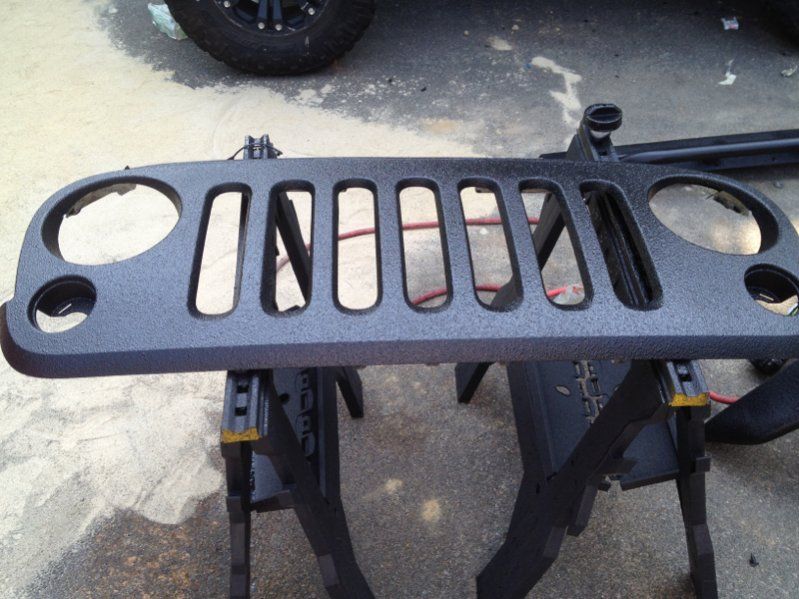
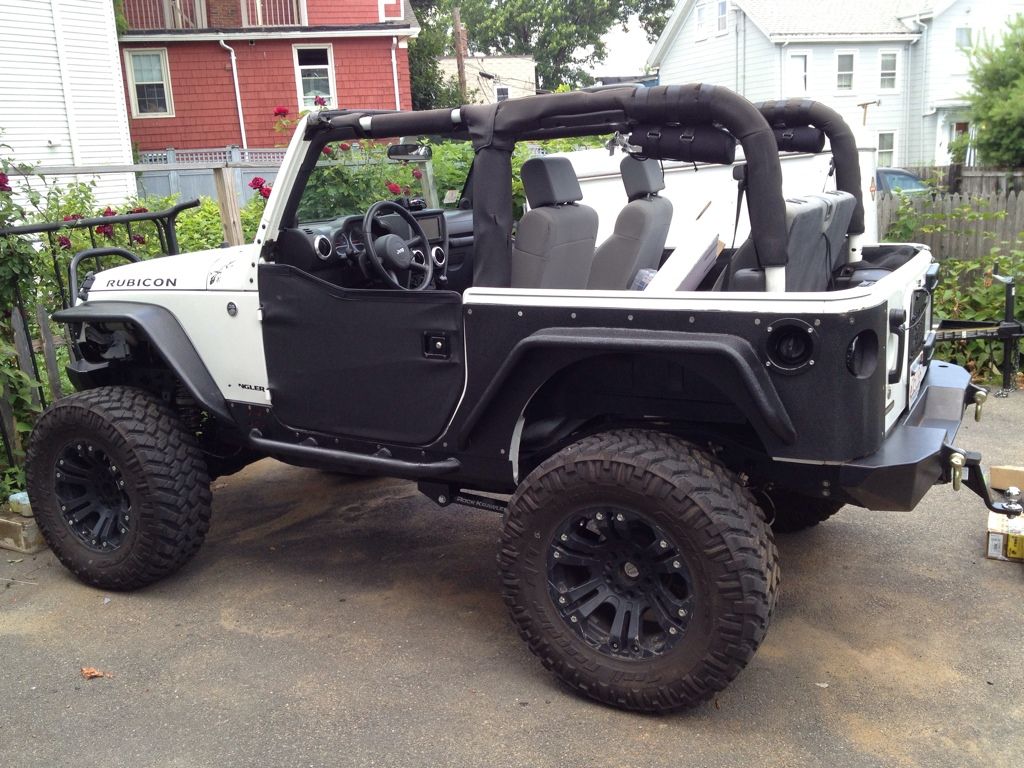
Went crazy with the bed liner. Sprayed my armor, rear inner fender wells, and then hit the grille with it too. This stuff is very scratch resistant and my grille was pretty beat up.
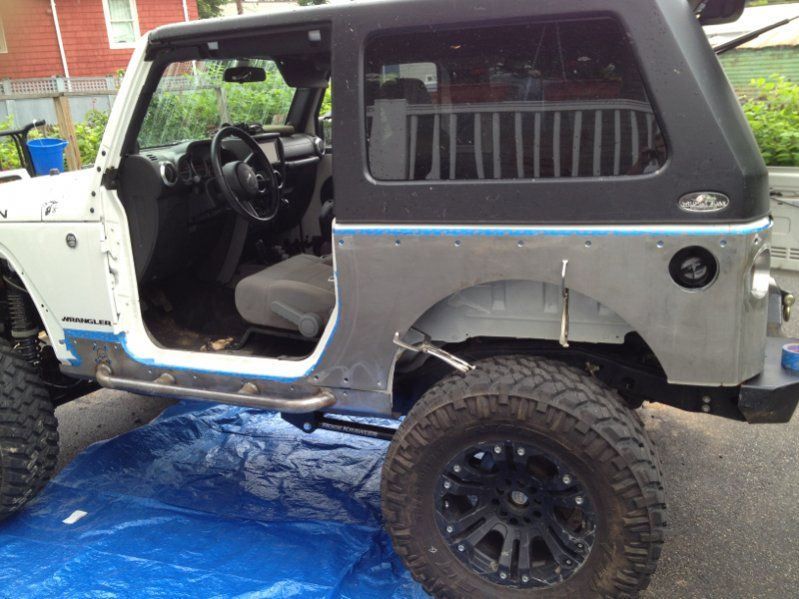
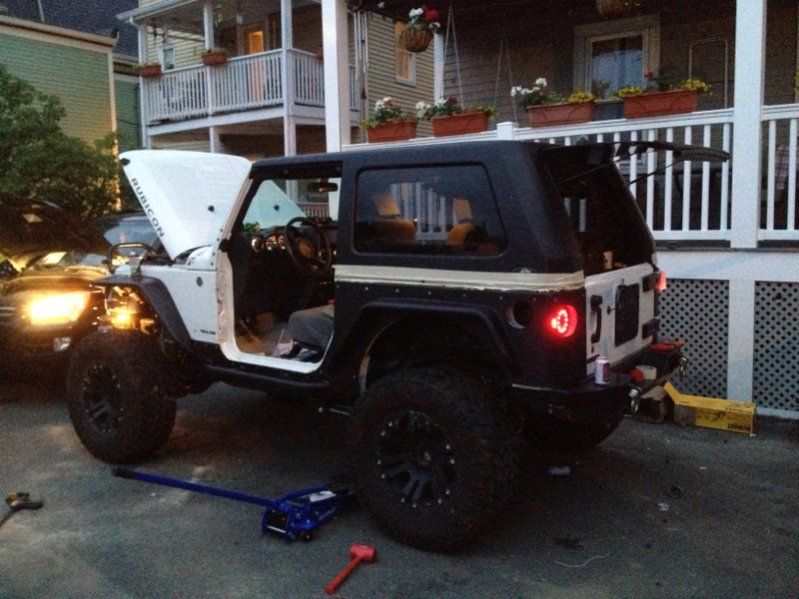
Finally bolted everything back on.
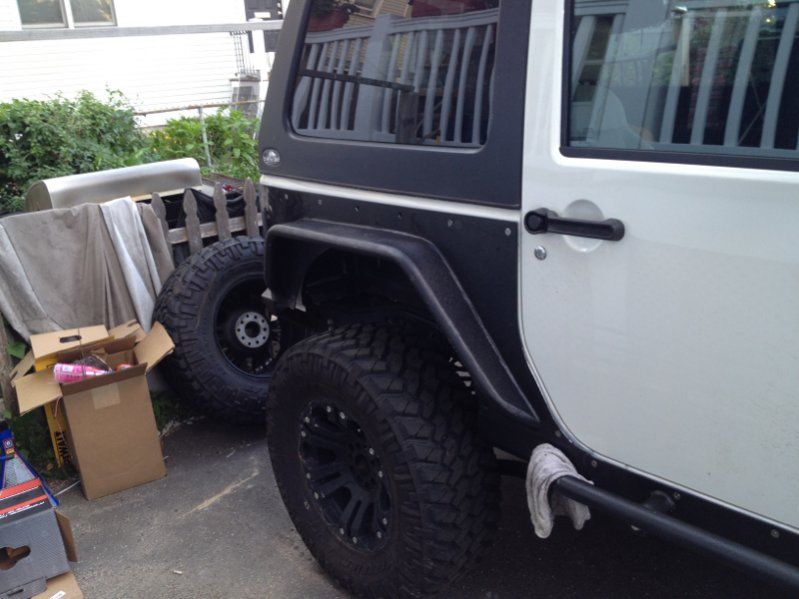
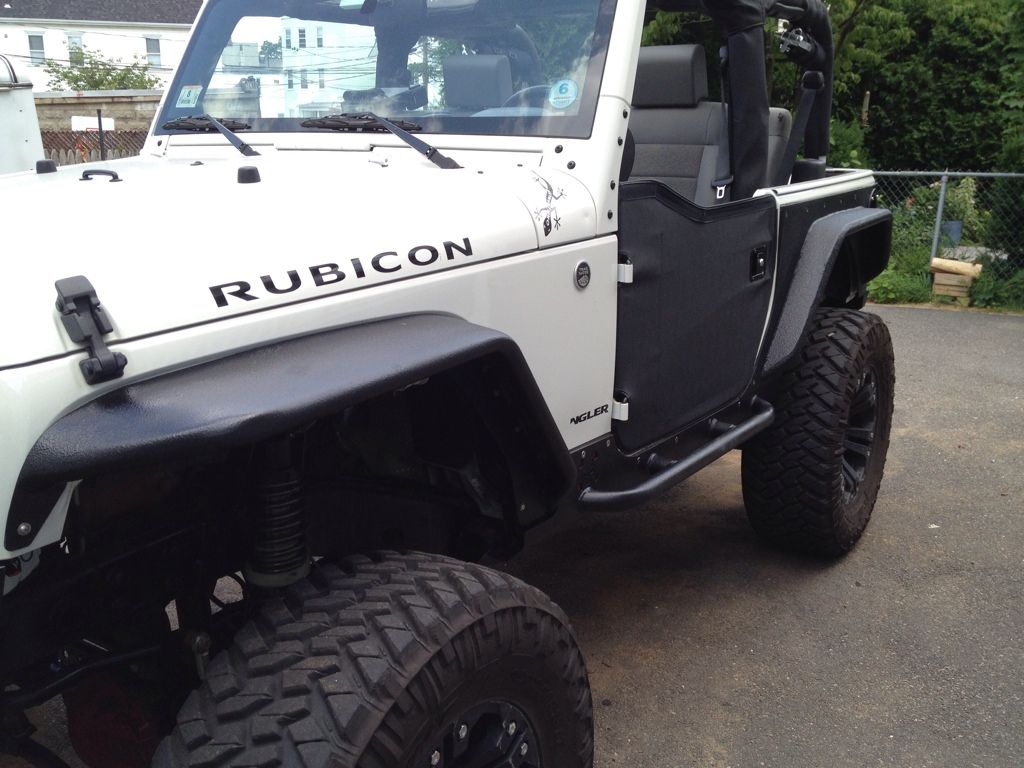
Not much to write up on the front fender install, just a simple bolt on job. Really nice thing about them is they have a number of bolts that go through the sub frame so they're extremely sturdy...I was showing a buddy how strong they were, climbed my 235 pound on top of one and dance a little jig...they never even budged.
First step was to rip off the JK tupper-flares and inner fender liners. Pretty easy process, just grab and snatch (if you're not worried about snapping the "T" clips that hold them on.) Then remove the stock rubi rock rails.
Next I had a nice big hole to cut where the old tail lights used to sit. Has to be done for the corners to properly fit to the body with minimal gap due to the JK's compound body curve at this point.
Then I test fit the new boat side sliders. Really sturdy, they bolt to the frame in two locations through the body mount, and have about 8 well nuts on each of them. After fitting, I marked and center punched all the holes for the well nuts.
After fitting the sliders, it was time to fit the corners on. I used a number of C clamps, and of course the handy Irwin Quick Grips. Love 'em.
With the corners fitted I marked and center punched for well nuts.
After securing the corners to the body with the well nuts I had to weld on the fender flares. The corners come with a "builder's kit" including 2 pre-bent tubes, 2 sheet metal skins to make the flares with, and 2 support brackets for each side. They ship as a pretty wide flare, I decided to make them a good bit narrower and went with 3.5" from the corner to the center of the tube at its widest point. I did the driver's side first to make sure the flare location would clear the gas filler.
After welding the tube in place, I started working with the 16 gauge skin and trimming it down to fit.
This one show about how much I took off...
Then used the first one I did as a template for the second. If I had half a brain, or half as many beers at that point, I would have used CARDBOARD to mock up the fender skin first. Still worked out for me though.
Then tack welded the skins to the tubes.
And brought them down to the basement and finish welded everything. I know. Ugly. I spent so much time grinding my welds I couldn't feel my hands for a day
Then I hit them with a few coats of primer after prepping them with a wire wheel to get any surface rust off.
Went crazy with the bed liner. Sprayed my armor, rear inner fender wells, and then hit the grille with it too. This stuff is very scratch resistant and my grille was pretty beat up.
Finally bolted everything back on.
Not much to write up on the front fender install, just a simple bolt on job. Really nice thing about them is they have a number of bolts that go through the sub frame so they're extremely sturdy...I was showing a buddy how strong they were, climbed my 235 pound on top of one and dance a little jig...they never even budged.
