Part - 2
Rear Disc Brake Conversion & Axle Shaft Install
More reading material and pictures for the web-wrenchers following along on this journey

Tackled the next step of retrofitting the rear axle from it's poopy old drum brakes to spiffy disc brakes.
Basic step to it were:
- Remove the old brake drum from the rear hubs
- Remove the old brake backing plates & hardware
- Install disc brake adapters
- Install new brake discs on the the hubs
- Install new calipers and pads
- And of course give everything a coat of paint

First a shot of the old backing plates and decaying drum brake hardware

Nasty!
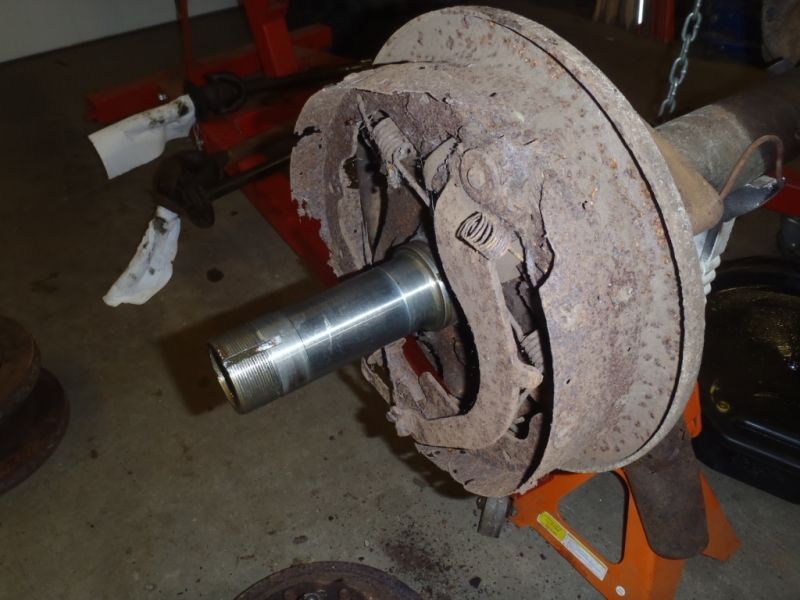
Yanked all old drum brake hardware & backing plates and gave the axle a coat of primer and a top coat.
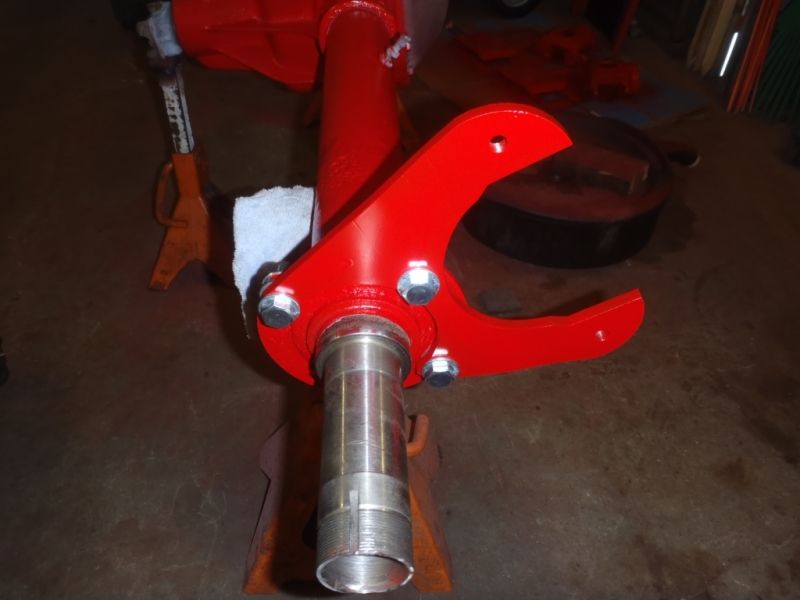
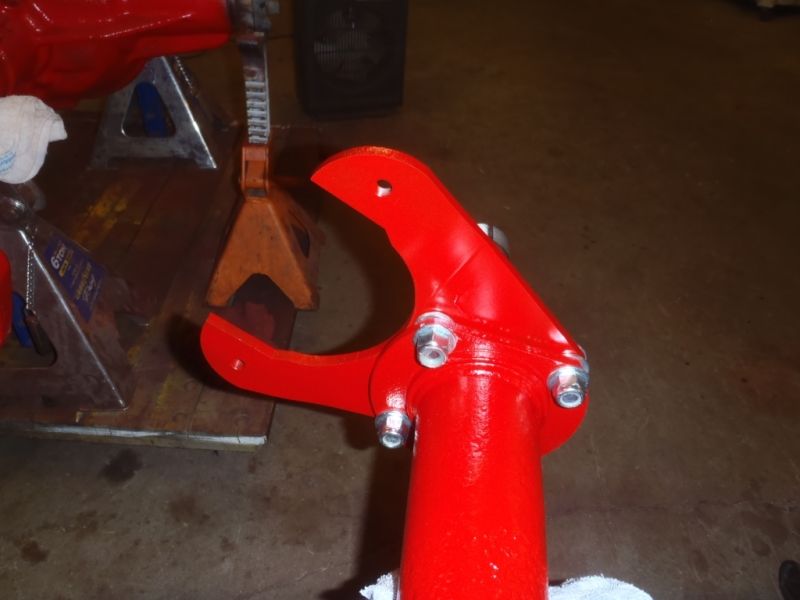
Picked up a pair of disc brake adapter brackets from Ruffstuff.
Brackets installed on the rear axle.
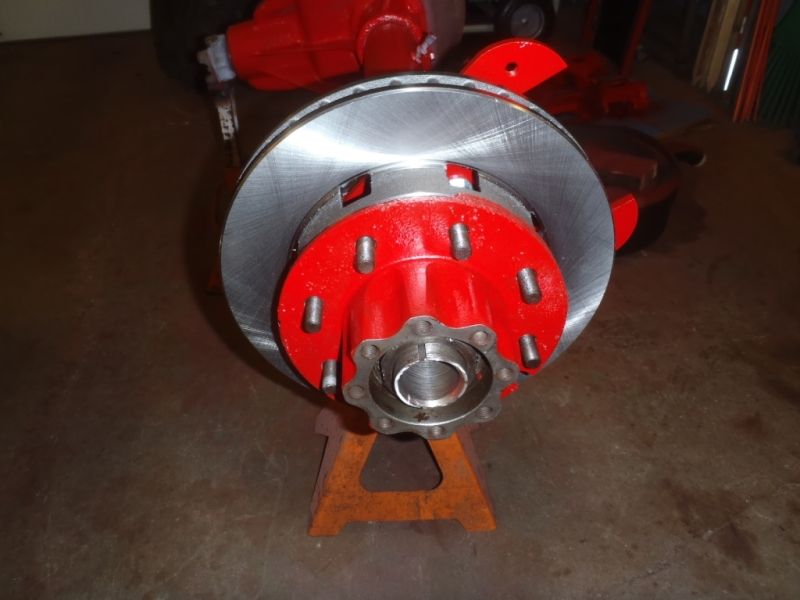
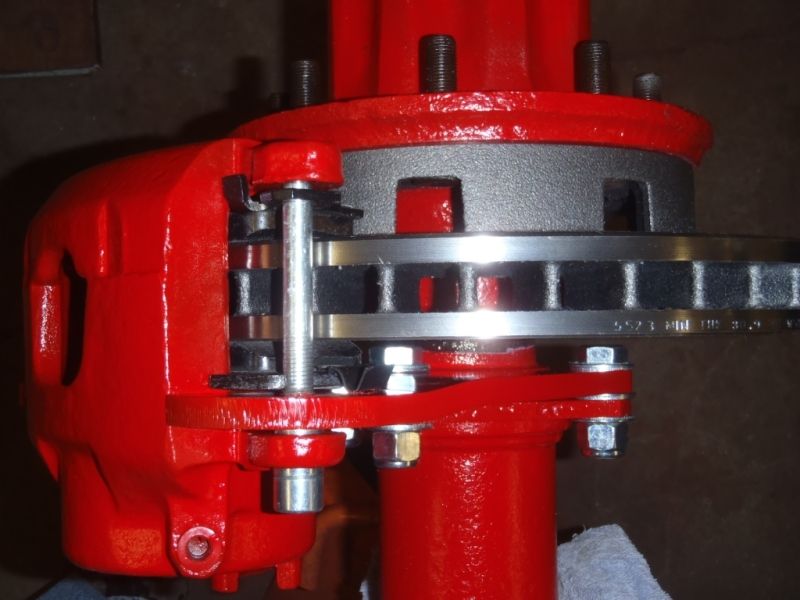
Assembled the new brake discs onto the hubs and used the hydraulic press to install the 8 wheel studs in each asssembly to pin them together. Installed the hub/disc assembly onto the spindles and torqued the bearing retainer nuts to spec.
After lubricating all the brake pins, o-rings, slides the calipers got installed and secured.
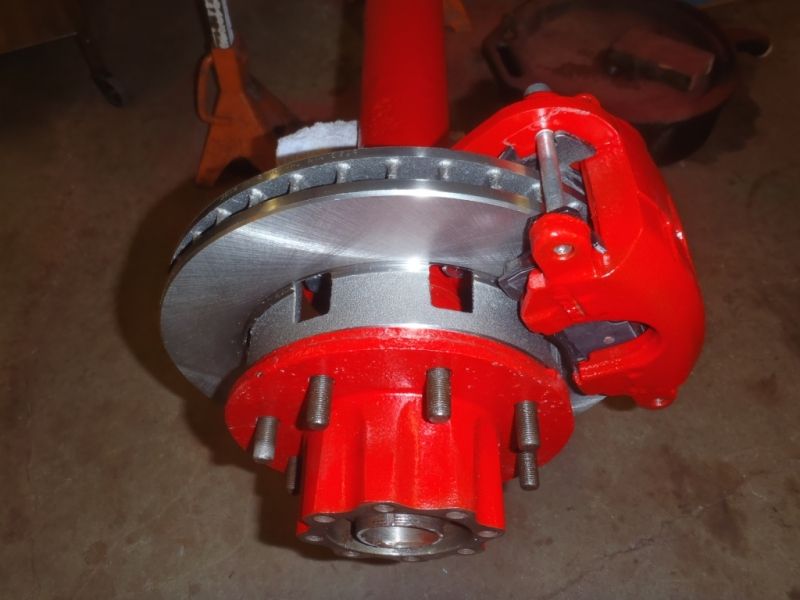
Overhead view of them assembled.
Too bad they will never be this clean again

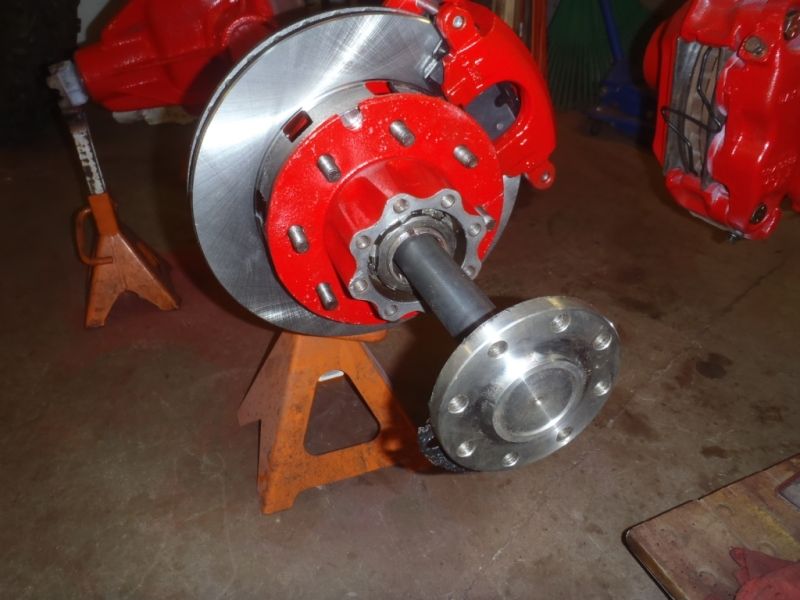
Last step for this evening was to install the 35 spline Yukon chromo shafts and seal them to the hubs.
Hub studs torqued down.

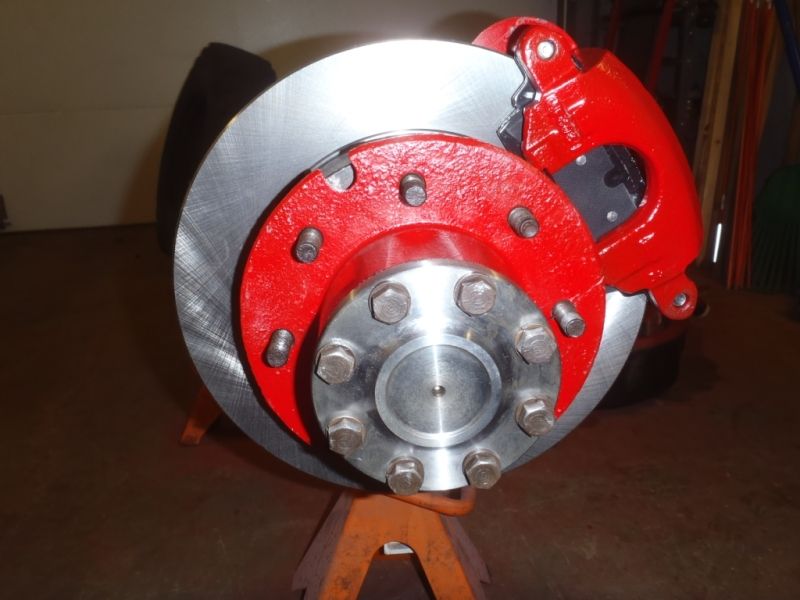
Done!

Kinda - holding off on installing the new diff cover until the axle truss for the 4 link gets welded on.

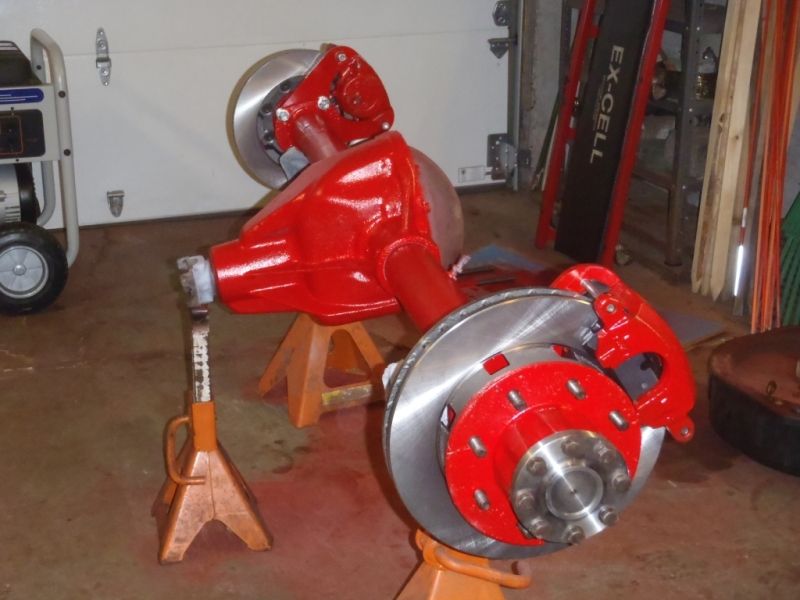
The brake calipers used for the conversion were:
- 1984 Chevy K20 front disc calipers. I opted to used the JB7 version as it has a larger piston bore.
(More clamping pressure)
- Brake pads for the K20 also.
I've already installed a brake master cylinder from a Dodge 2500 for the added capacity needed for the 4 disc brakes.

Gotta wait until our last "big" run later this month before tearing into the YJ.


