Tool/Supply list:
SAE and Metric socket set
Specialty sizes needed: 1 1/8" socket, 32 mm socket, 35 mm socket
small sledge hammer
1 jack stand
Torque wrench
Gear puller
Large Channellock Pliers (440 or 460)
Loctite (red) or other thread lock compound
Parts cleaner
ATF+4 Transmission fluid
Oil drip pan
Preliminary:
Remove transfer case skid plate using an 18 mm socket.
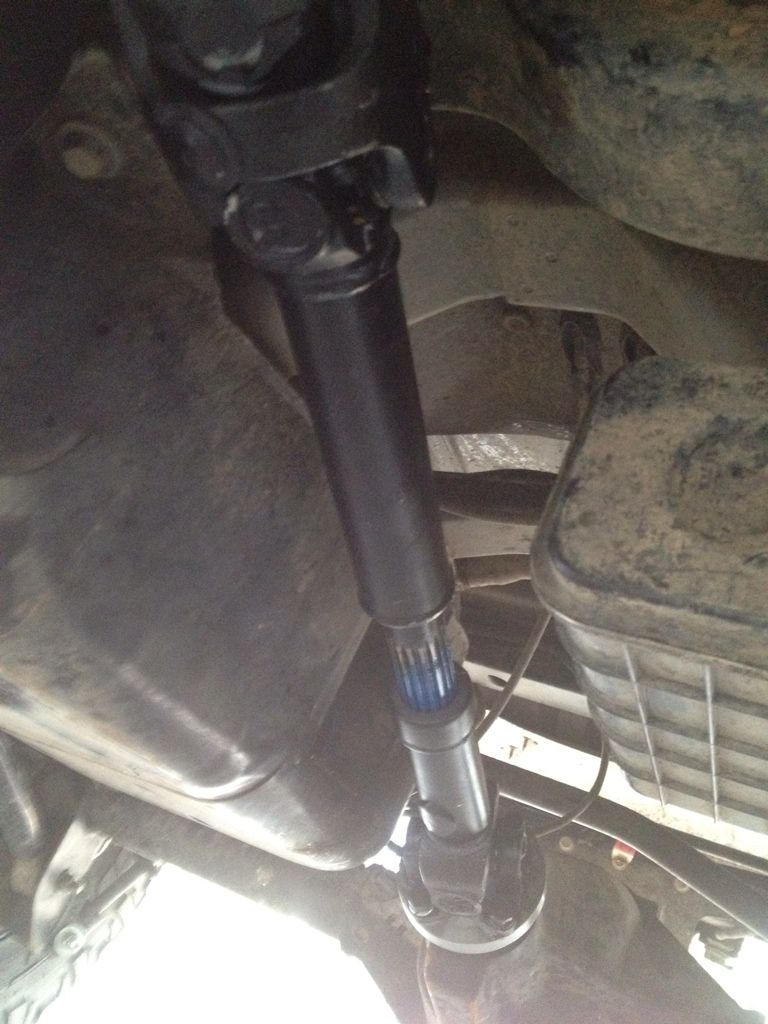
Front Driveshaft:
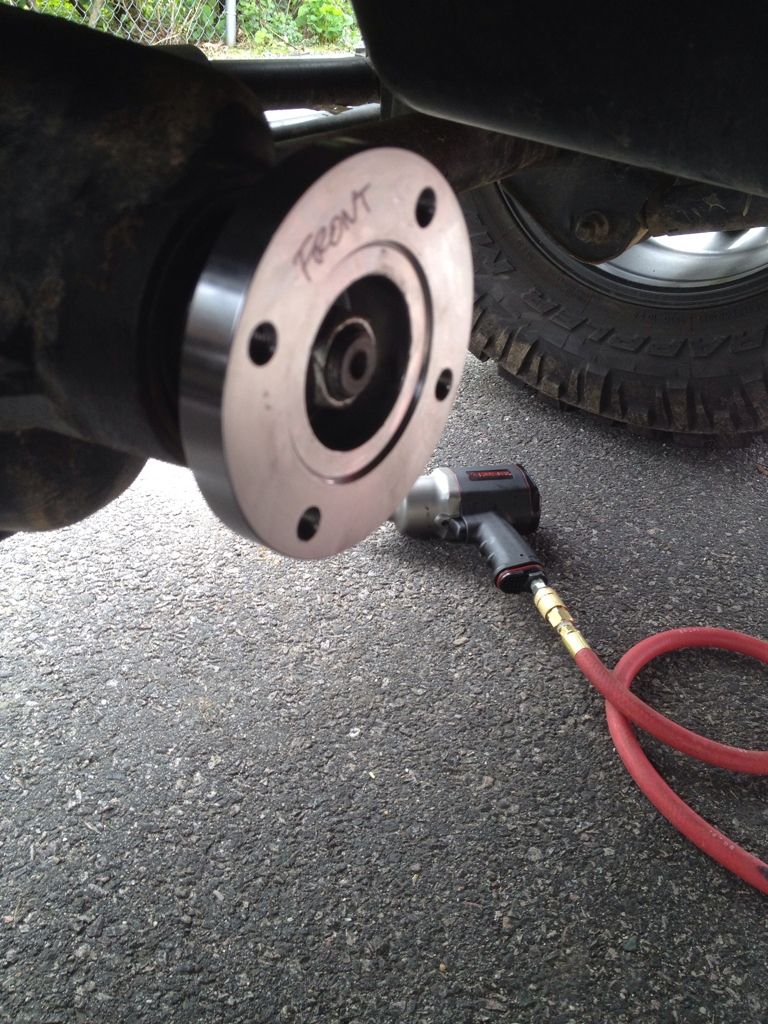
1.) Remove (4) bolts securing the drive shaft to the pinion flange.
2.) Position jack stand under driveshaft and give the shaft a couple of taps with your sledge, it should separate fairly easily. Allow driveshaft to rest on jack stand.
3.) Remove (8) bolts securing driveshaft to transfer case yolk using a 10 mm socket. I found it much easier to use an air ratchet here as there isn't a ton of room to work around in. It also will help to place your transfer case in Neutral position, it will allow you to rotate the drive shaft to access all of the bolts. Using a large set of Channellocks (460) to hold the drive shaft still while breaking the bolts loose will help. Its either that or be up and down from under the Jeep shifting your transfer case from "N" to "4WD."
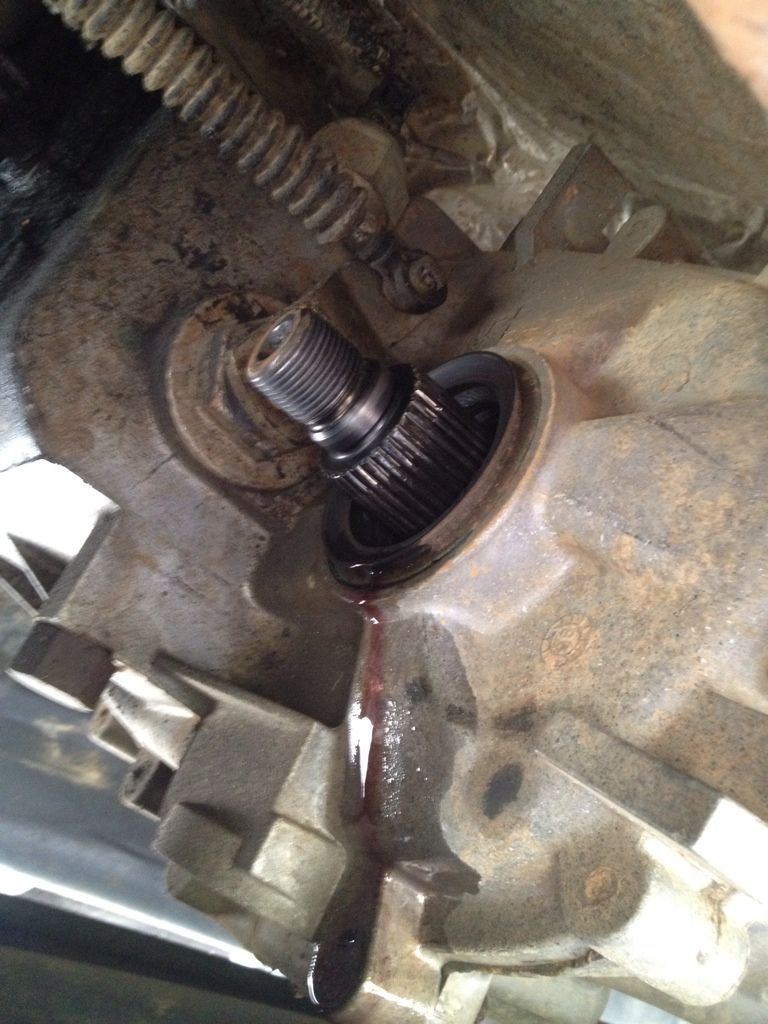
4.) Using a 32 mm socket, remove the nut securing the transfer case yolk to the output shaft. Recommend using an impact wrench for this stage.
5.) Time to pull the transfer case yolk. Using a gear puller, secure the arms around the outside of the yolk, tighten the stud against the output shaft of the transfer case. Again, air ratchet helps a ton in making quick work of this.
NOTE: be prepared with a drip pan here. when you pull the flange you will likely lose some fluid from your transfer case.
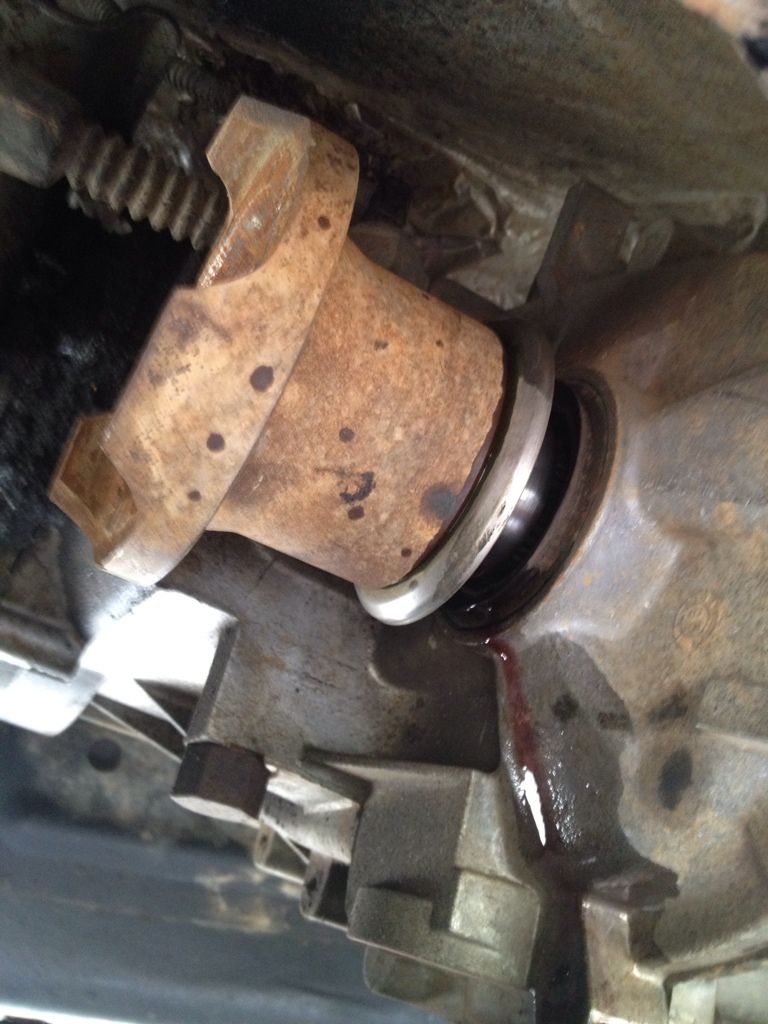
6.) Thoroughly clean transfer case output shaft.
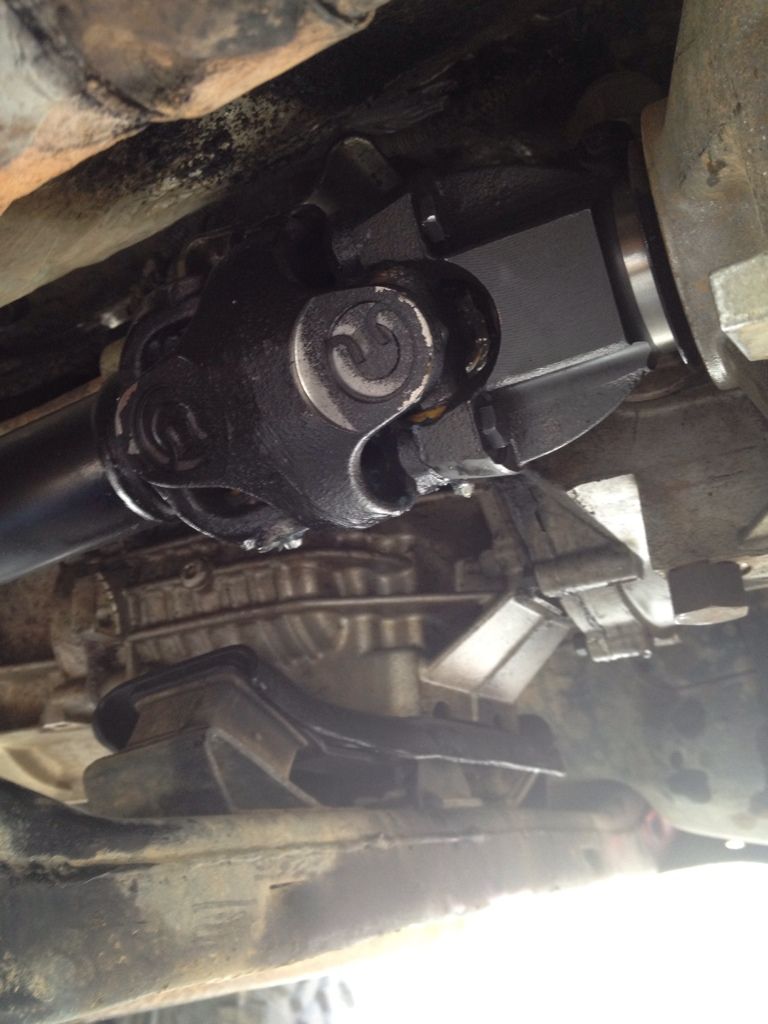
7.) Unpackage your new Woods driveshaft and remove the (4) bolts securing the yolk to the U-Joint.
8.) Woods will supply (2) nuts for installing the new yolk to your transfer case output shaft, one SAE, one metric. Thread both to the output shaft, and select the one which fits the best.
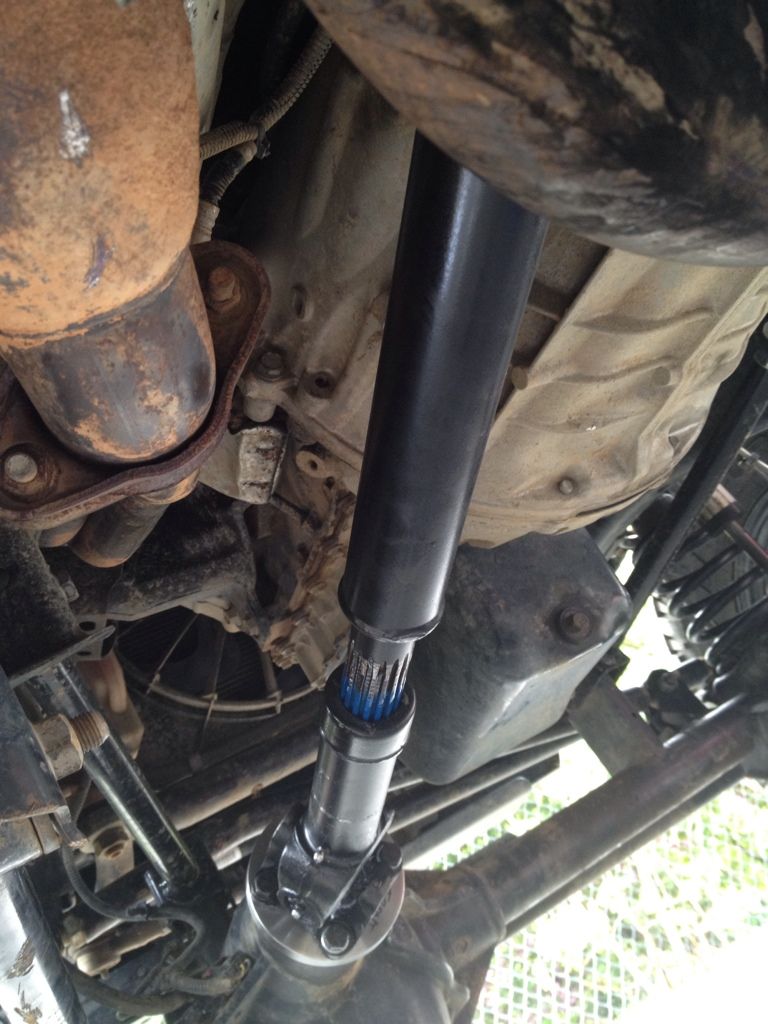
9.) Apply a generous amount of silicon to the spline teeth of the new yolk, this will provide your transfer case seal.

10.) Install new yolk and correct (supplied) nut WITH LOCTITE, tighten and torque to 160 ft./lbs.
NOTE: Avoid using impact wrench at this stage to precent over-torquing.
11.) Remove flange (axle side) from your new driveshaft, inside will be a (supplied) nut for your pinion.
12.) Again, coat spline teeth with silicon to provide a new seal.
13.) install new flange to pinion gear with supplied nut and loctite. Tighten and torque to 160 ft./lbs. Again, avoid using impact wrench here as you may over tighten and damage crush sleeve.
14.) With transfer case in Neutral, position the front of the drive shaft on your jack stand, and begin securing your driveshaft to the transfer case yolk. Tighten and torque (4) bolts to 20 ft./lbs, remembering to use Loctite on these bolts!
15.) Install drive shaft to pinion flange, tightening and torquing to 50 ft./lbs. with a liberal amount of Loctite.
FINISHED
Rear Driveshaft:
Installation of the rear shaft is essentially the same as the front, the only difference being the stock JK rear shaft has CV joints on both ends. You may encounter a bit of difficulty removing the driveshaft from the pinion flange on this part, I pretty much used a mini-sledge and tapped it off from alternating sides. Its slow going, but it'll go! Remember to start at the transfer case so you can take advantage of its Neutral position, it'll help a lot in tightening/torquing your bolts without multiple trips out from under your Jeep.
Finishing Up:
1.) Remember to top off your transfer case fluid with ATF+4 if you lost any while removing the front yolk!! Grease all fittings on the new driveshafts, mine came already greased but its best to be sure.
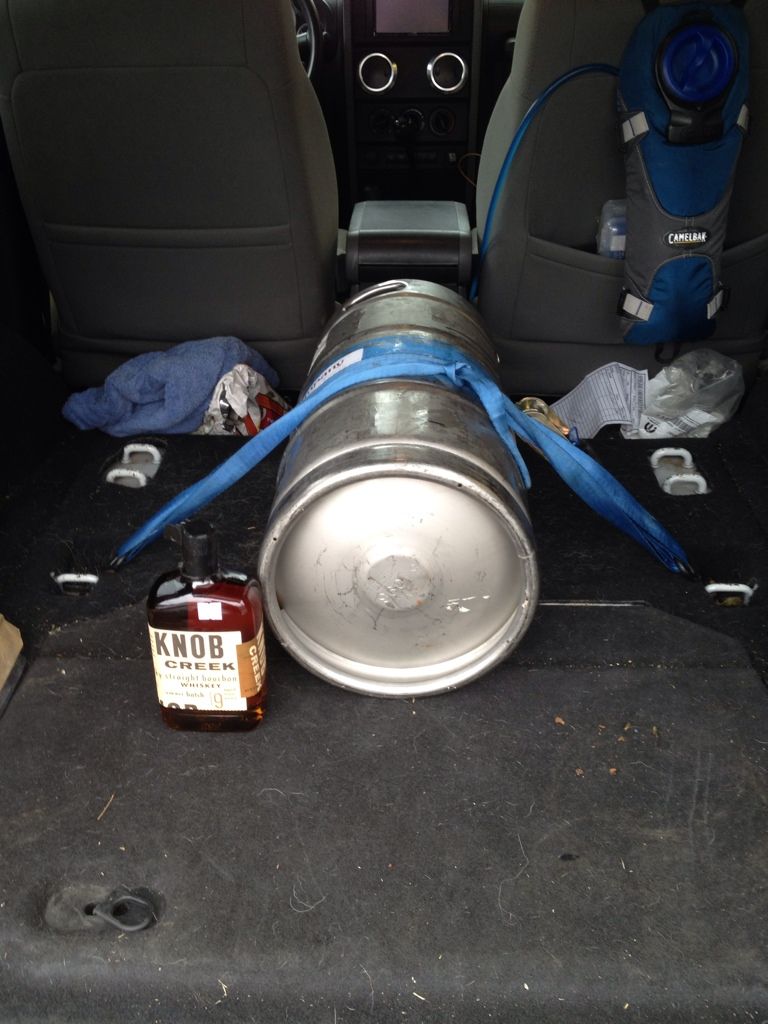
2.) Go pick up a keg!
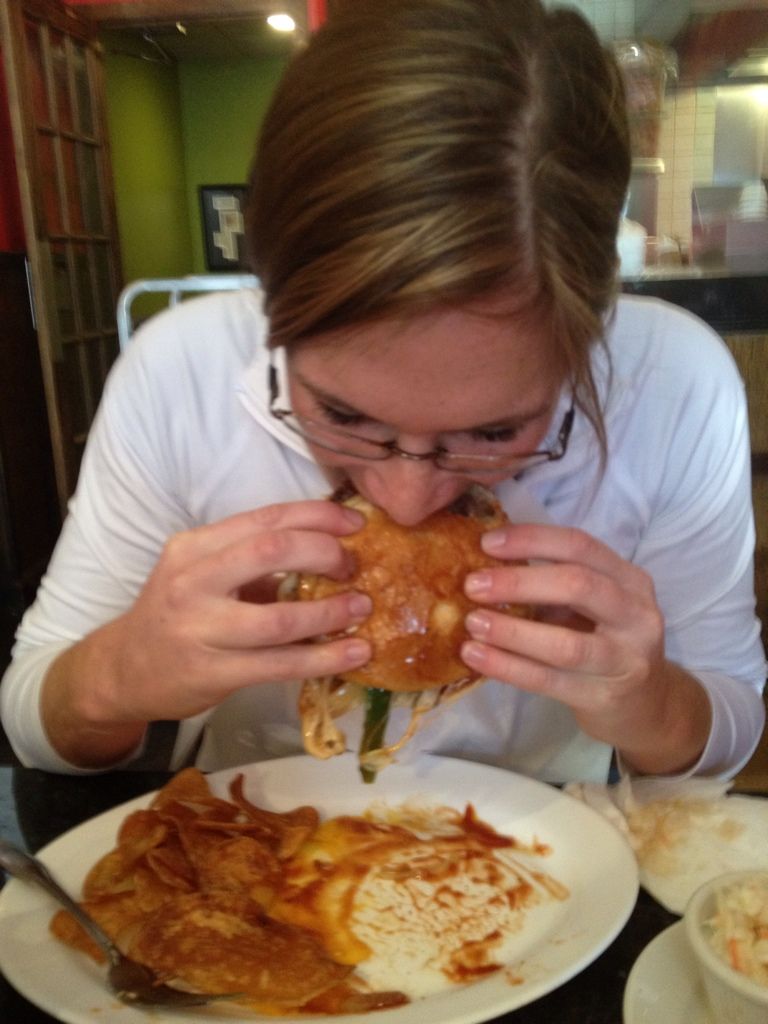
3.) Take your girlfriend out for a burger! (She would kill me if she saw this)
4.) Enjoy the keg!
5.) Switch to bourbon and 'Ganset
6.) Hold a stranger's baby at a bar!
7.) Switch to moonshine and begin blackout phase
8.) Stuff cheese up your roommate's nose and in his mouth because he passed out and you hate his stupid ****ing chinstrap beard
Thanks for playing along!